There’s no denying it—it’s officially cold season.
And no, I don’t mean the season of weather outside. I mean the sniffling/coughing/fever-type of “cold season” that descends on innocent good-intentioned hand-washing, arm-sneezing, flu-shot getting, vitamin-taking* people every year during the months of November and December.
{*Okay…well in all honesty I may actually only remember to take my vitamins like once a week. That is, unless my mother is reading this…in that case, I totally take my vitamins every day. Scout’s honor!}
Despite all of our precautions and good intentions to take vitamins, almost everyone gets some type of sniffle or pukey virus this time of year. Our bodies don’t seem to care that it’s holiday season and there are a myriad of events, parties, and delicious seasonal foods to be enjoyed. And really, if you ask me this is the greatest travesty of our bodies succumbing to the dreaded common cold: when your nose is stuffed up you can’t taste the foods that you only get to indulge in once a year.

As a woman who is obsessed with food, this is (of course) what I focus on when I have a cold. You may think I’m crazy lady to be more upset about not being able to taste food than not being able to breathe out of my nose, but luckily I married a man who believes the exact same thing.
How do I know we’re on the same page on this? Let me tell you a story…
Just last week, Tom got terribly ill two days before Thanksgiving. He was so sick, but even in his dehydrated, feverish state he had but one wish: to be well by Thanksgiving so he could eat the big meal. Fast forward forty-eight hours (and lots of Smartwater* later) he was a new man—a man who despite being on his deathbed days earlier managed to eat two huge plates of dinner and three pieces of pie at the Thanksgiving meal. With that miraculous turnaround, I couldn’t help but think that his sheer will and determination to get better so he could eat was a big reason why he got back up on his feet so fast.
{Note: For the love of all those who don’t want you to end up with pre-diabetes like me, PLEASE DO NOT DRINK GATORADE WHEN YOU’RE SICK. Smartwater gives you the same electrolytes without the sugar and crazy food dye. If you need the shot of sugar, nibble on some unsweetened applesauce—I promise it does the same trick!}

Now that I’ve established that my husband and I have a potentially unhealthy adoration of food, let me get to my point: when you have a cold, it stinks. You’re usually not sick enough to stay home and Netflix-binge, but you’re also not healthy enough to sit through a meeting at work without people giving you nasty glares every time you try to hold in your hacking cough. It’s the worst.

In this predicament, I can think of but one solution to make me feel better: to cook
Cook comfort food. Cook easy food. Cook yummy food that will warm you from the inside out and create lots of leftovers…so you don’t have to cook more than you have the energy to do so!
When we get sick, Tom wants us to cook mashed potatoes…but I don’t want to eat something that will make me feel even worse after I eat it.
So…where’s the compromise?
Here’s our solution:
- Replacing the notion of “starches=comfort food” by creating a dish that leaves you just as satisfied with none of the heavy carbohydrates
- Filling the dish with lots and lots of veggies—fighting your virus by pumping your body with lots of natural vitamins and immune-boosting foods…especially if you’re not very good at remembering to take your daily multivitamin…
- Adding comforting, flavorful spices that are mild enough not to upset your tummy…but add enough punch that you can actually taste something
- Cooking a large enough quantity to ensure that you will have substantial leftovers…so you only have to cook once!
| All Stuffed-Up Stuffed Peppers |
Serves: 4 Tom’s or 6 Alaina’s, plus enough filling to use for 2-3 other meals for two people
Ingredients Needed:
For the filling base:
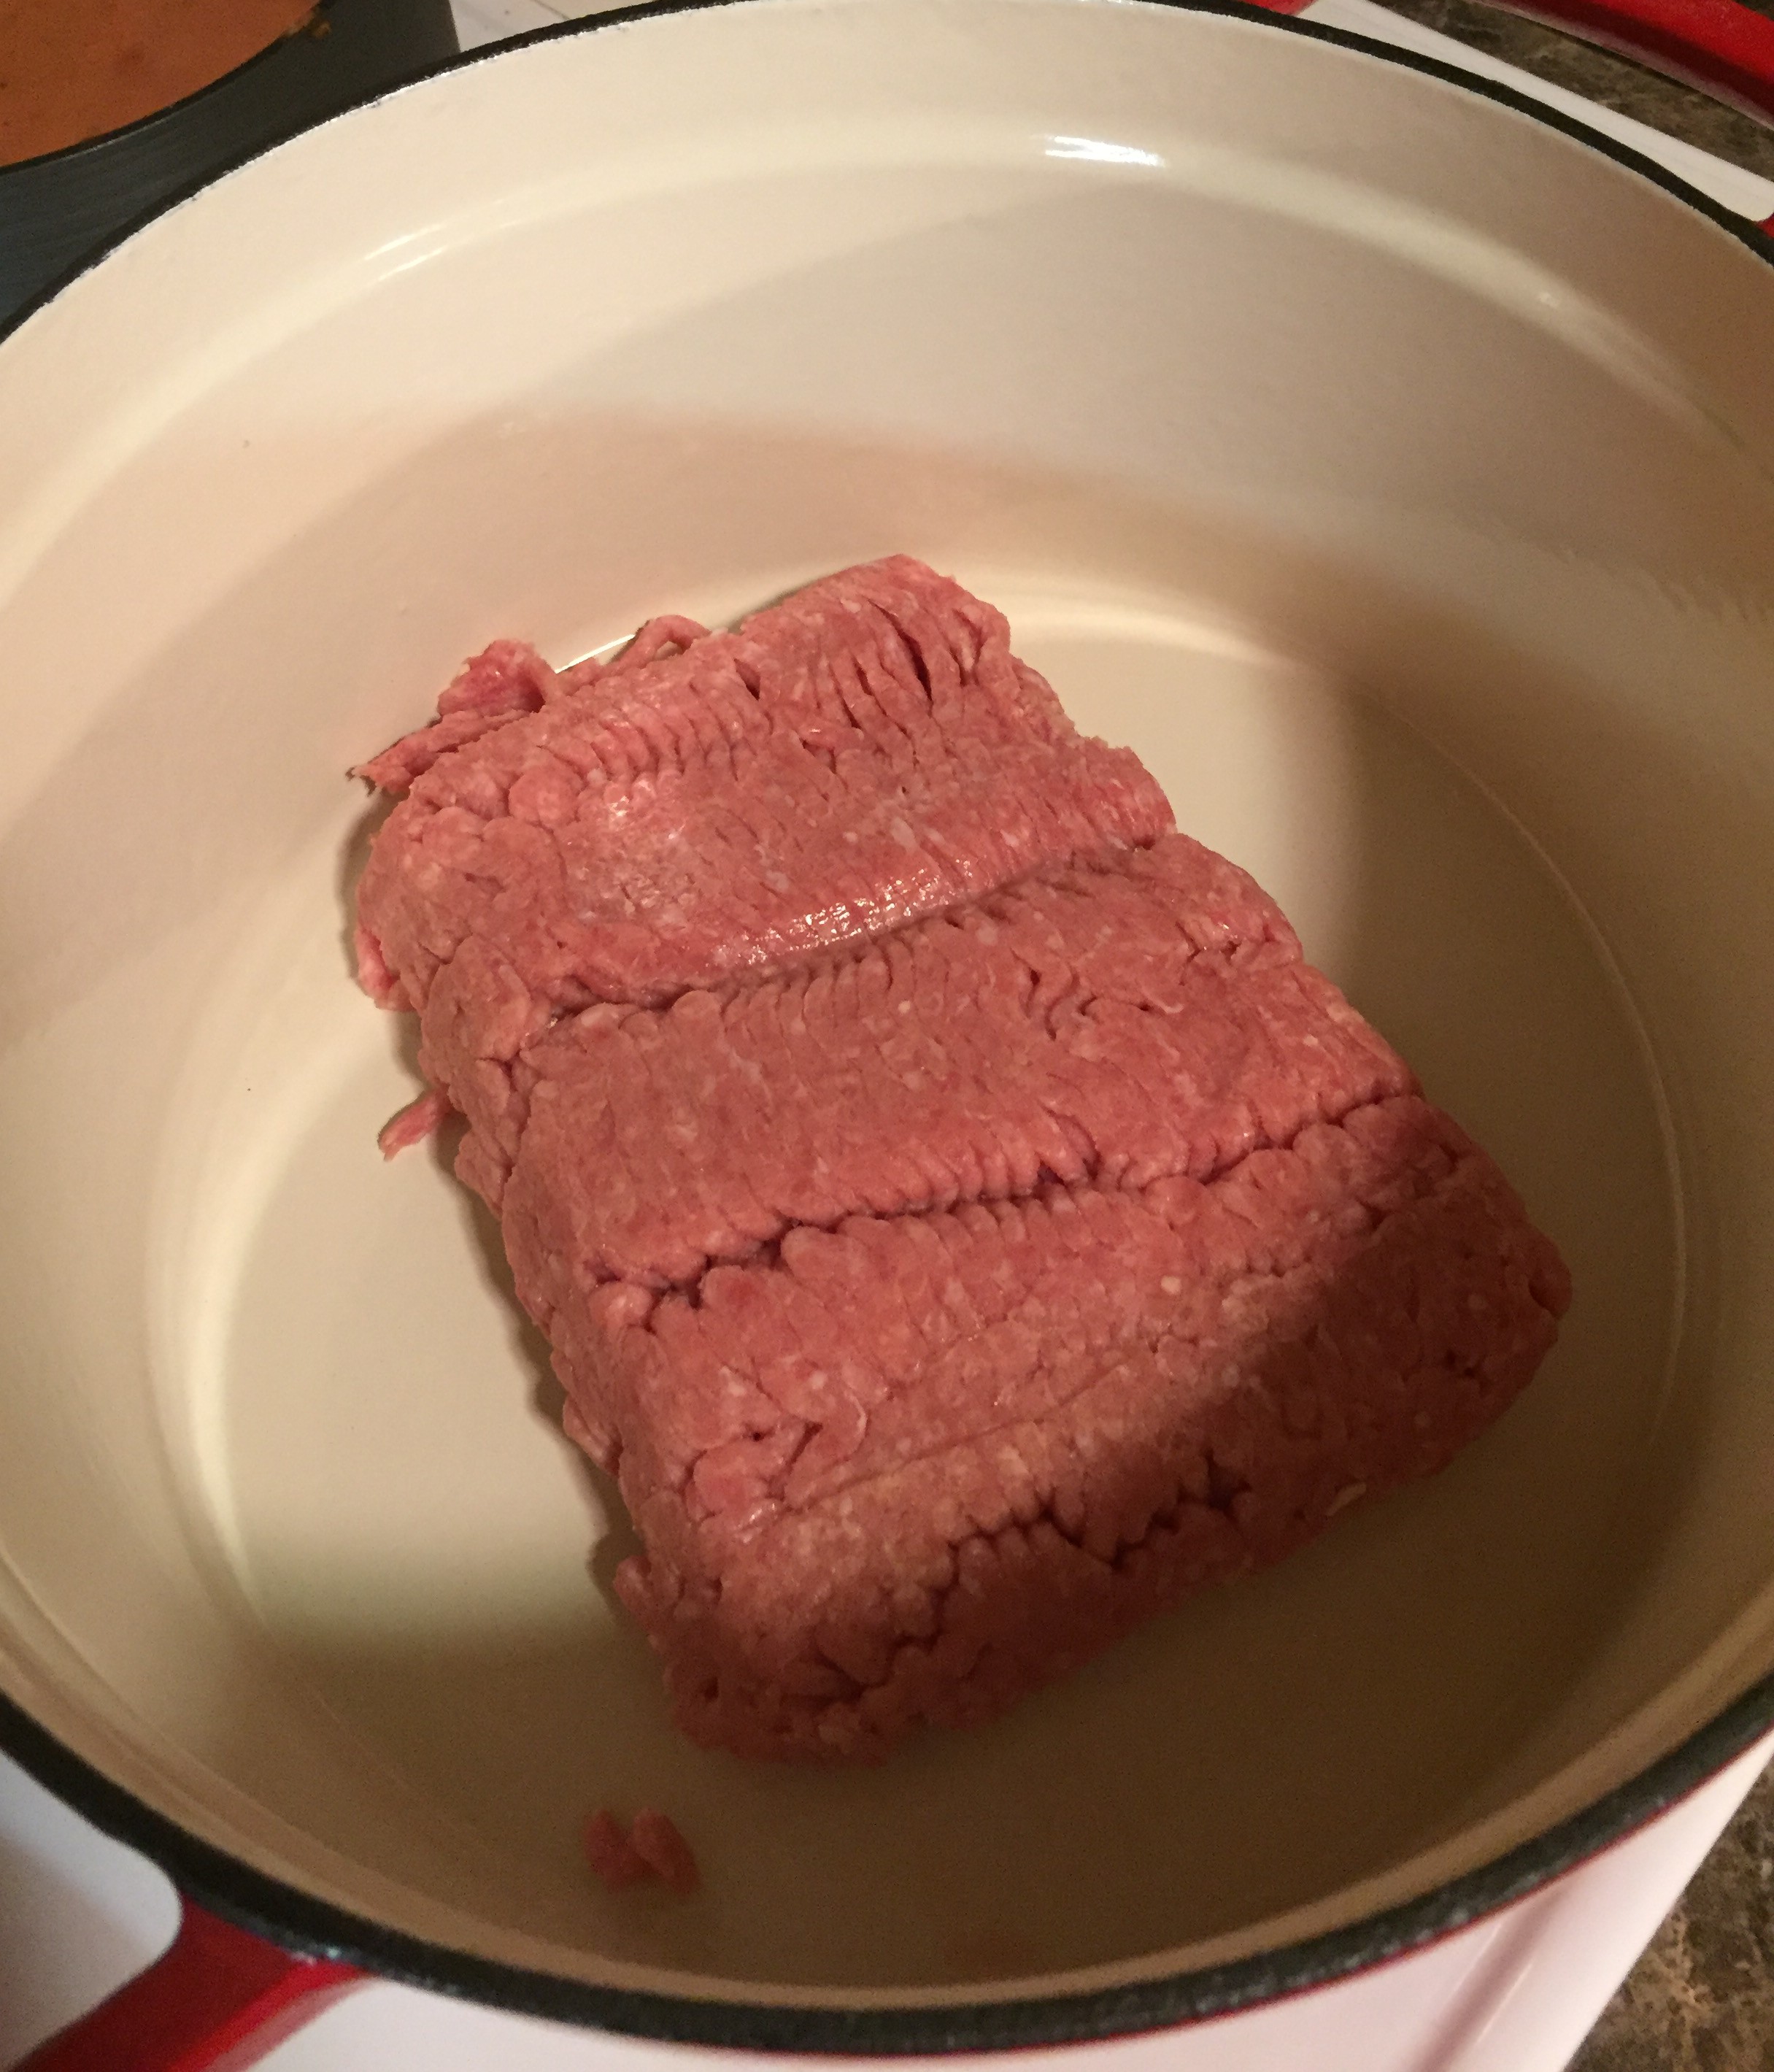
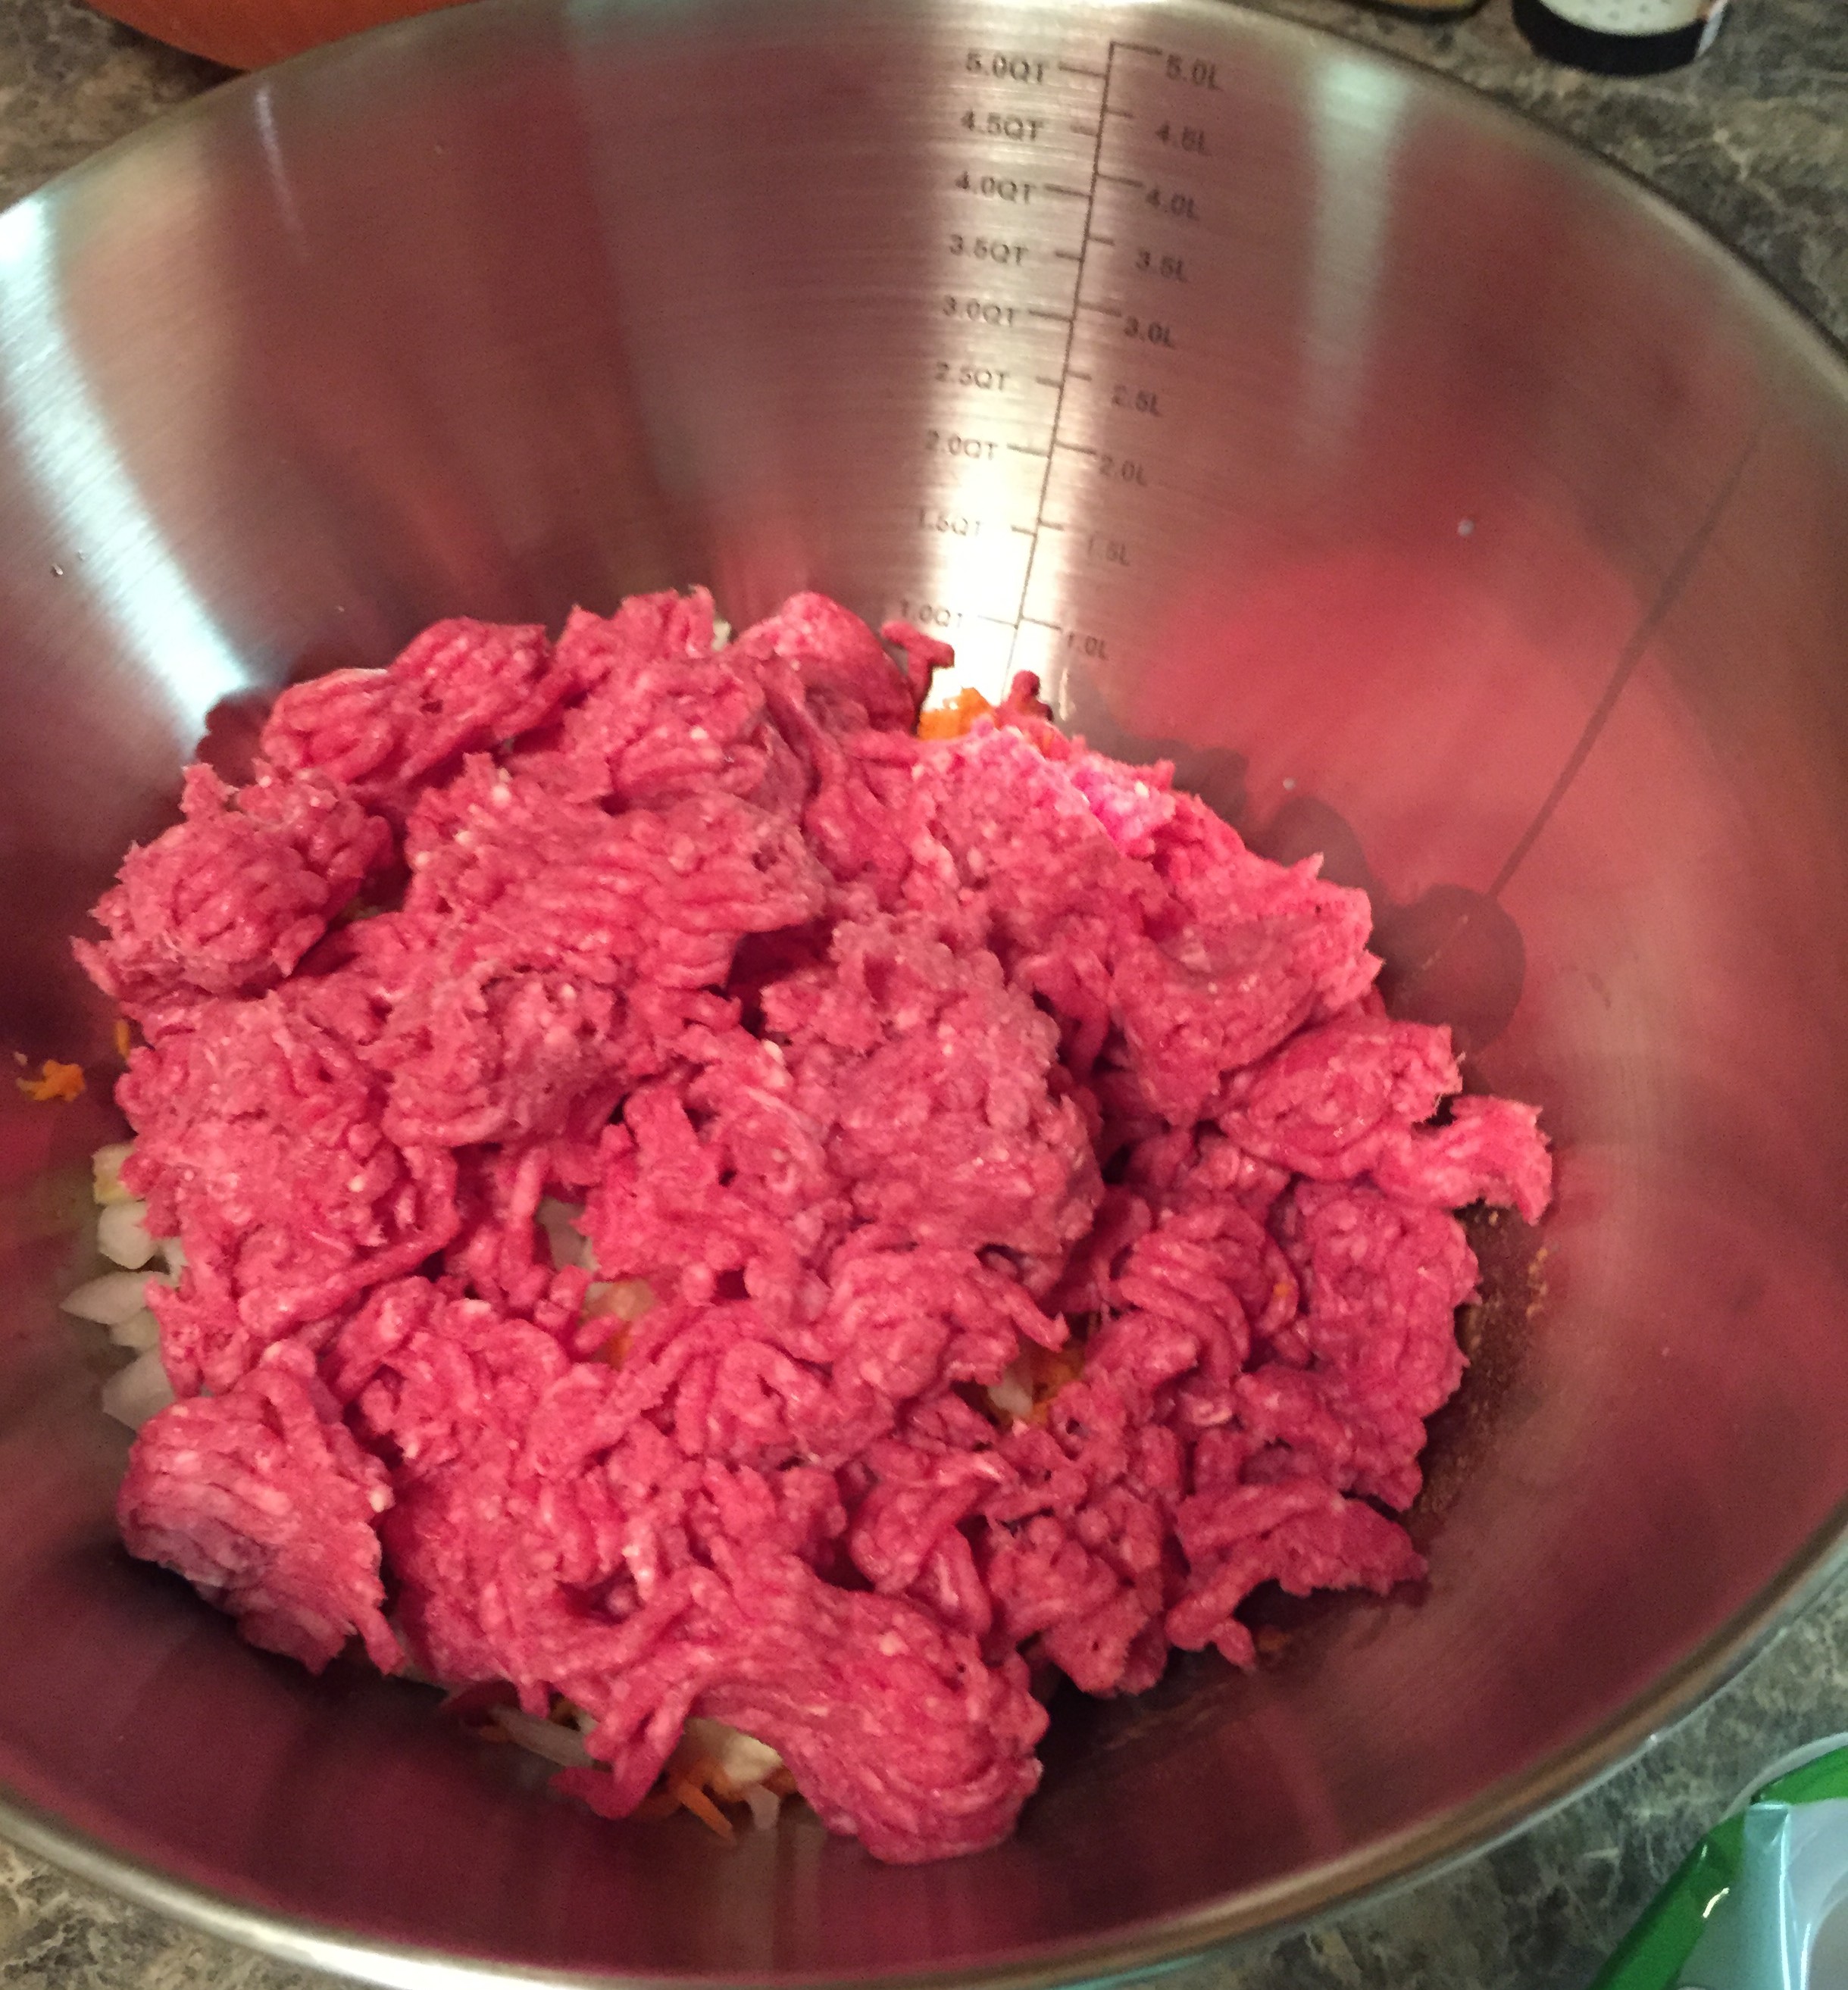
- 1.5 lbs ground turkey
- We use the Costco ground turkey because it’s so much cheaper per pound, but that only comes in 1.5 lb package. That being said, if you have 1 lb. package that works too!
- 6 bell peppers (any color), seeded and with the tops removed
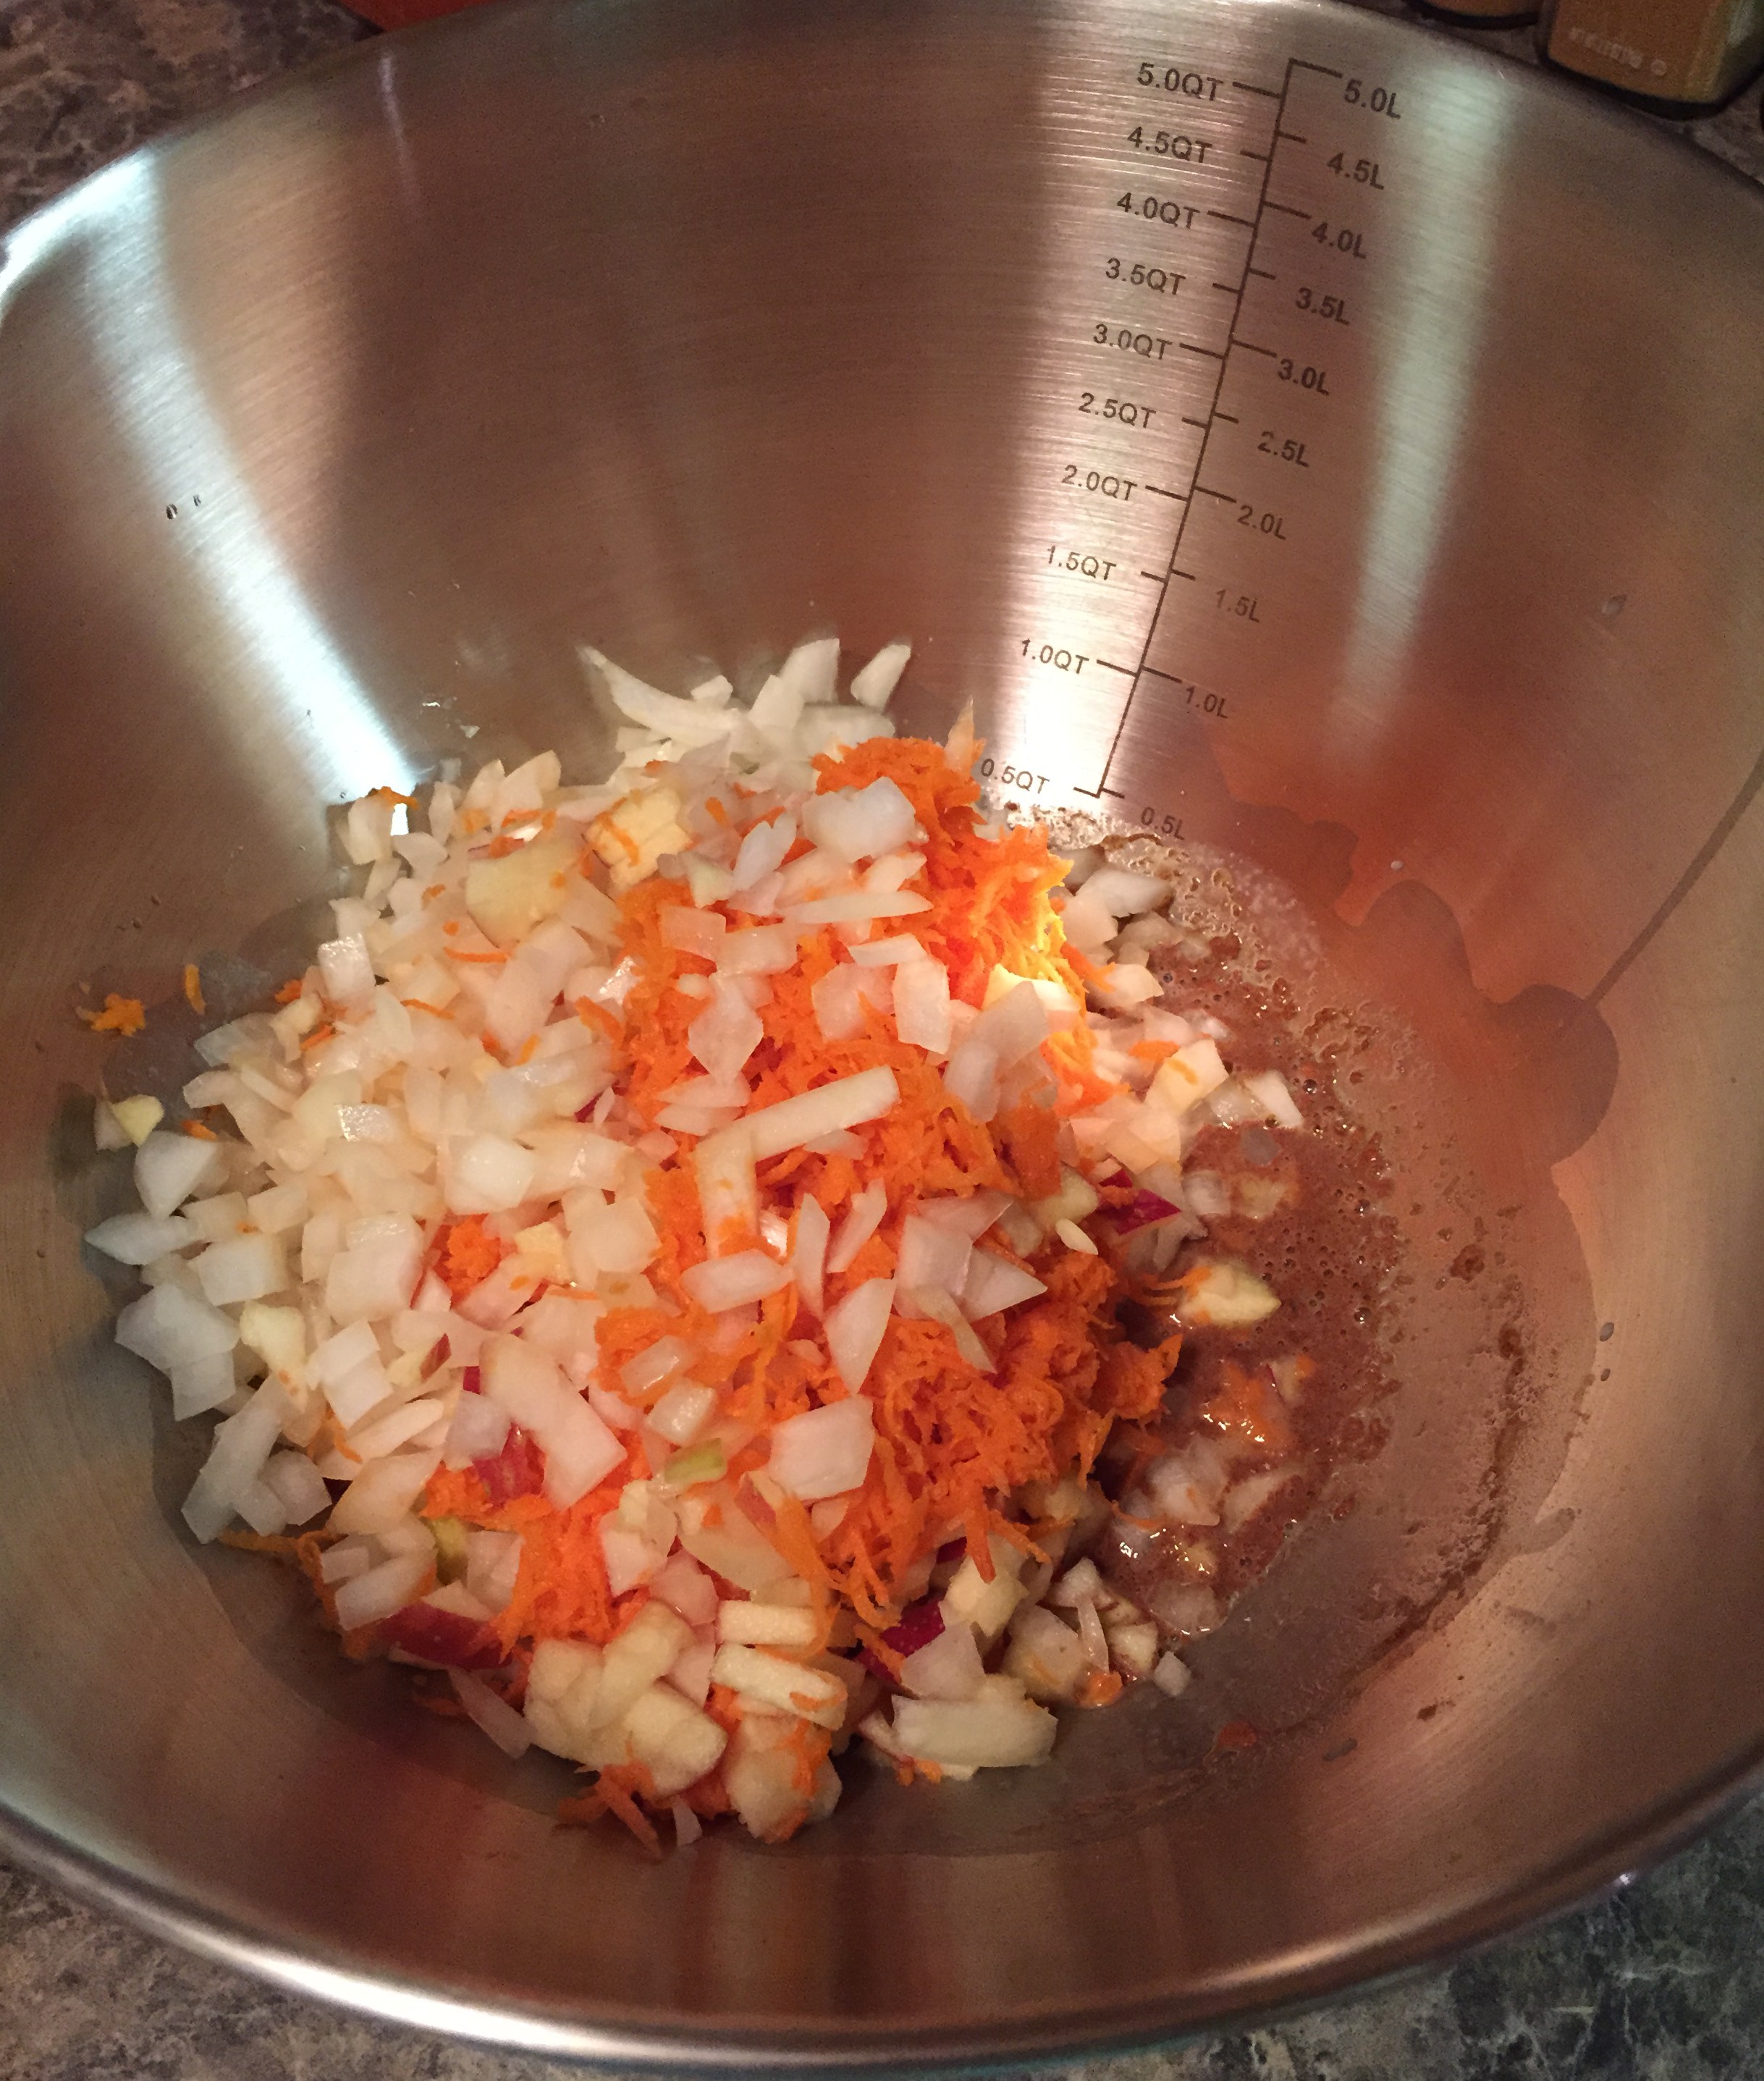
- 1 large onion, chopped
- This is about 1 ½ to 2 cups
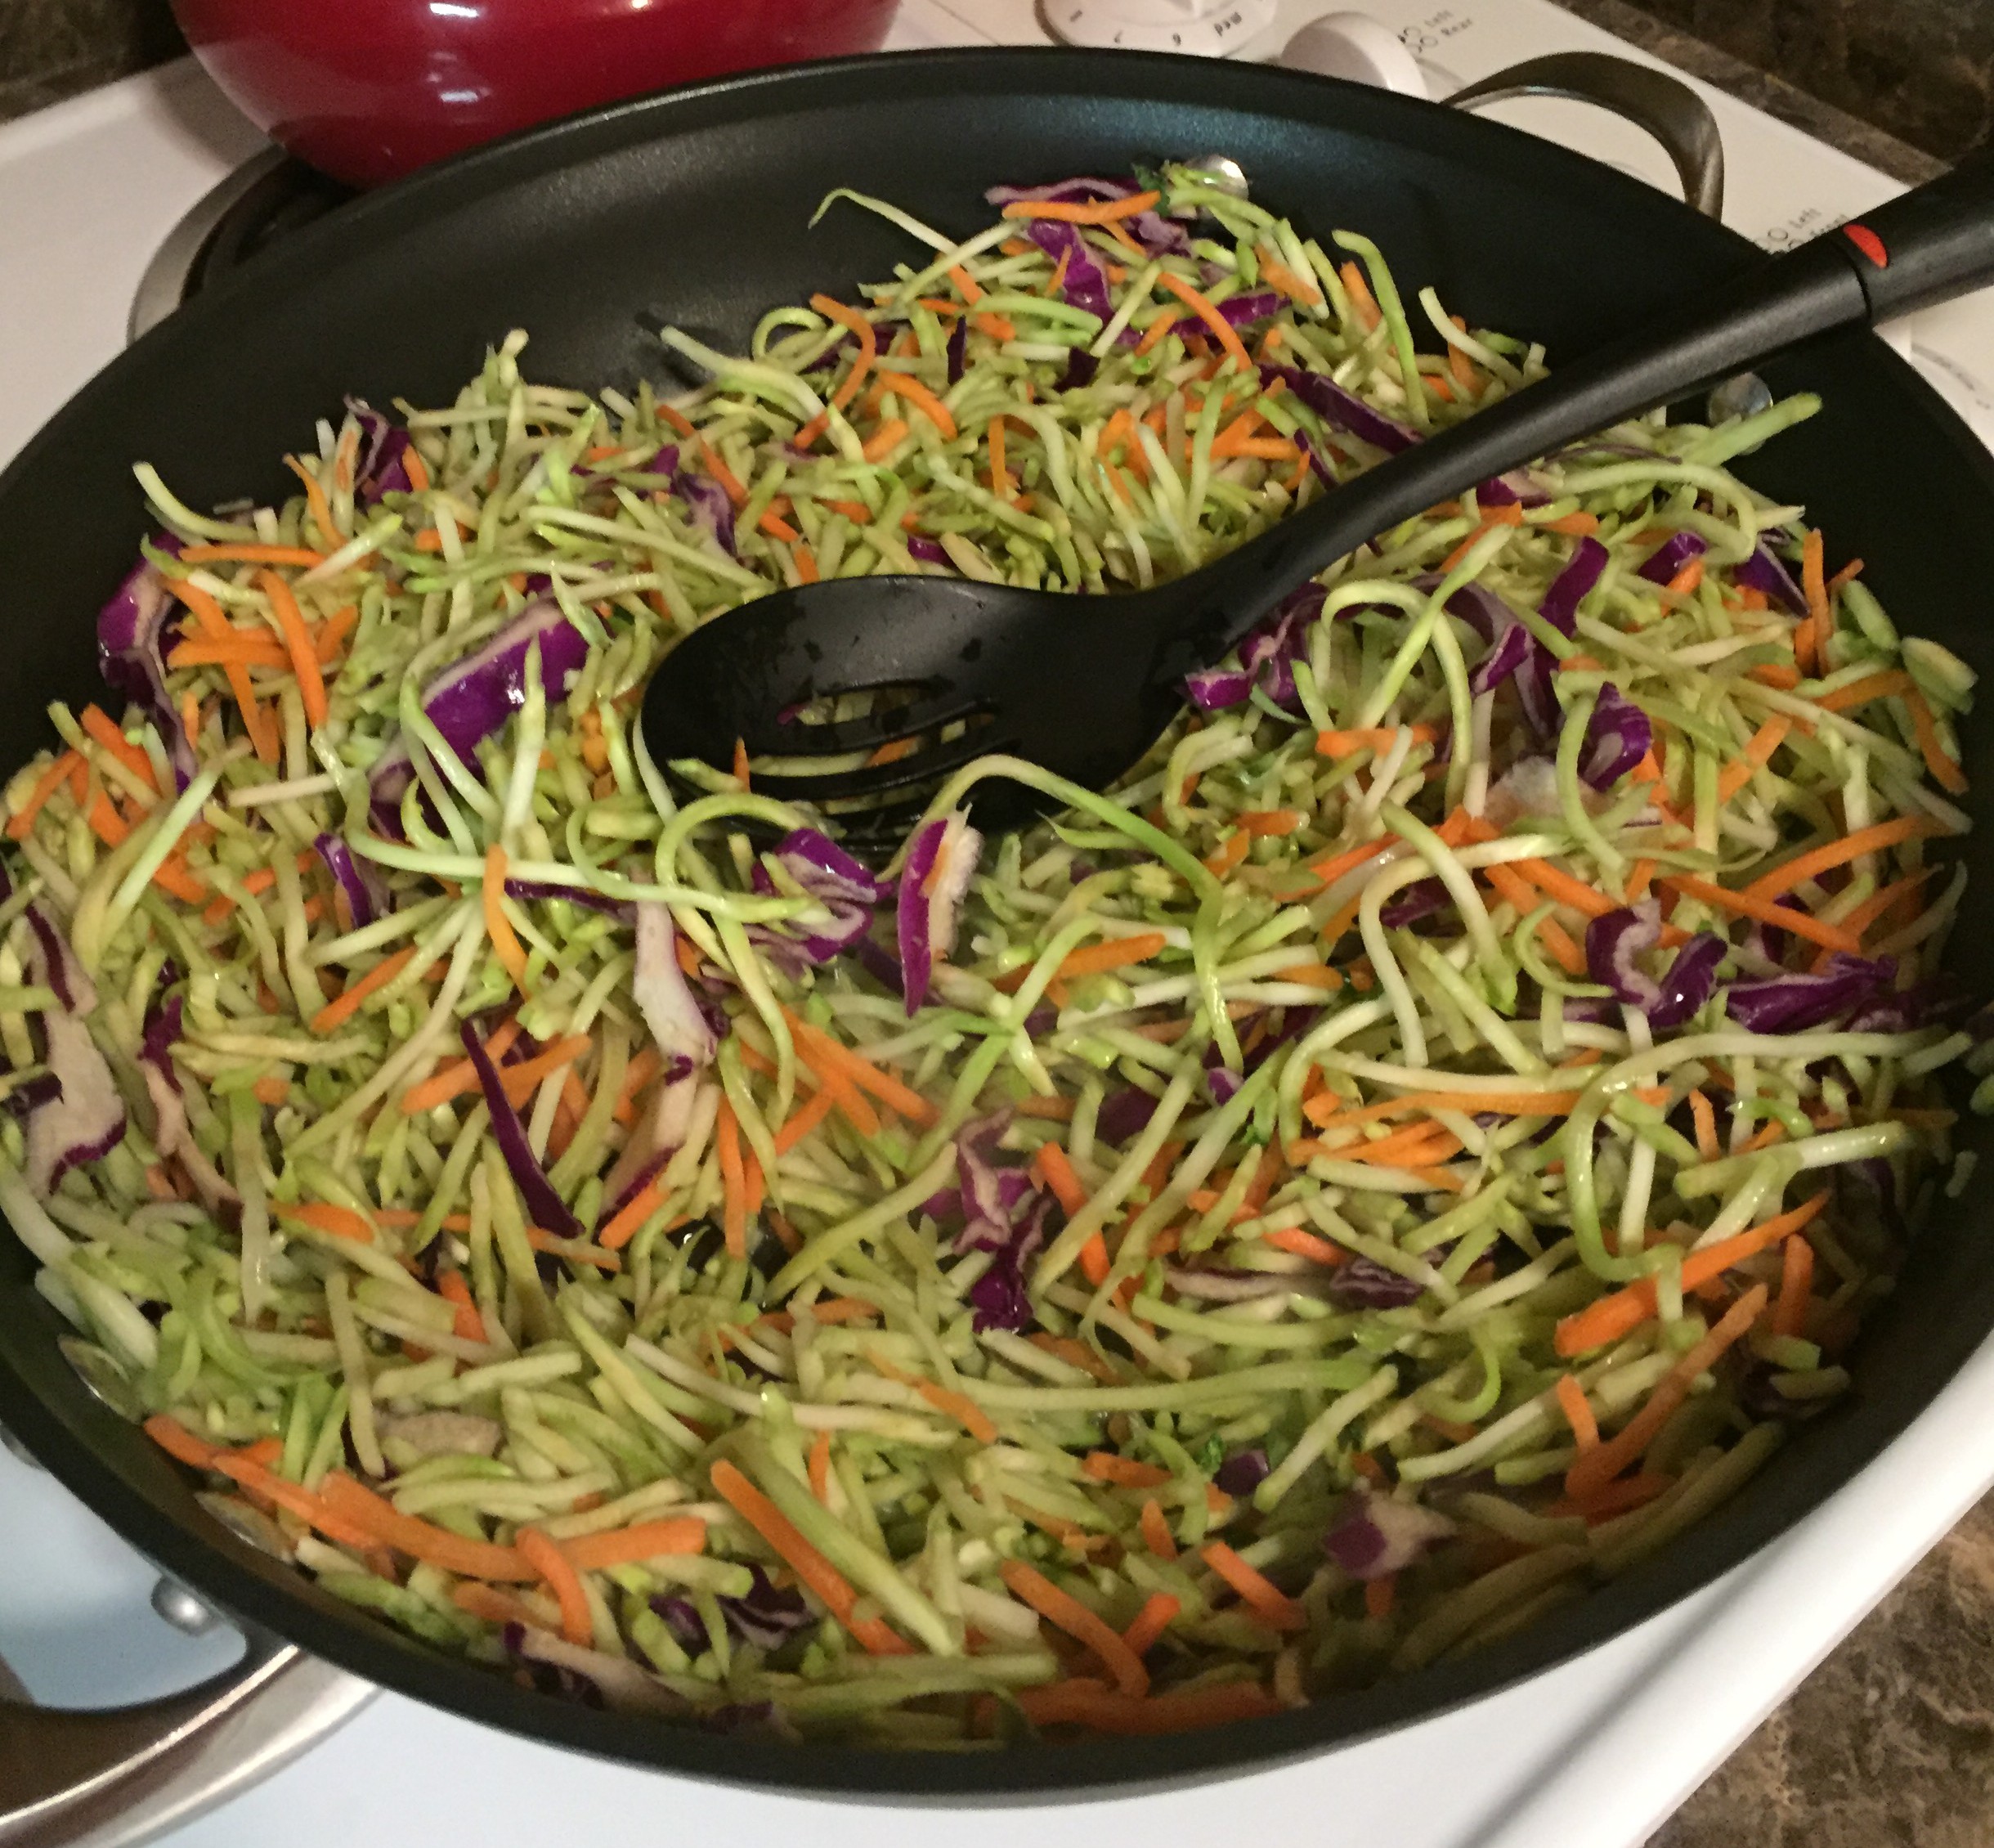
- 2 cups mushrooms, chopped
- 2 cups celery, chopped
- 2 tsp. minced garlic
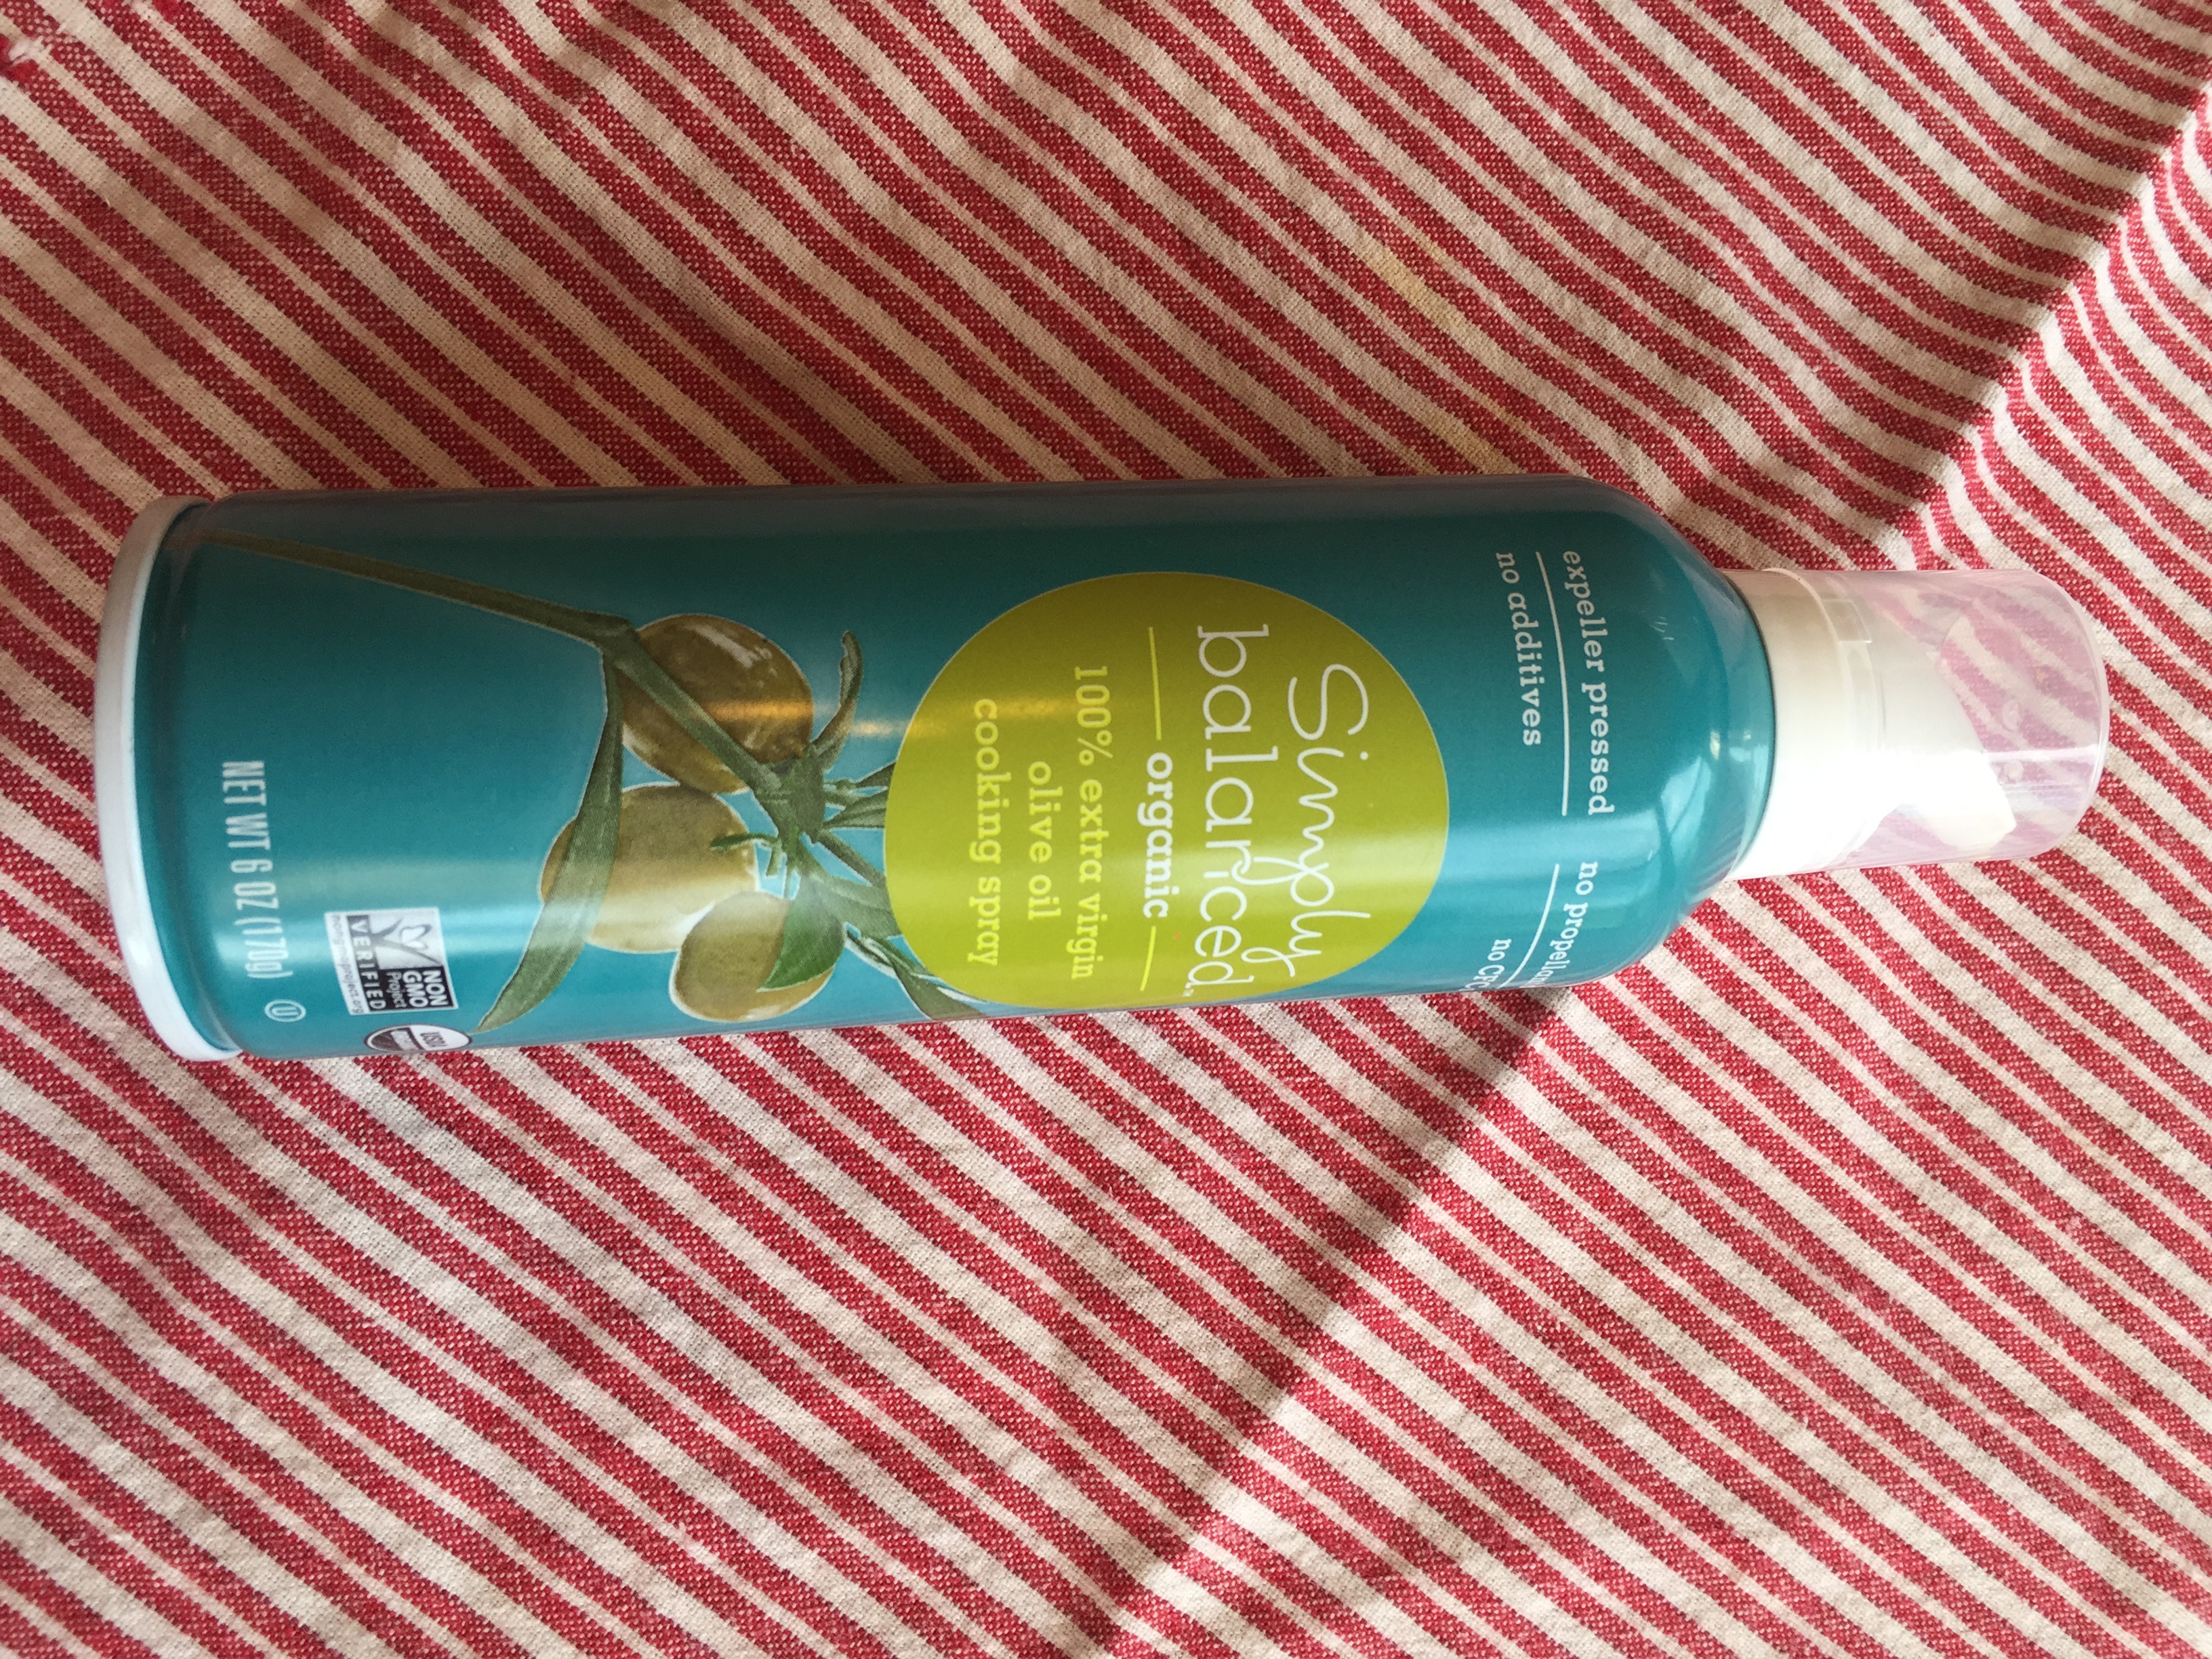
- 1-2 tsp. olive oil
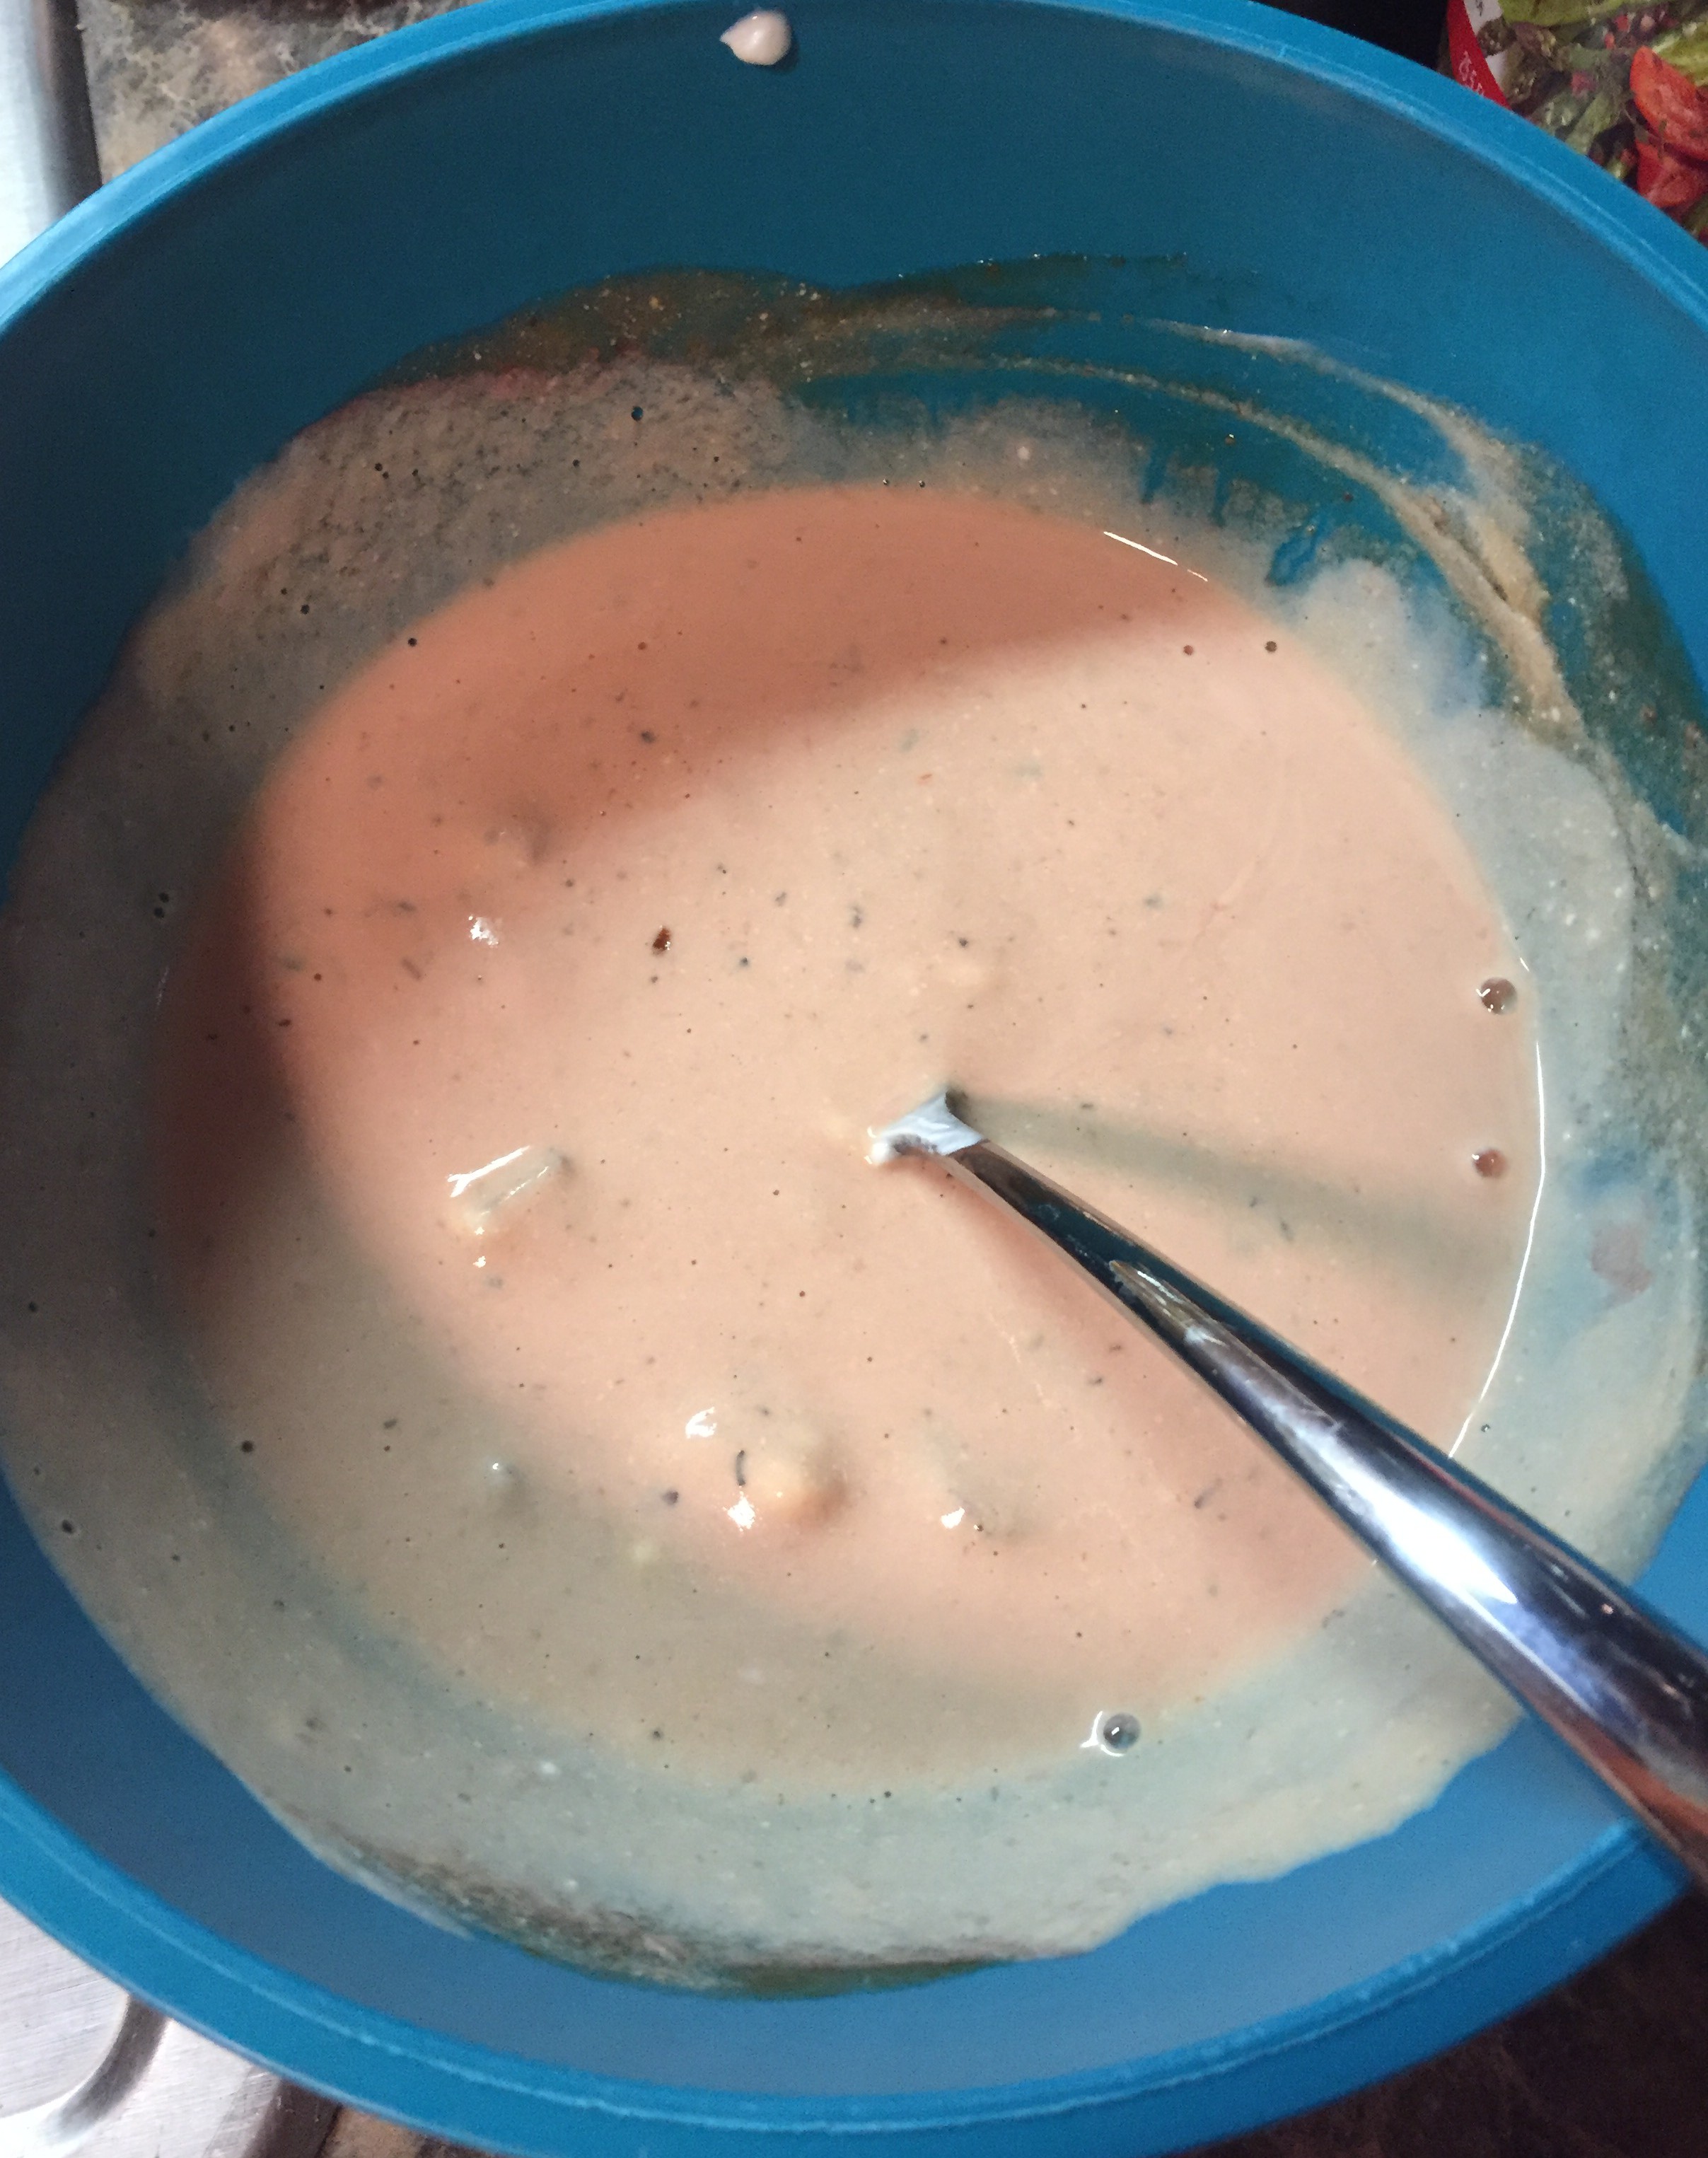
For the filling sauce:
- 1, 29 oz. can tomato sauce
- Just sauce—not seasoned, not sweetened—it should just be tomato puree!
- 4 tsp. Italian seasoning
- 2 tsp. oregano
- 1 tsp. crushed red pepper
- 1 tsp. garlic powder
- 1 tsp. onion powder
- ¼ tsp salt
For the love of cheese:
- 1 cup mozzarella or parmesan cheese, shredded
Directions:
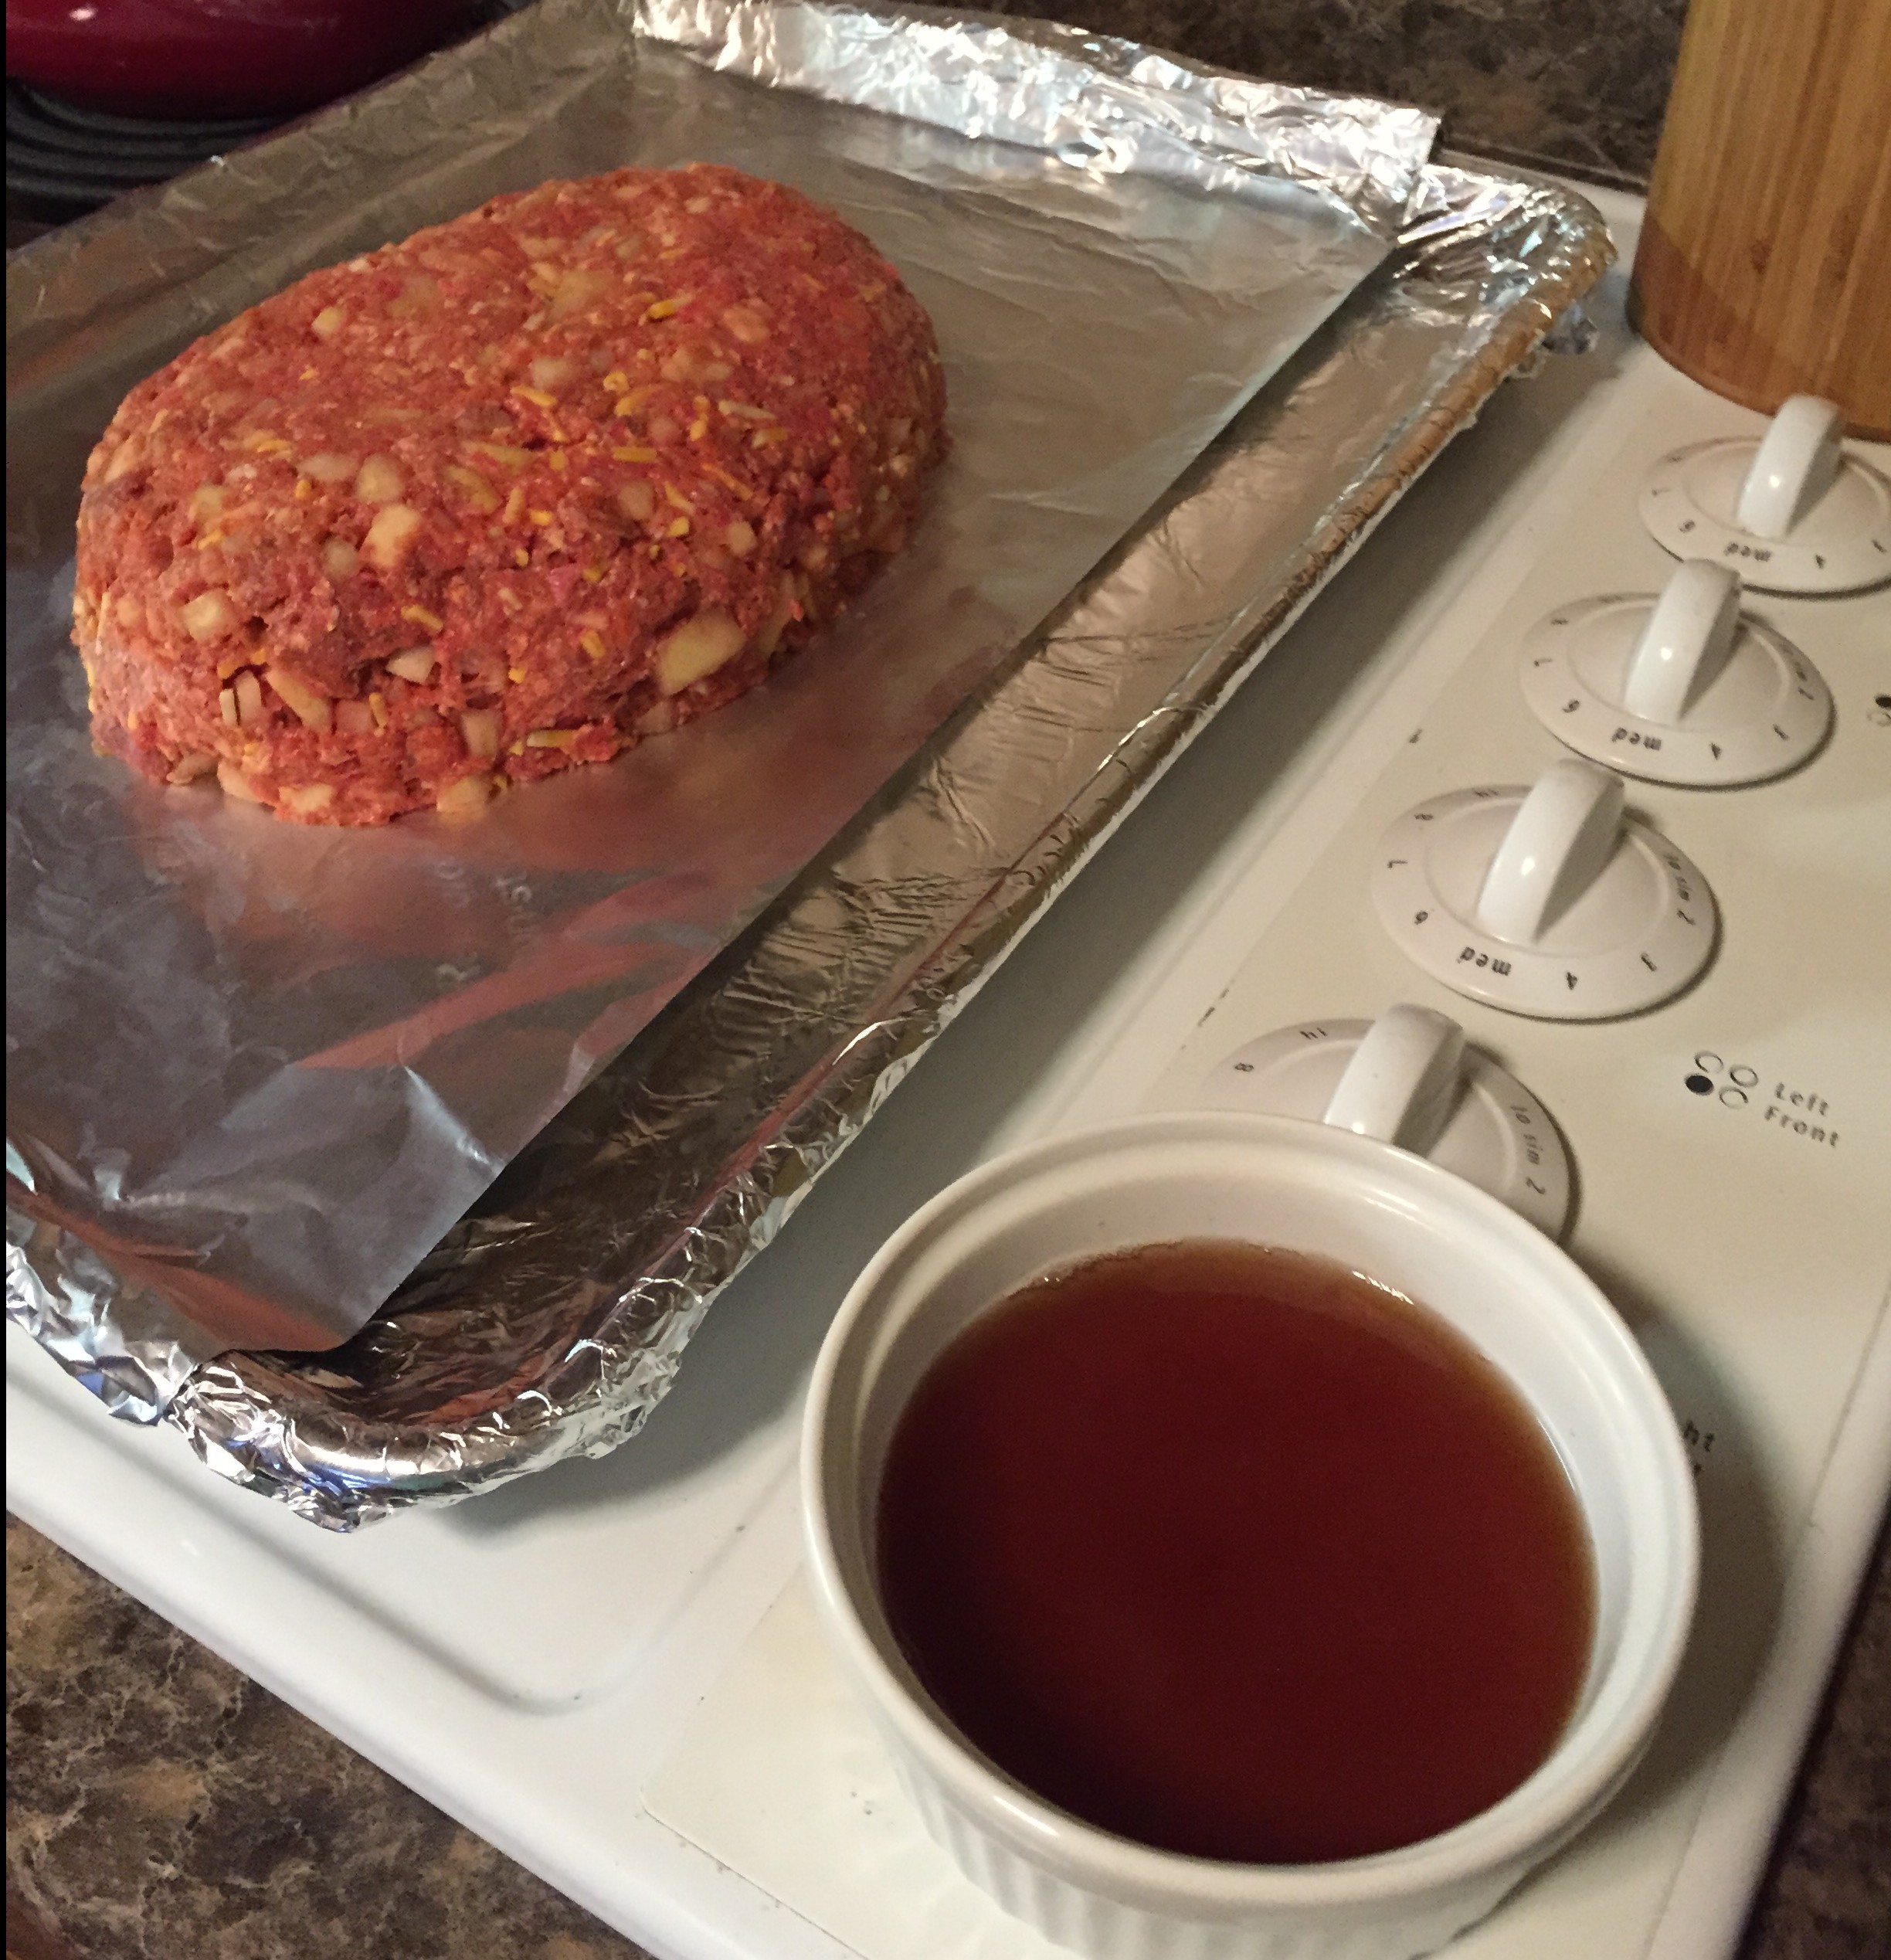
First, get everything prepped:
- Preheat oven to 350 degrees F
- Chop/prepare all veggies, set aside
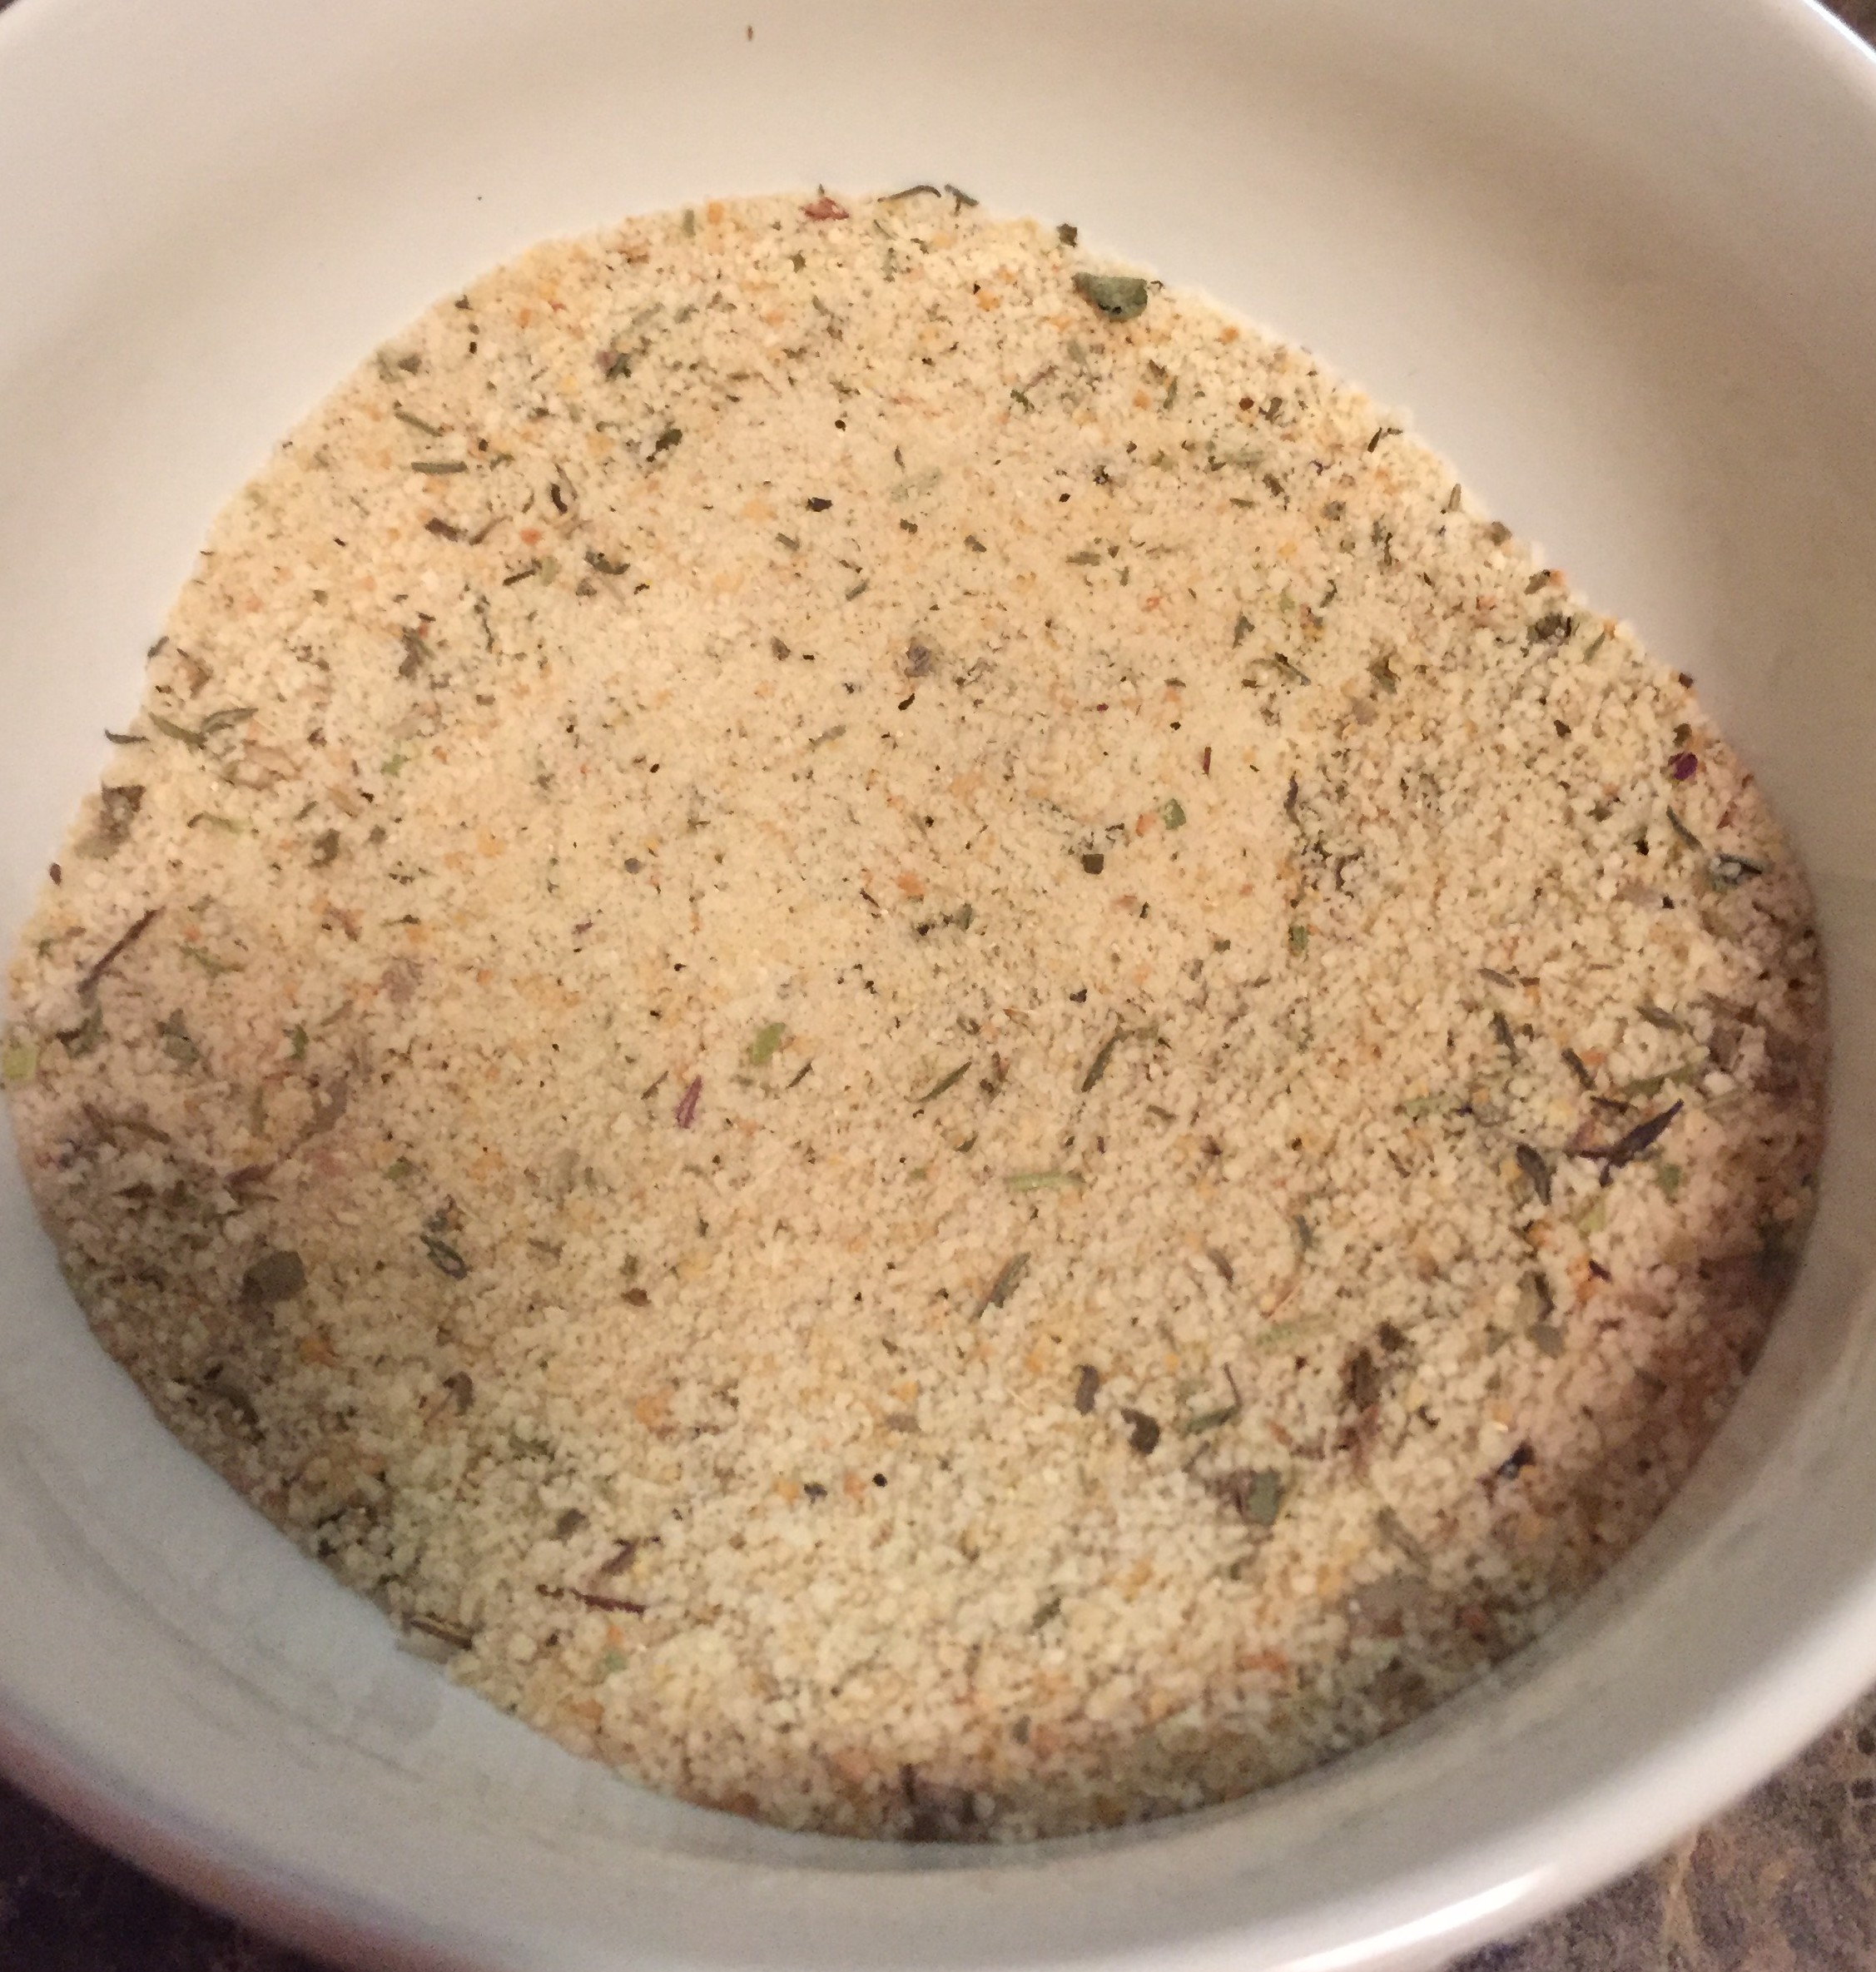
- Measure out all spices in a separate dish, set aside
- Spray and oven-safe dish with cooking spray and place prepared peppers in dish, set aside


Next, make your filling base:
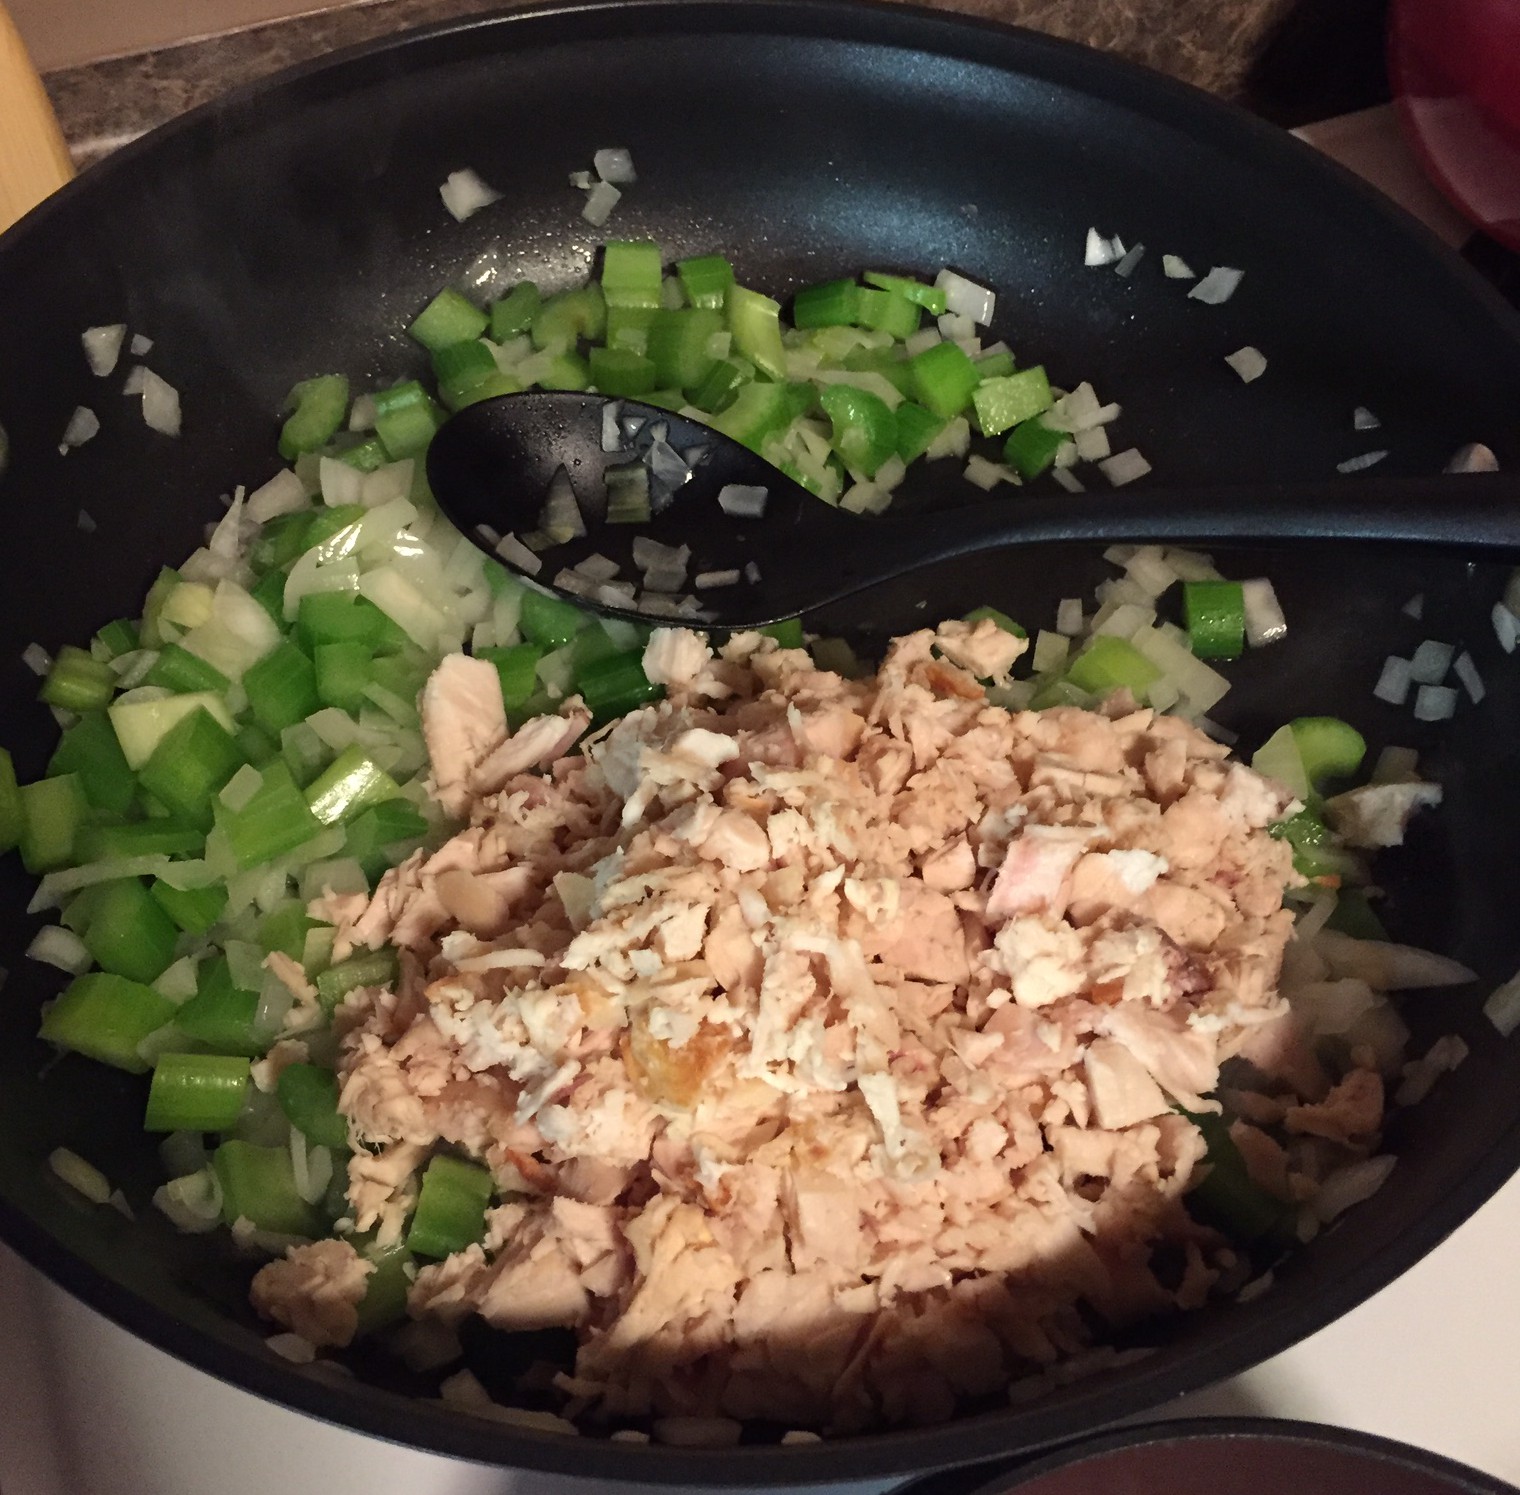
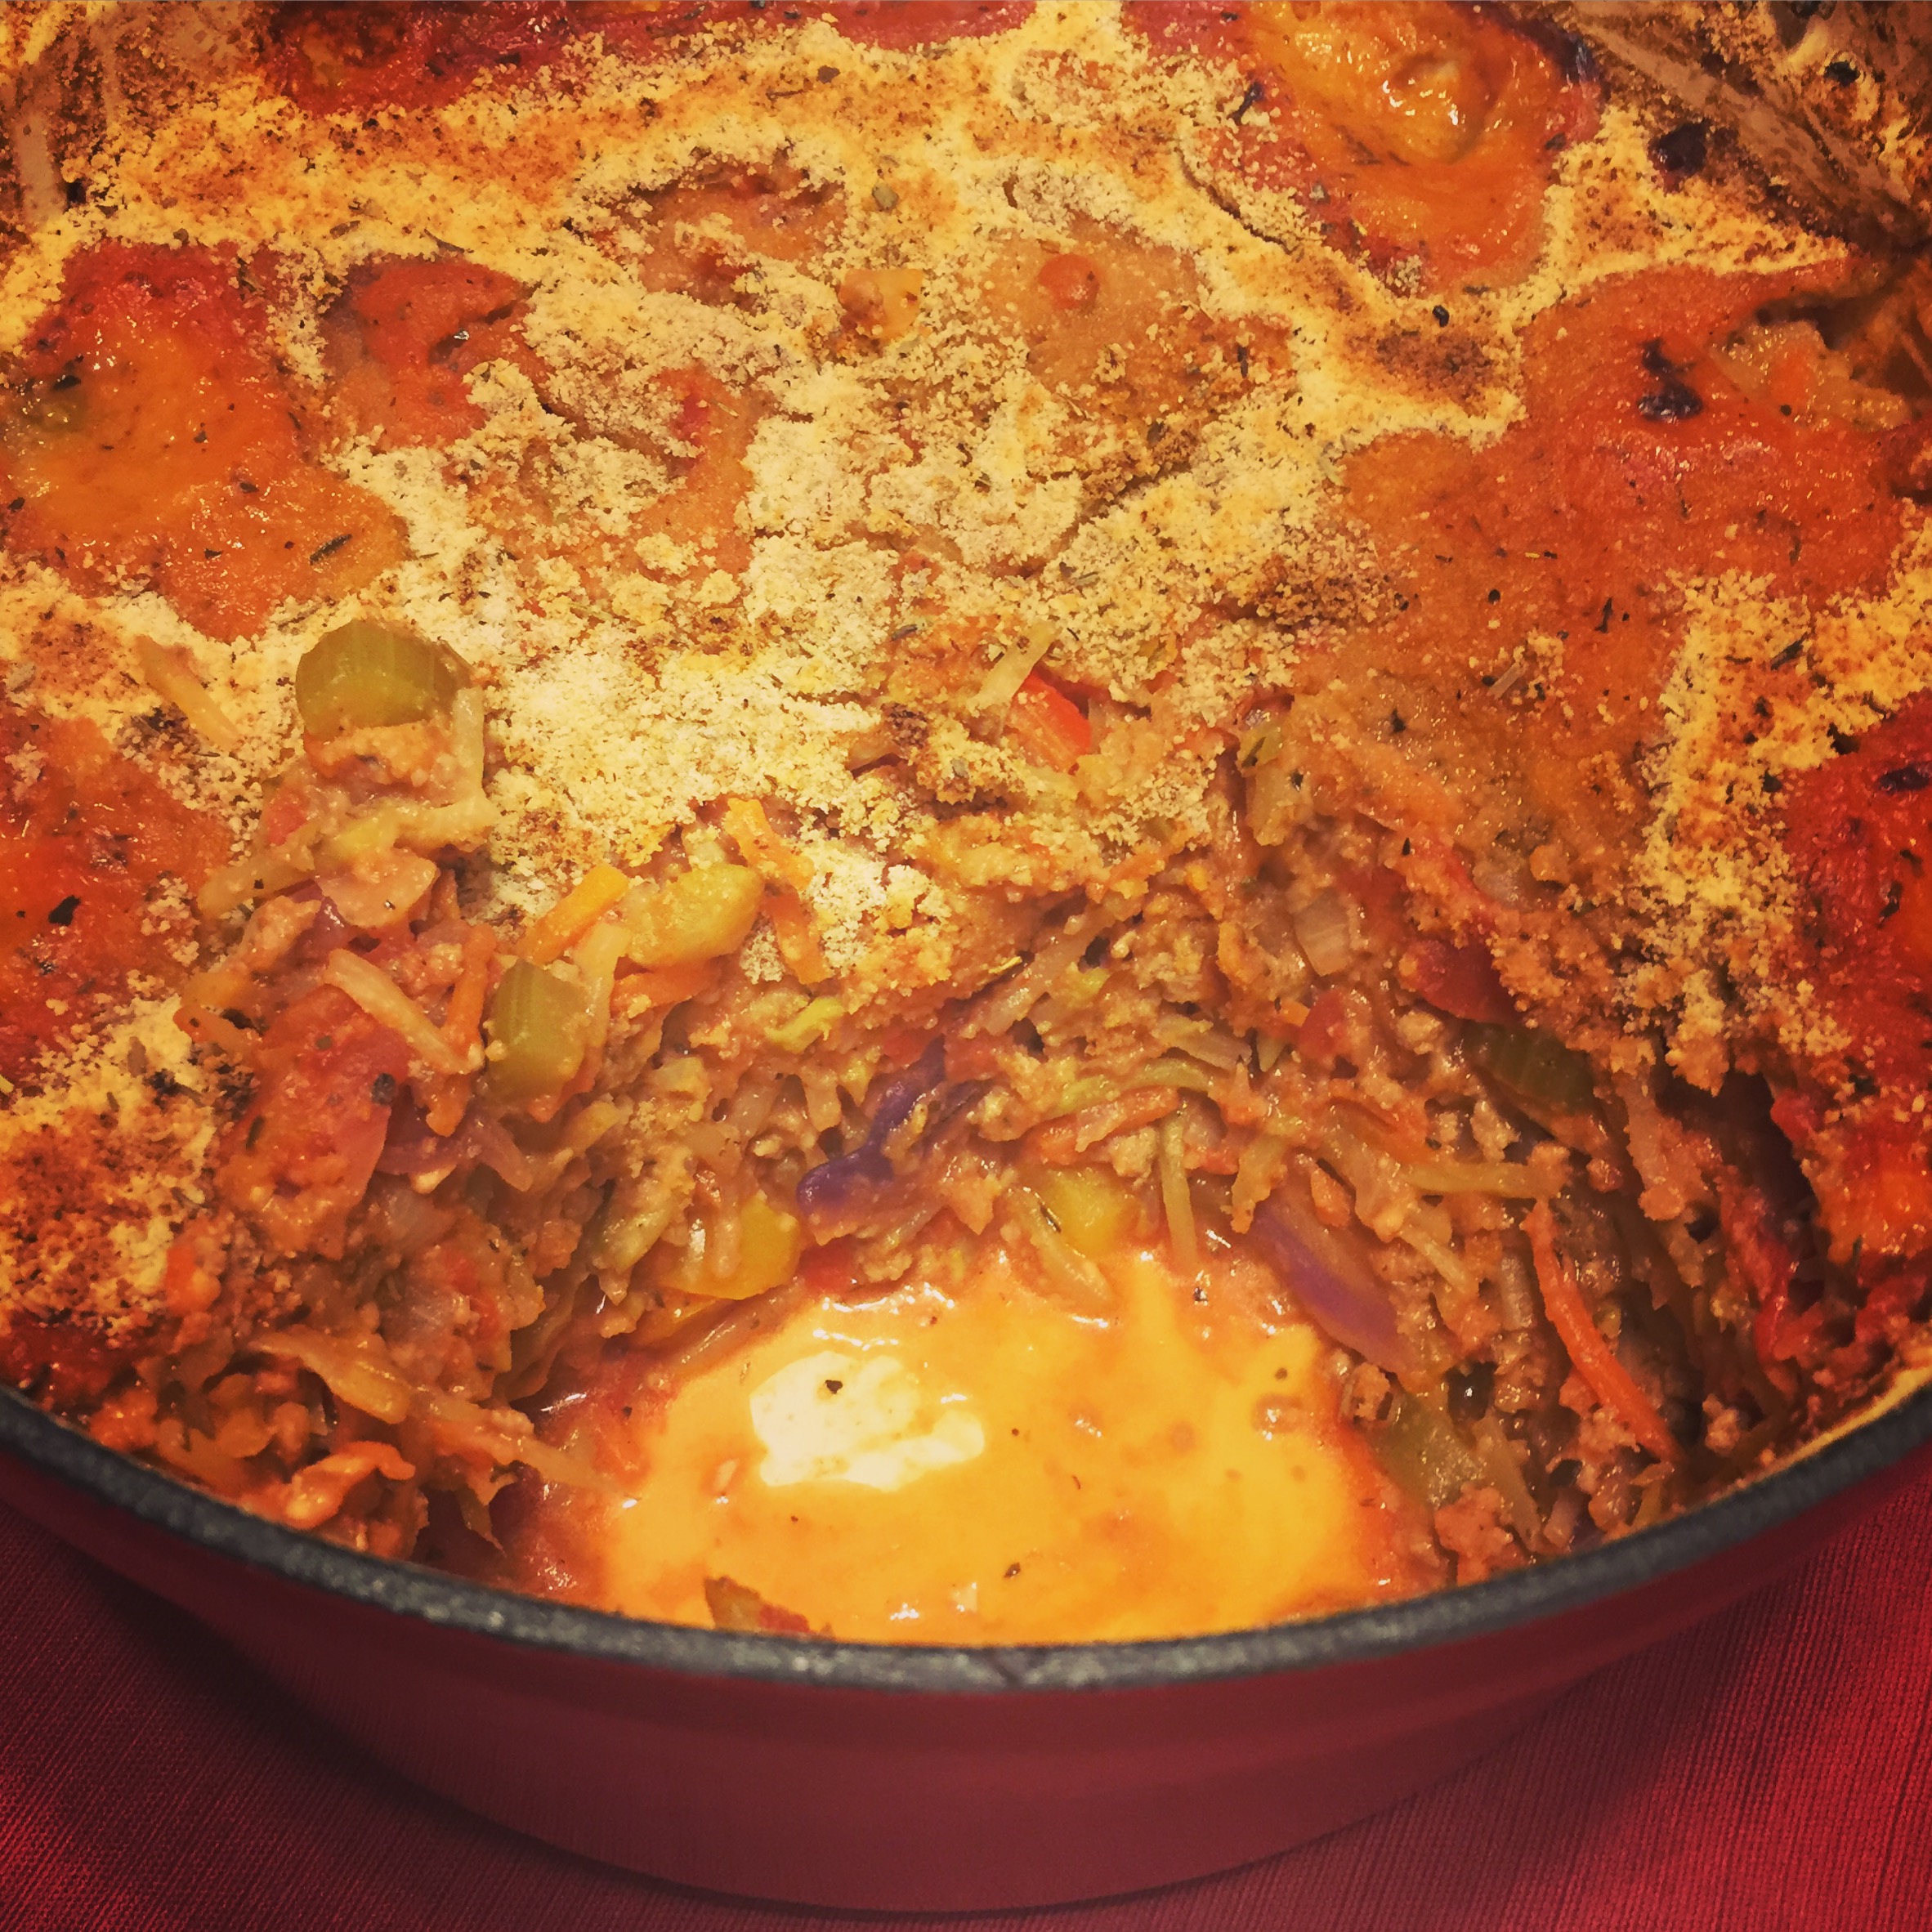
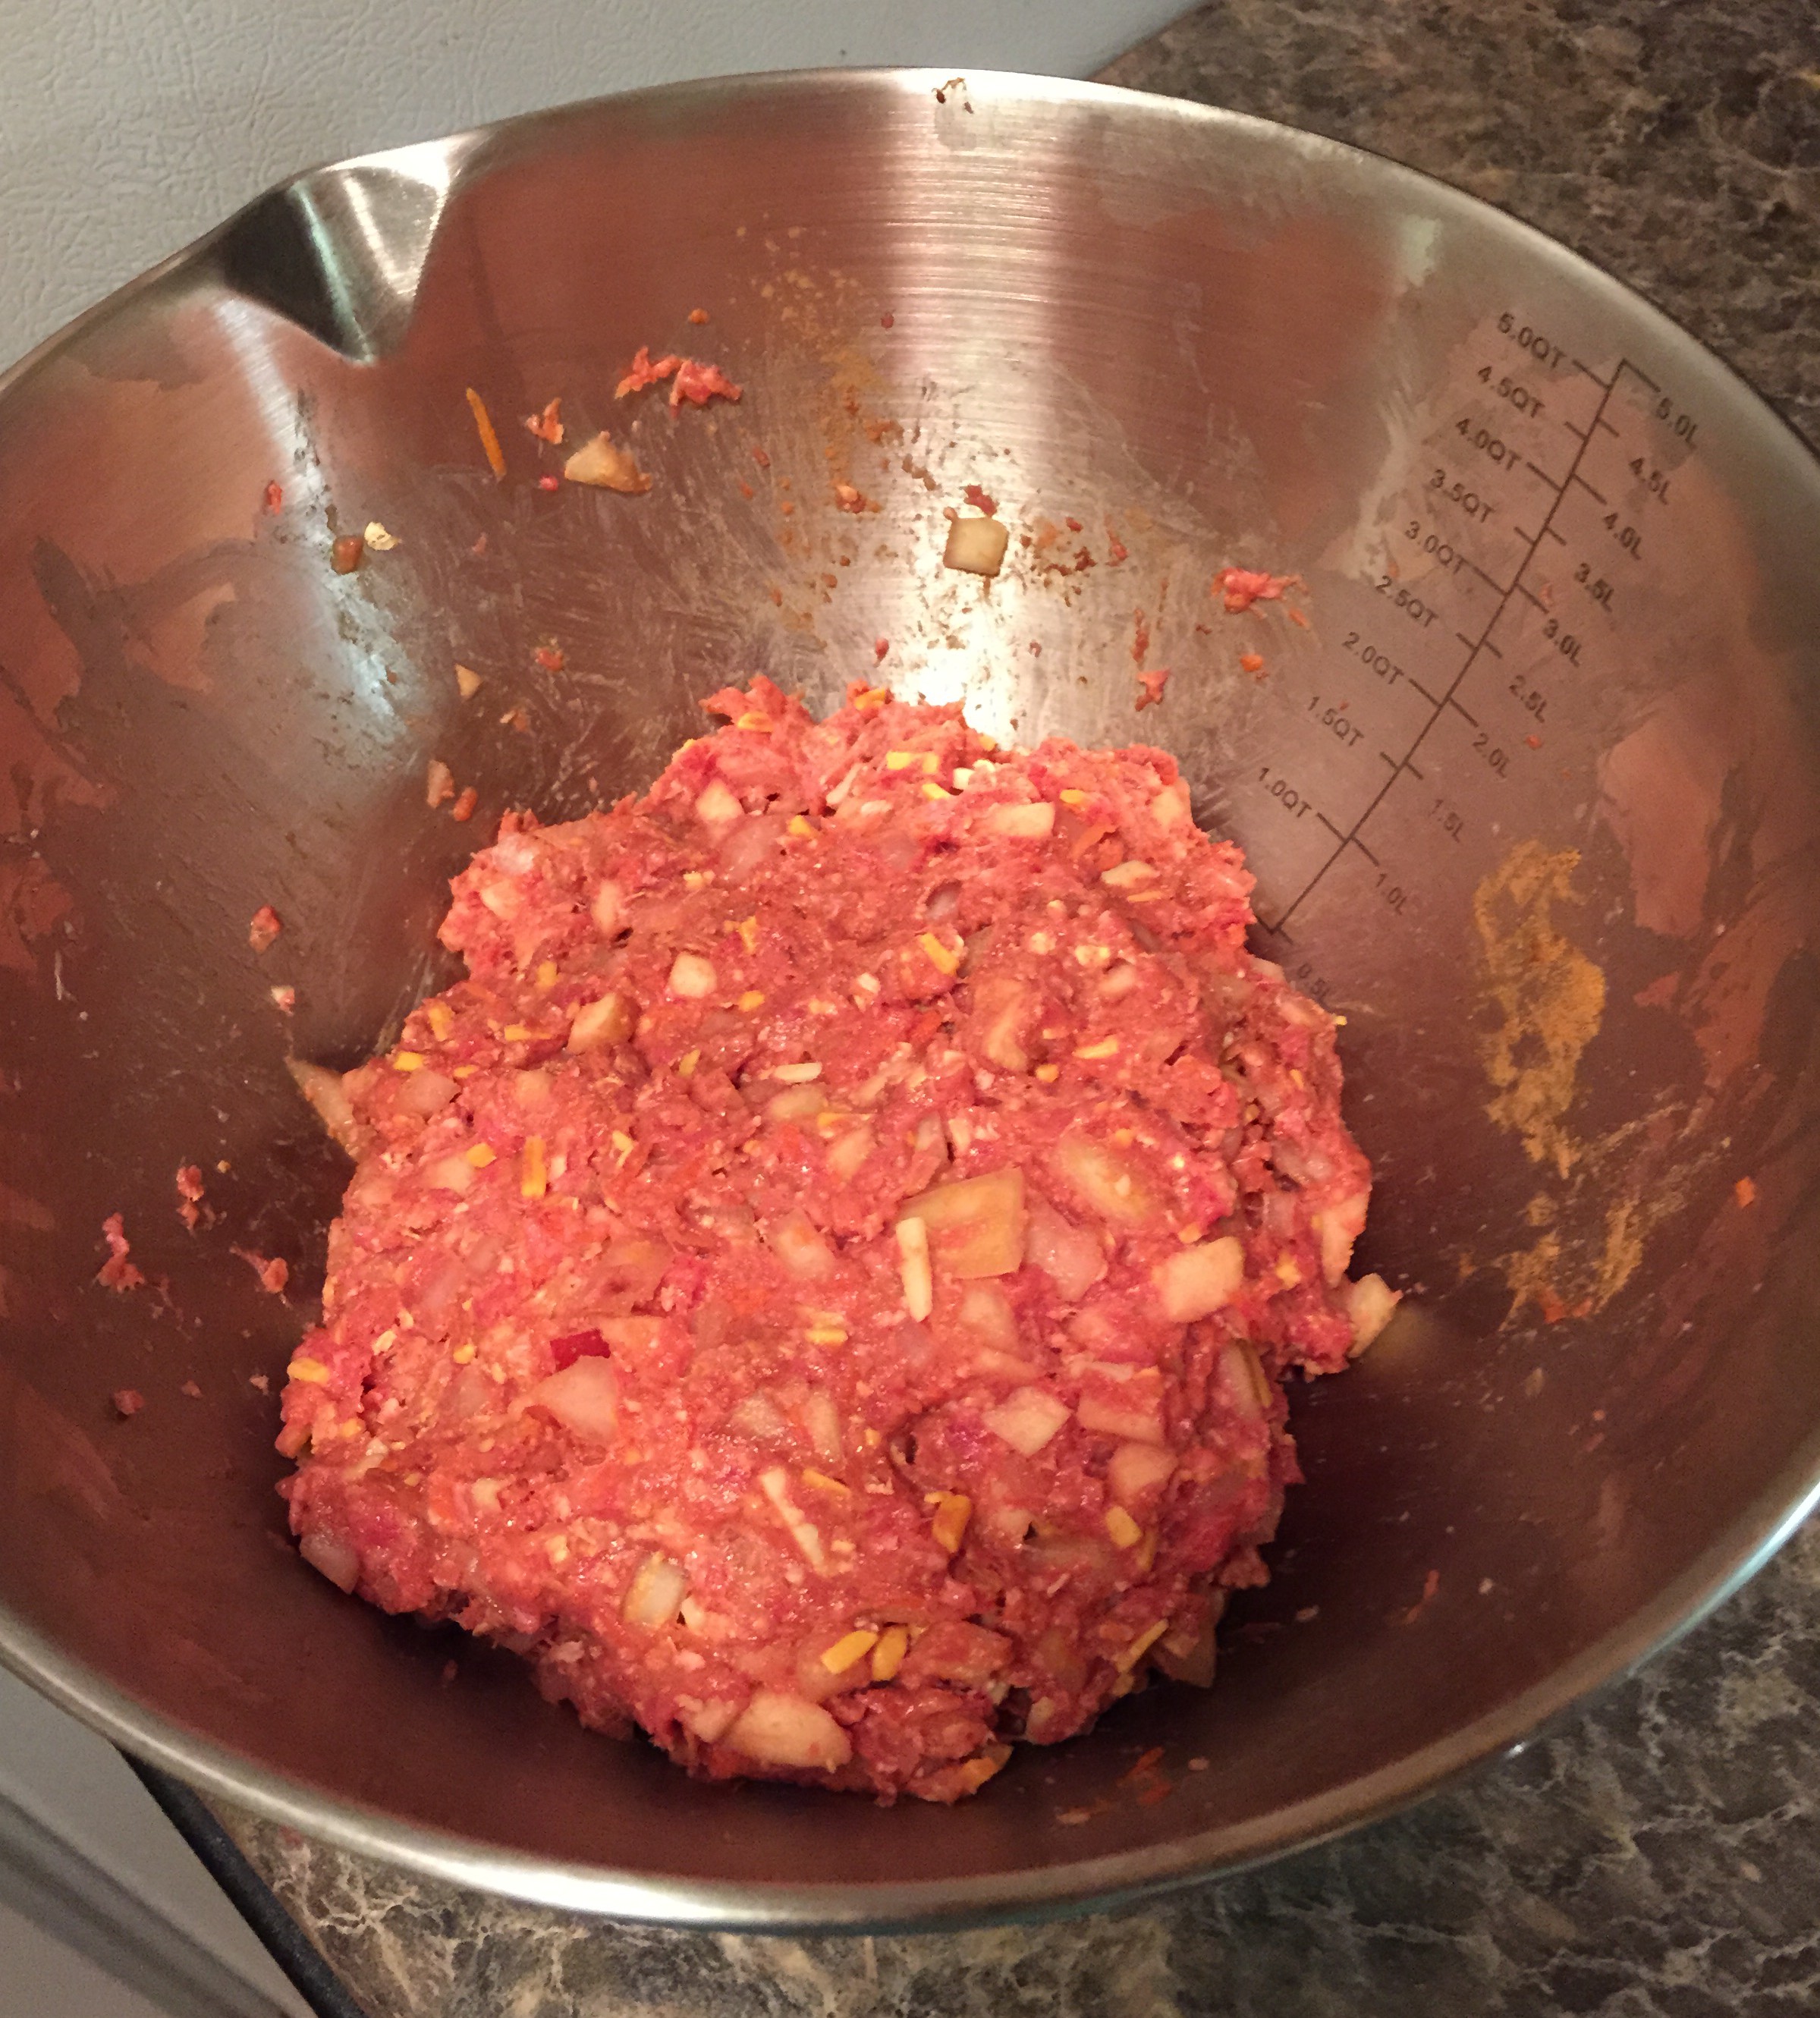
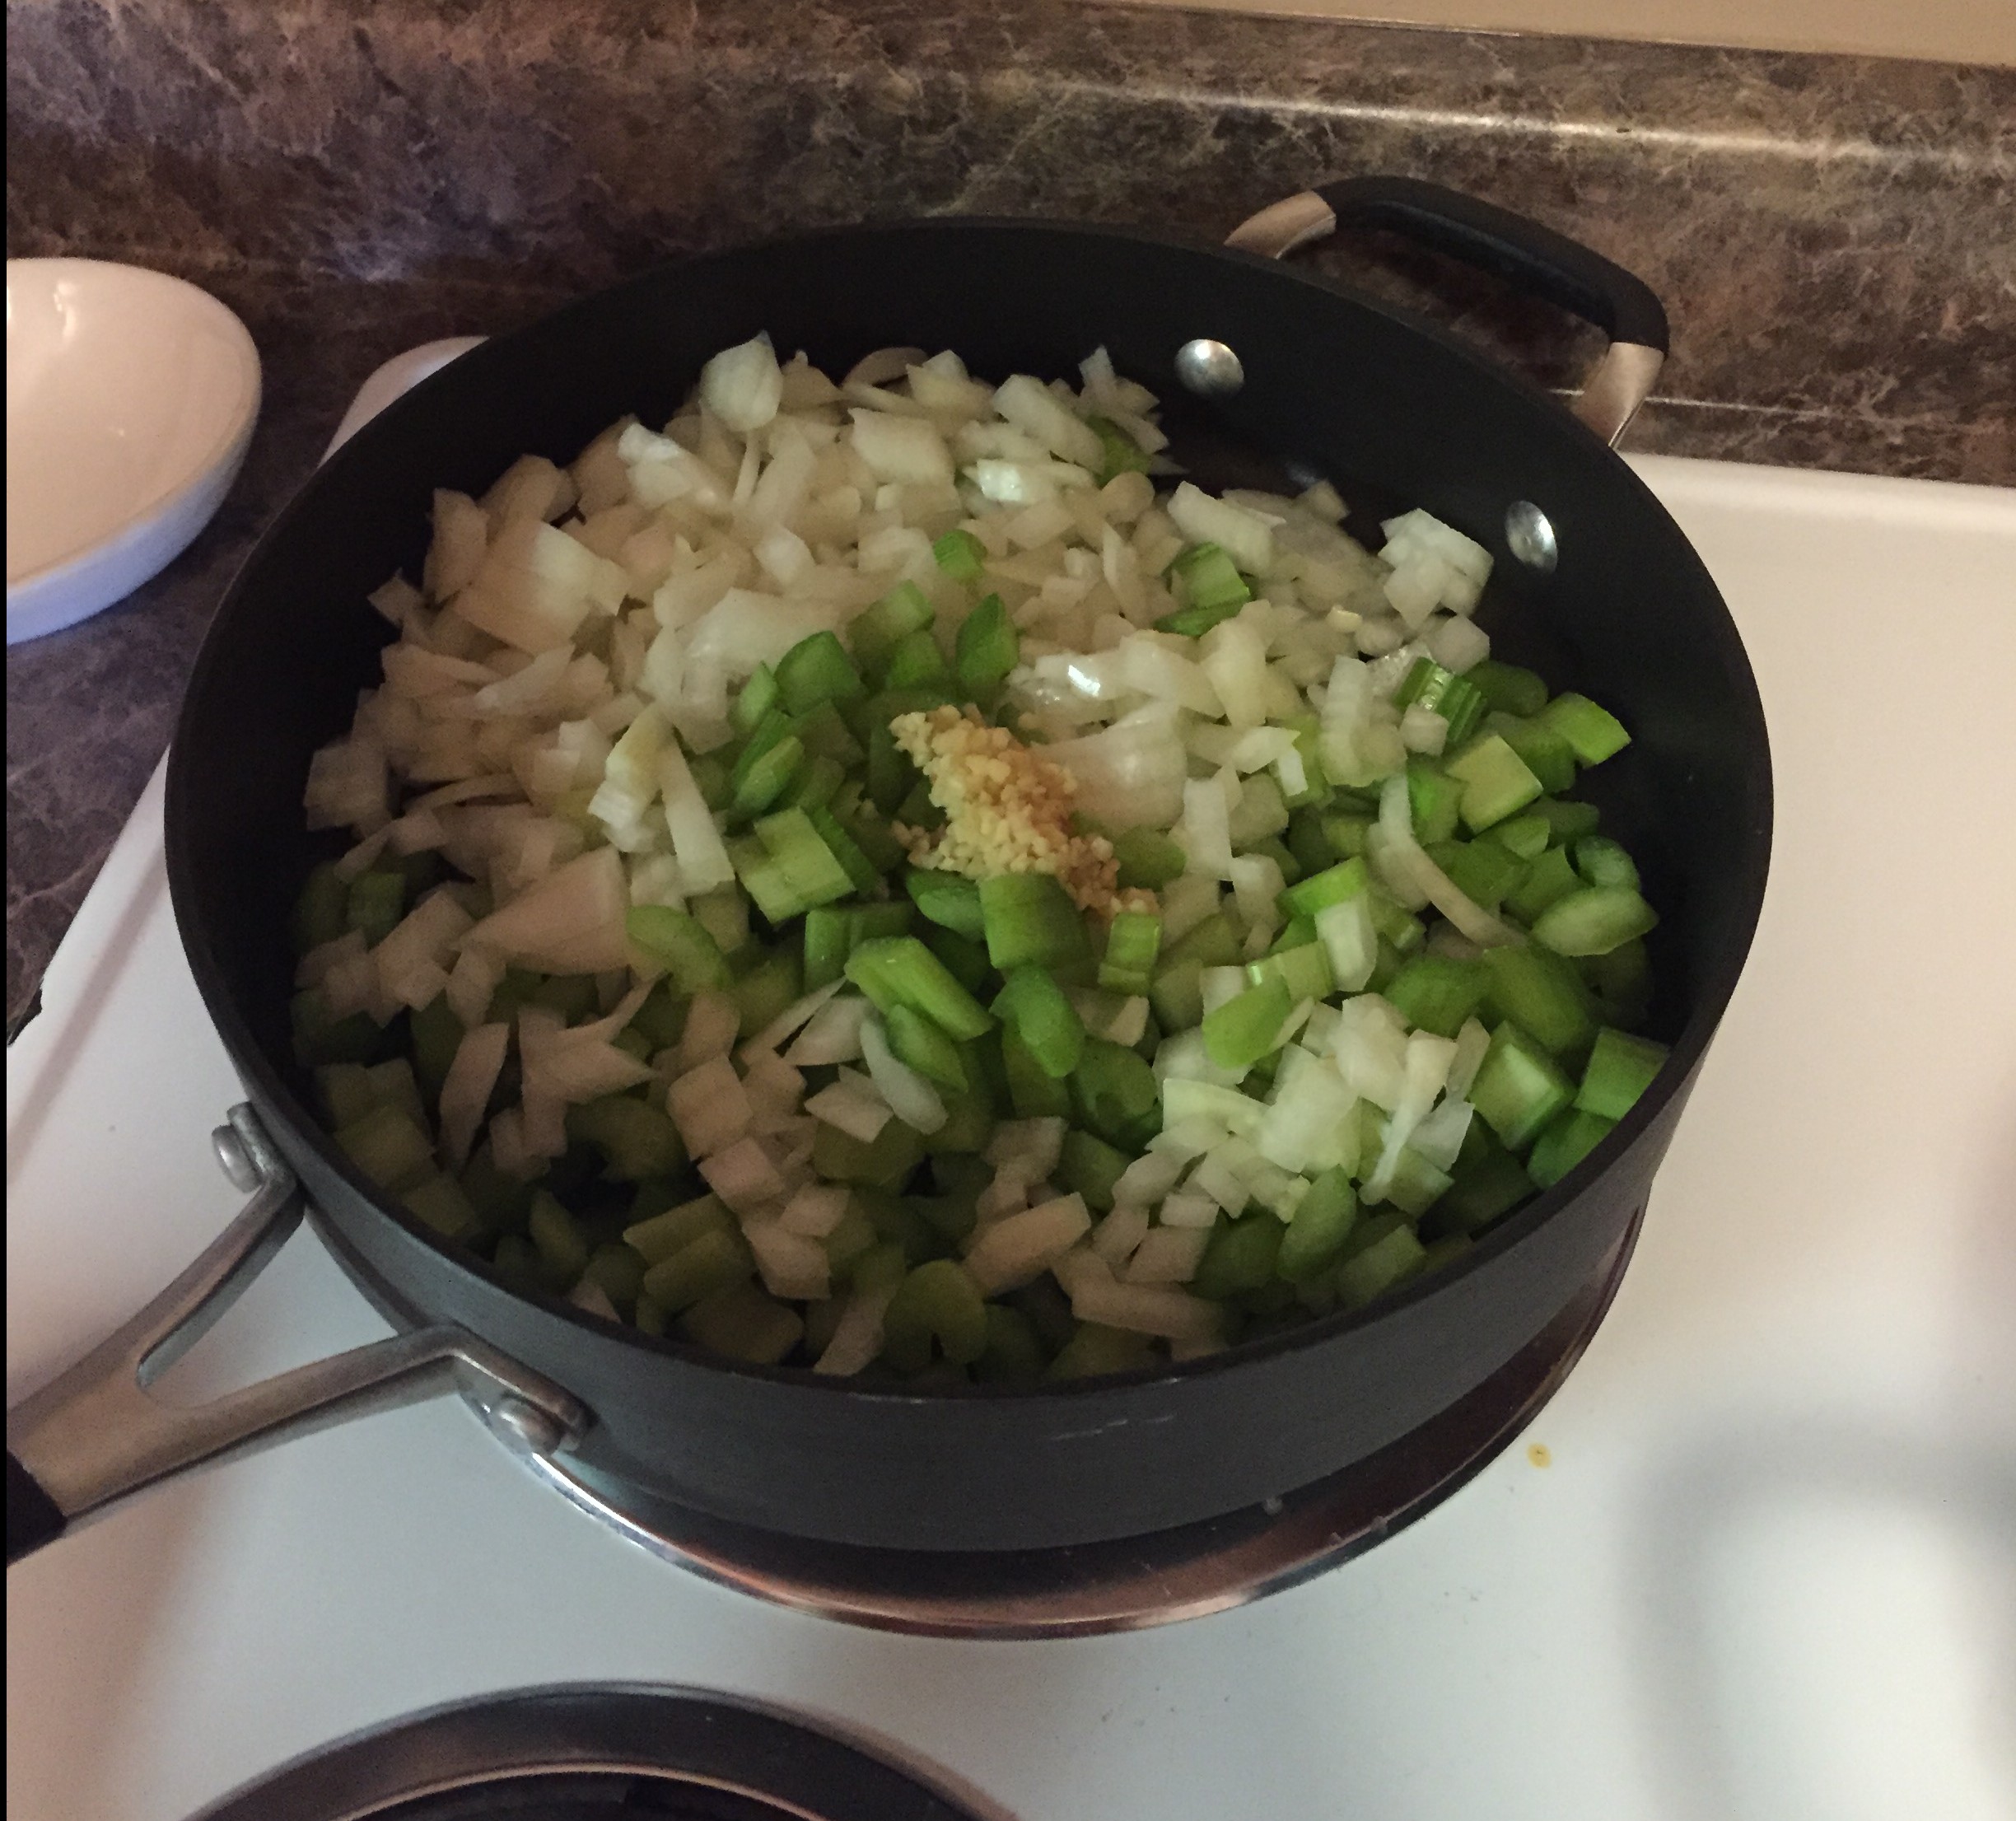
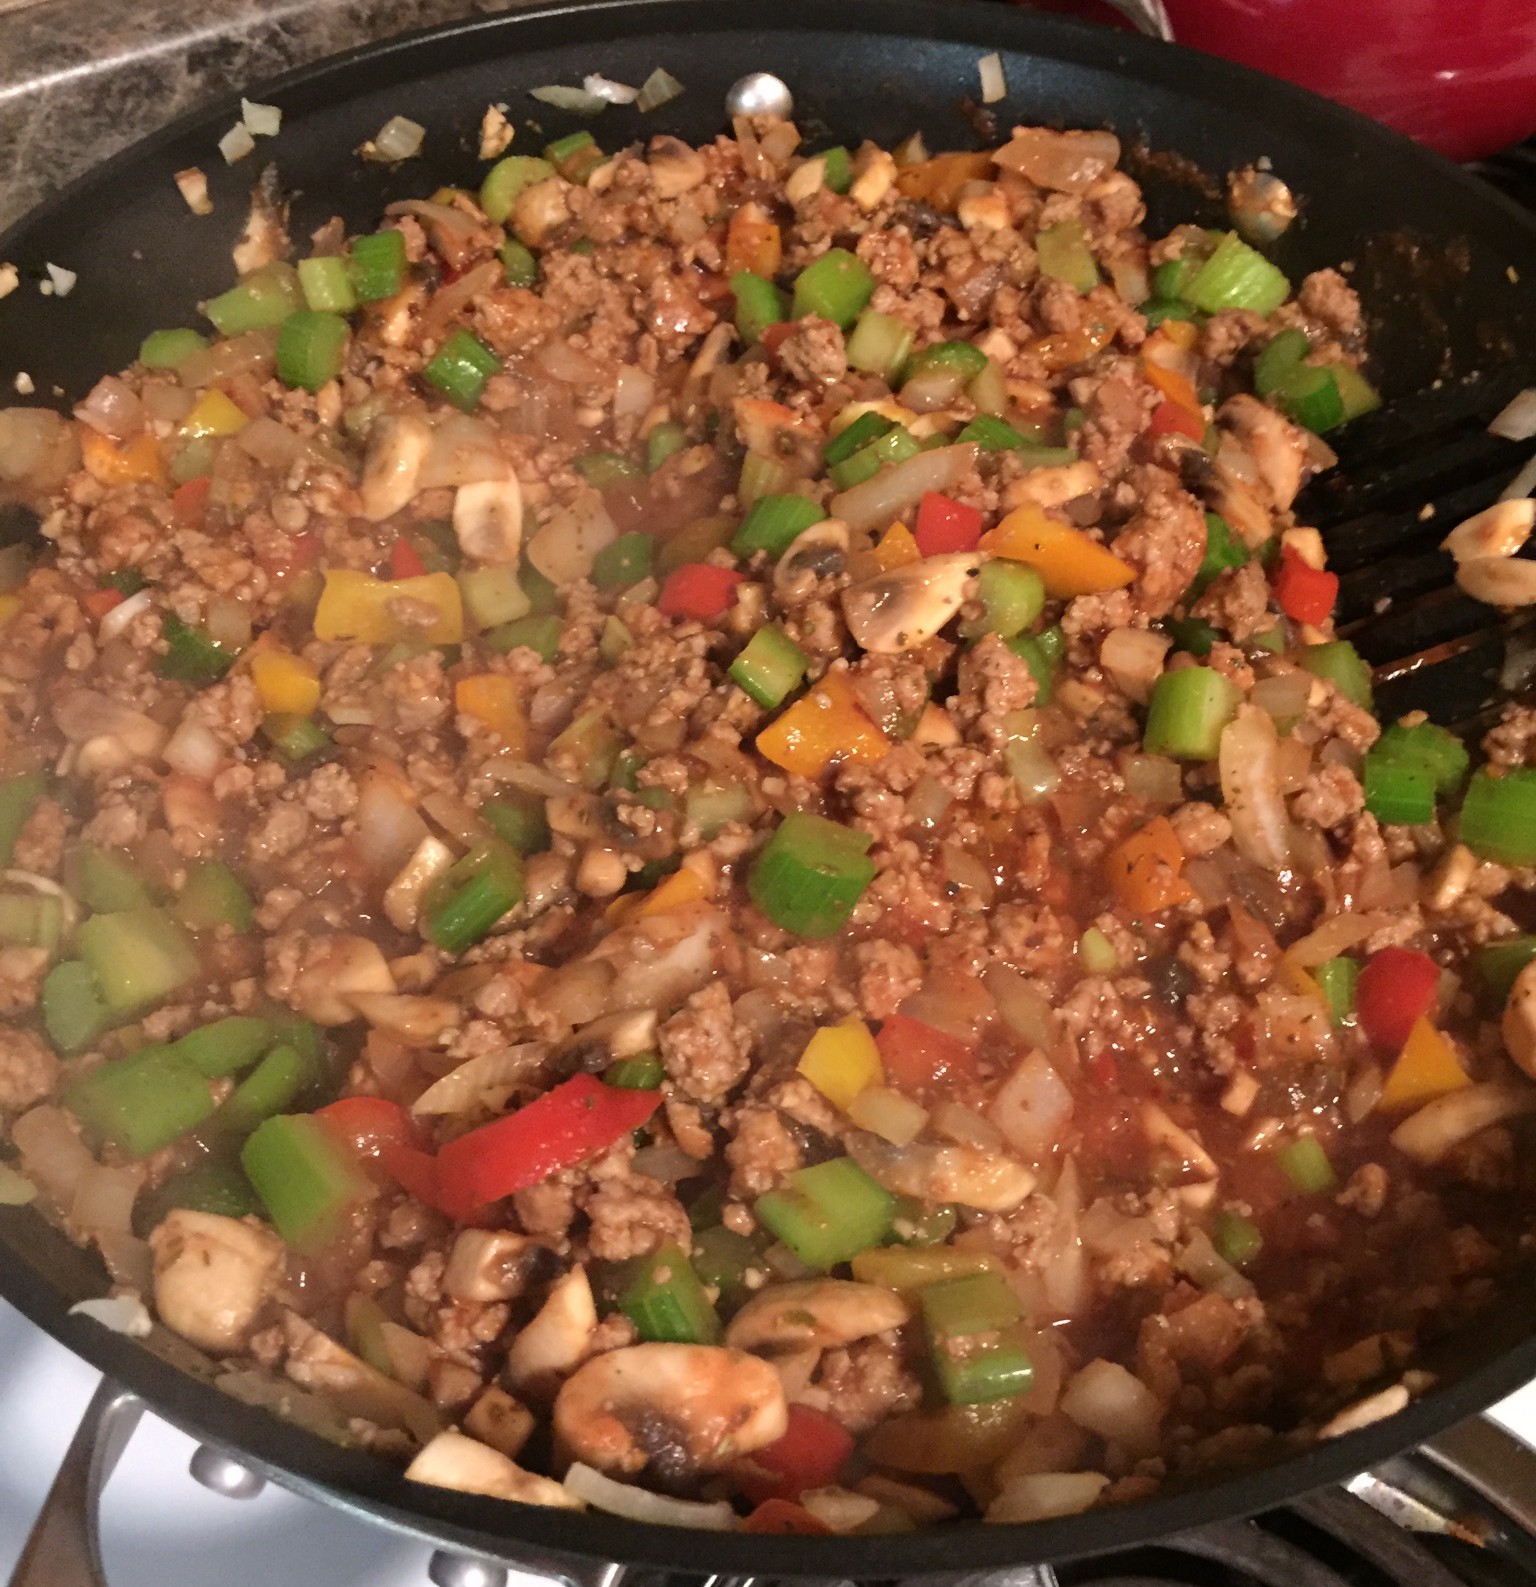
- Brown ground turkey in a large enough pan and/or stock pot that can hold all ingredients once completed
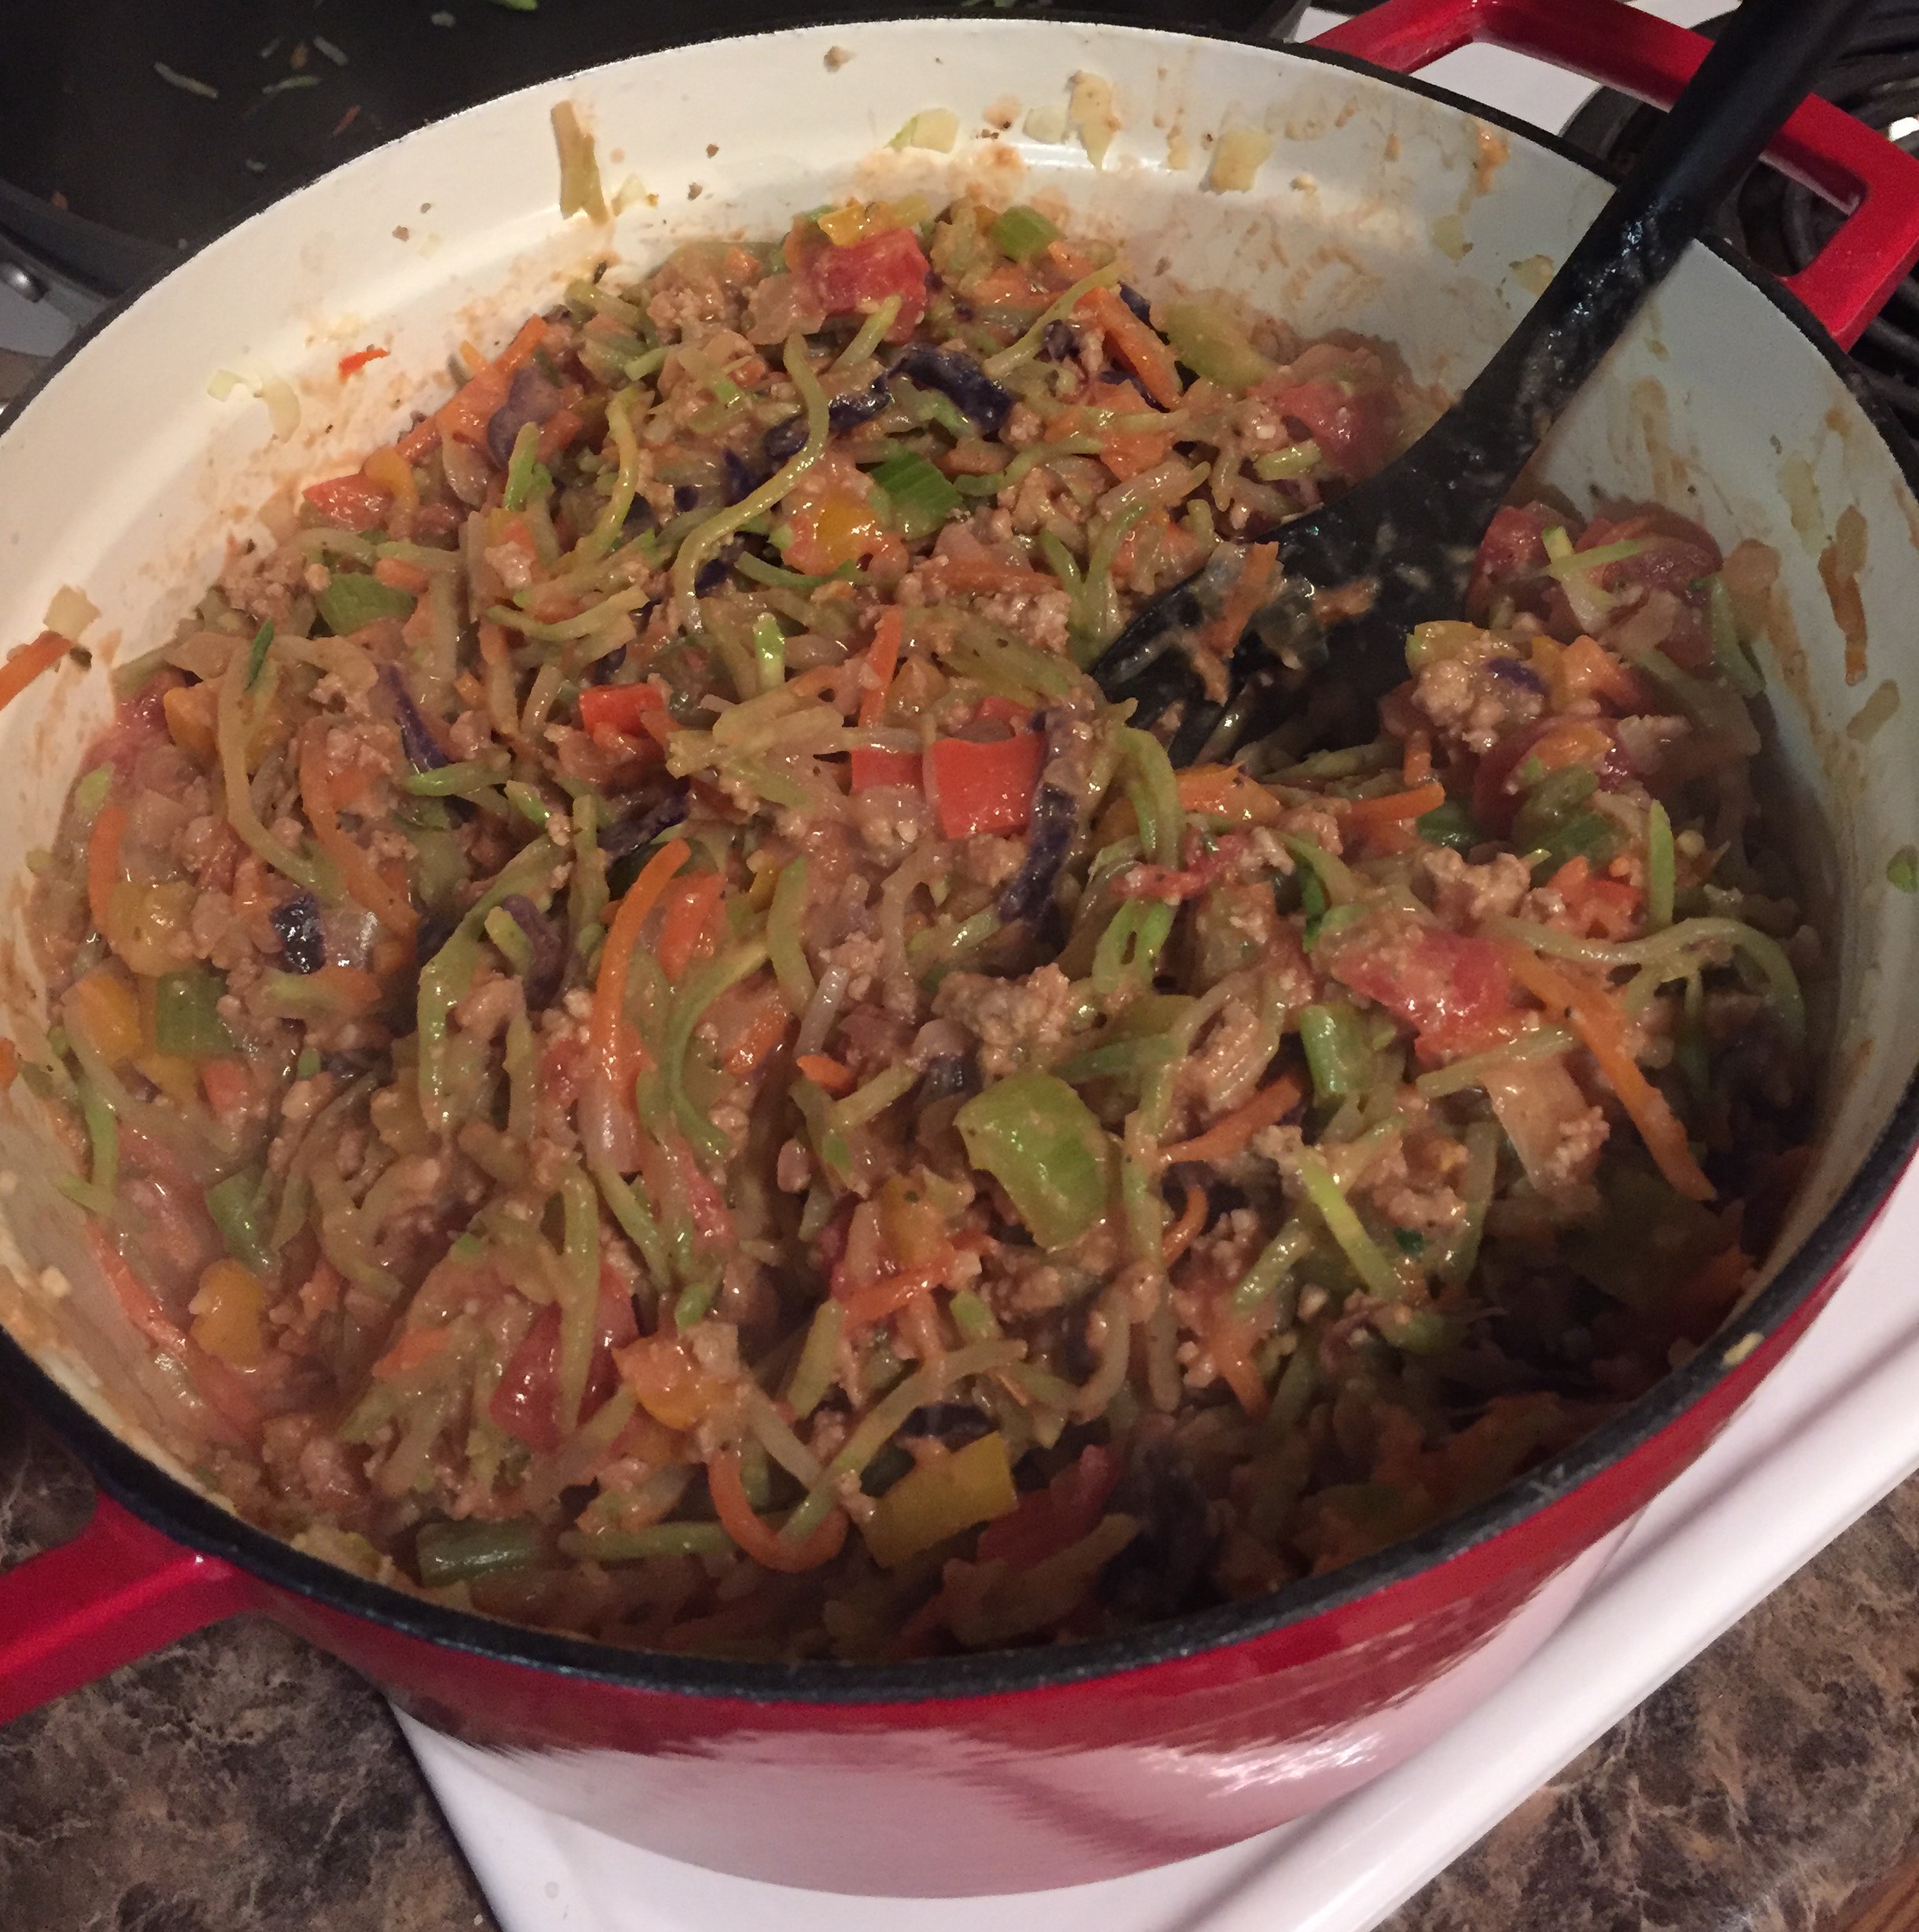
- Once just browned, add in celery, onion, mushrooms, garlic, and olive oil and cook until softened

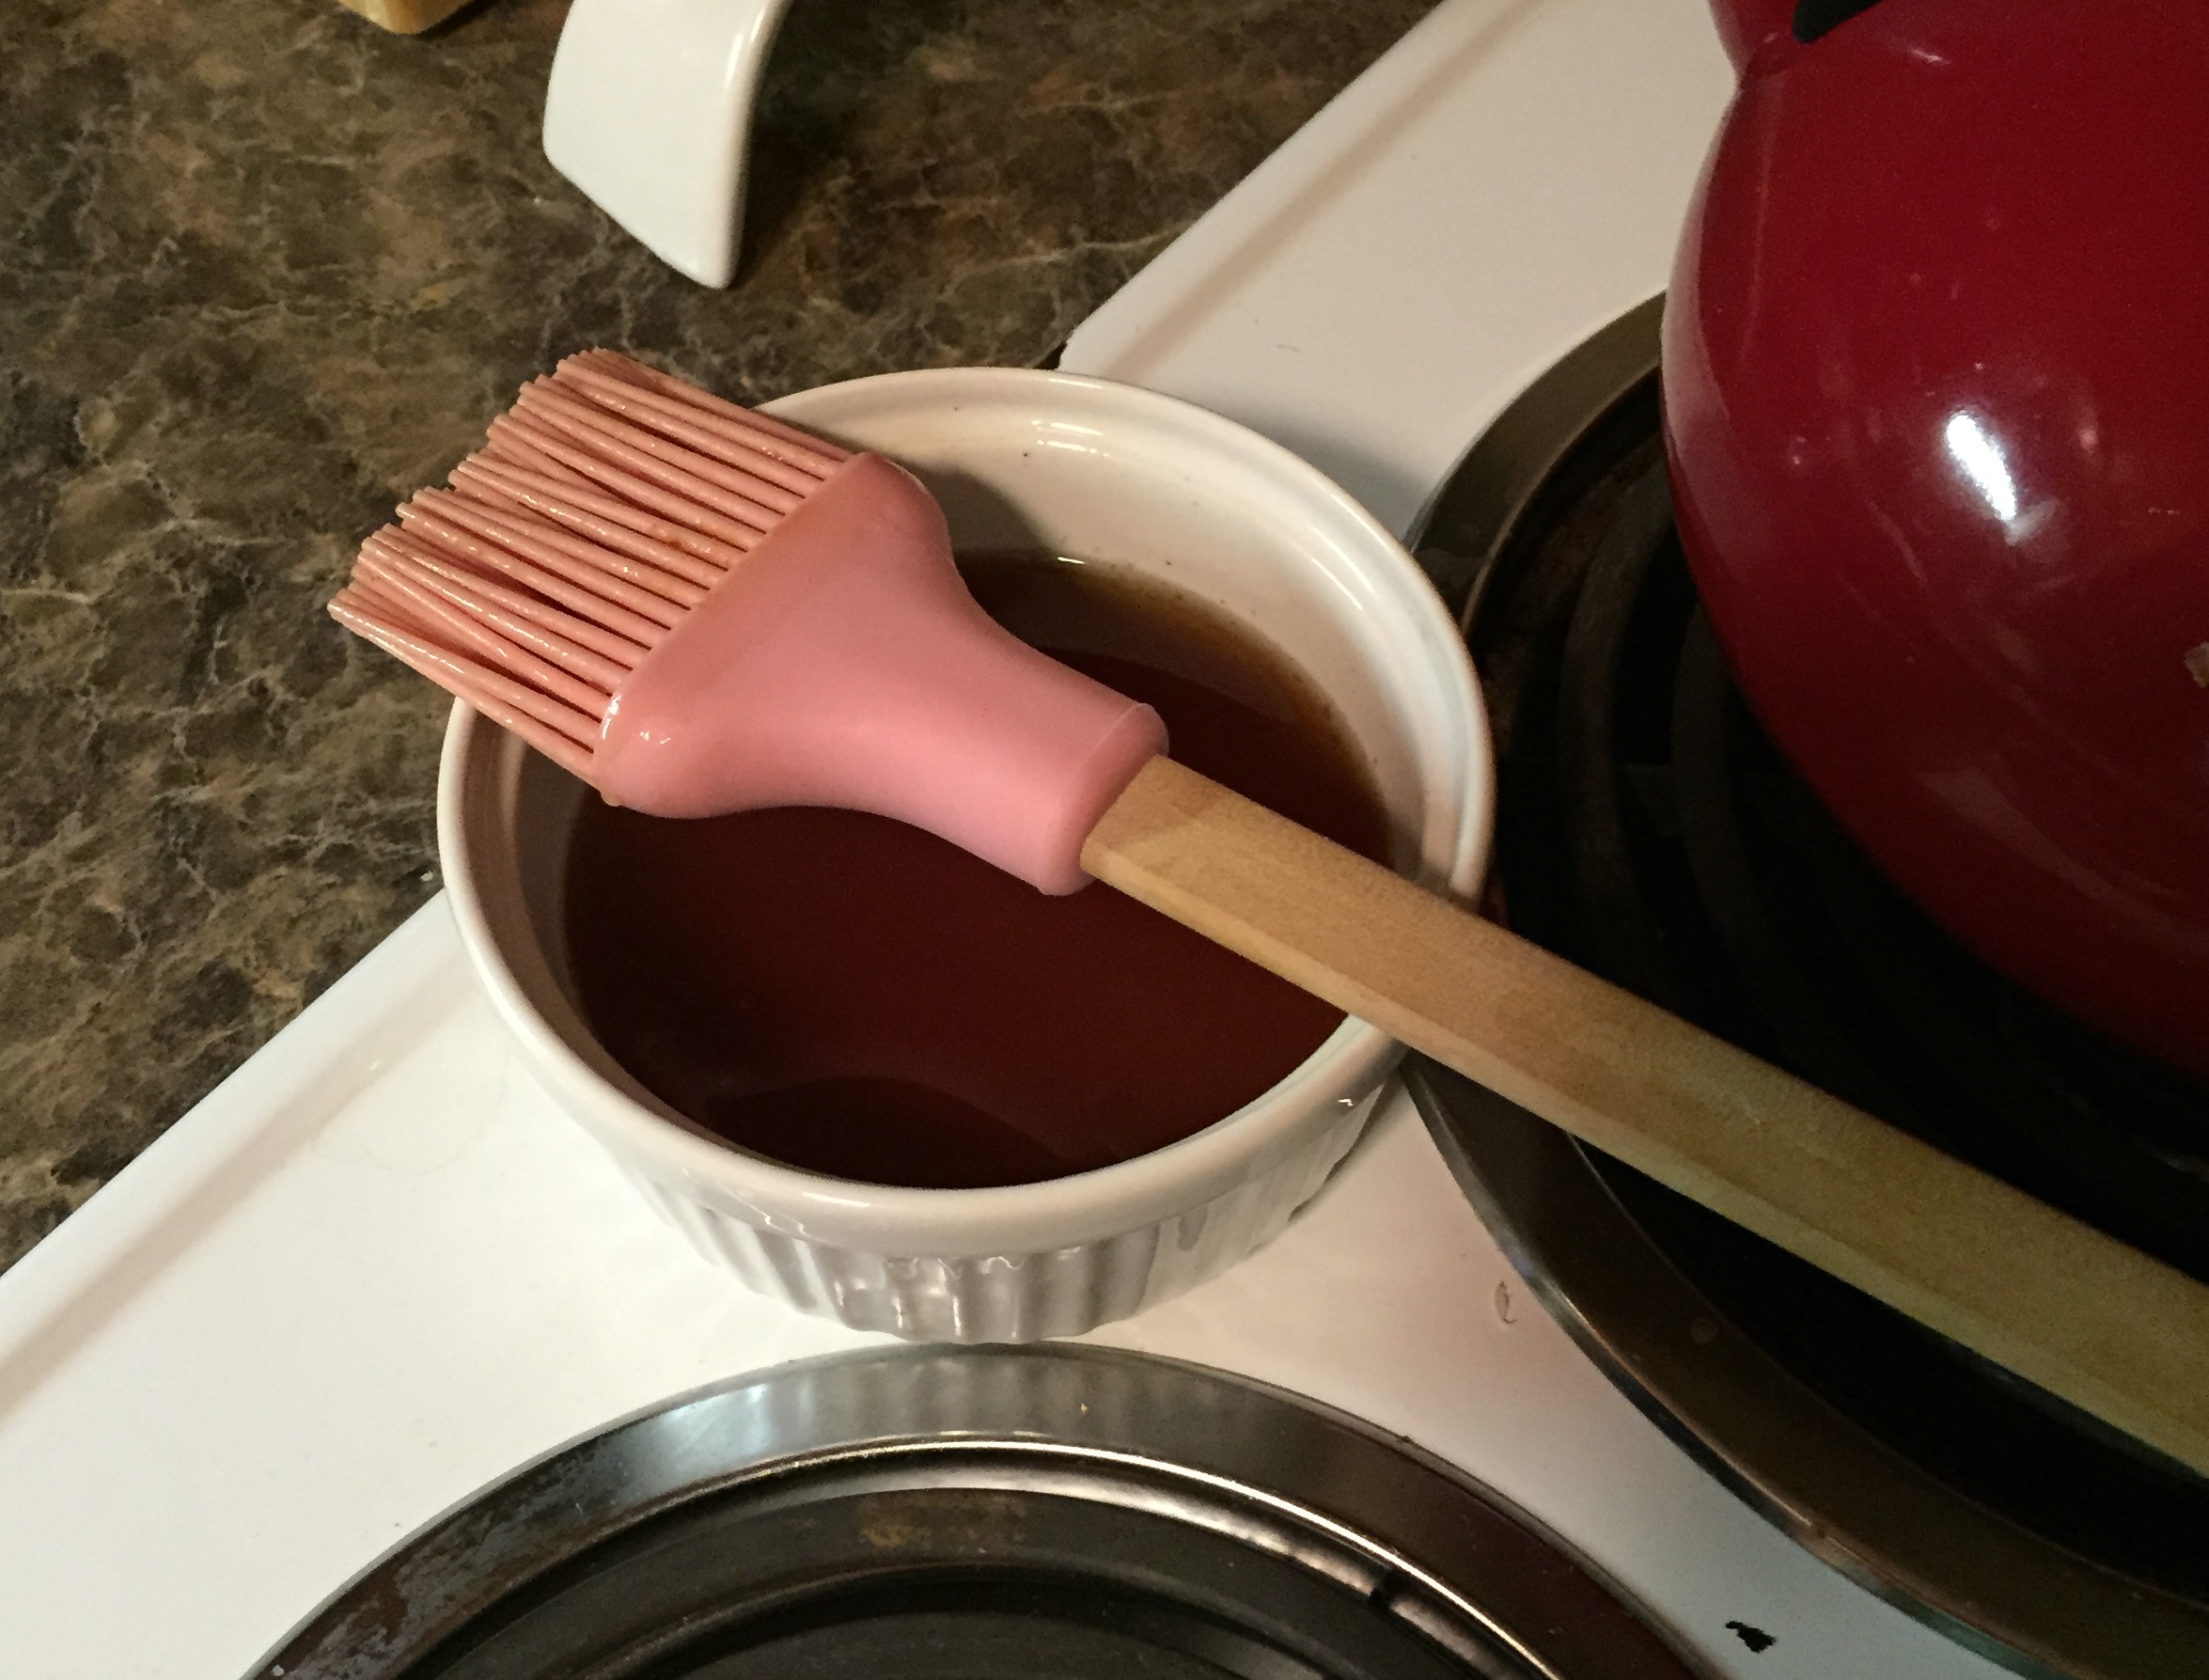
Now that your house smells delicious and you feel a little bit better already, add the sauce:
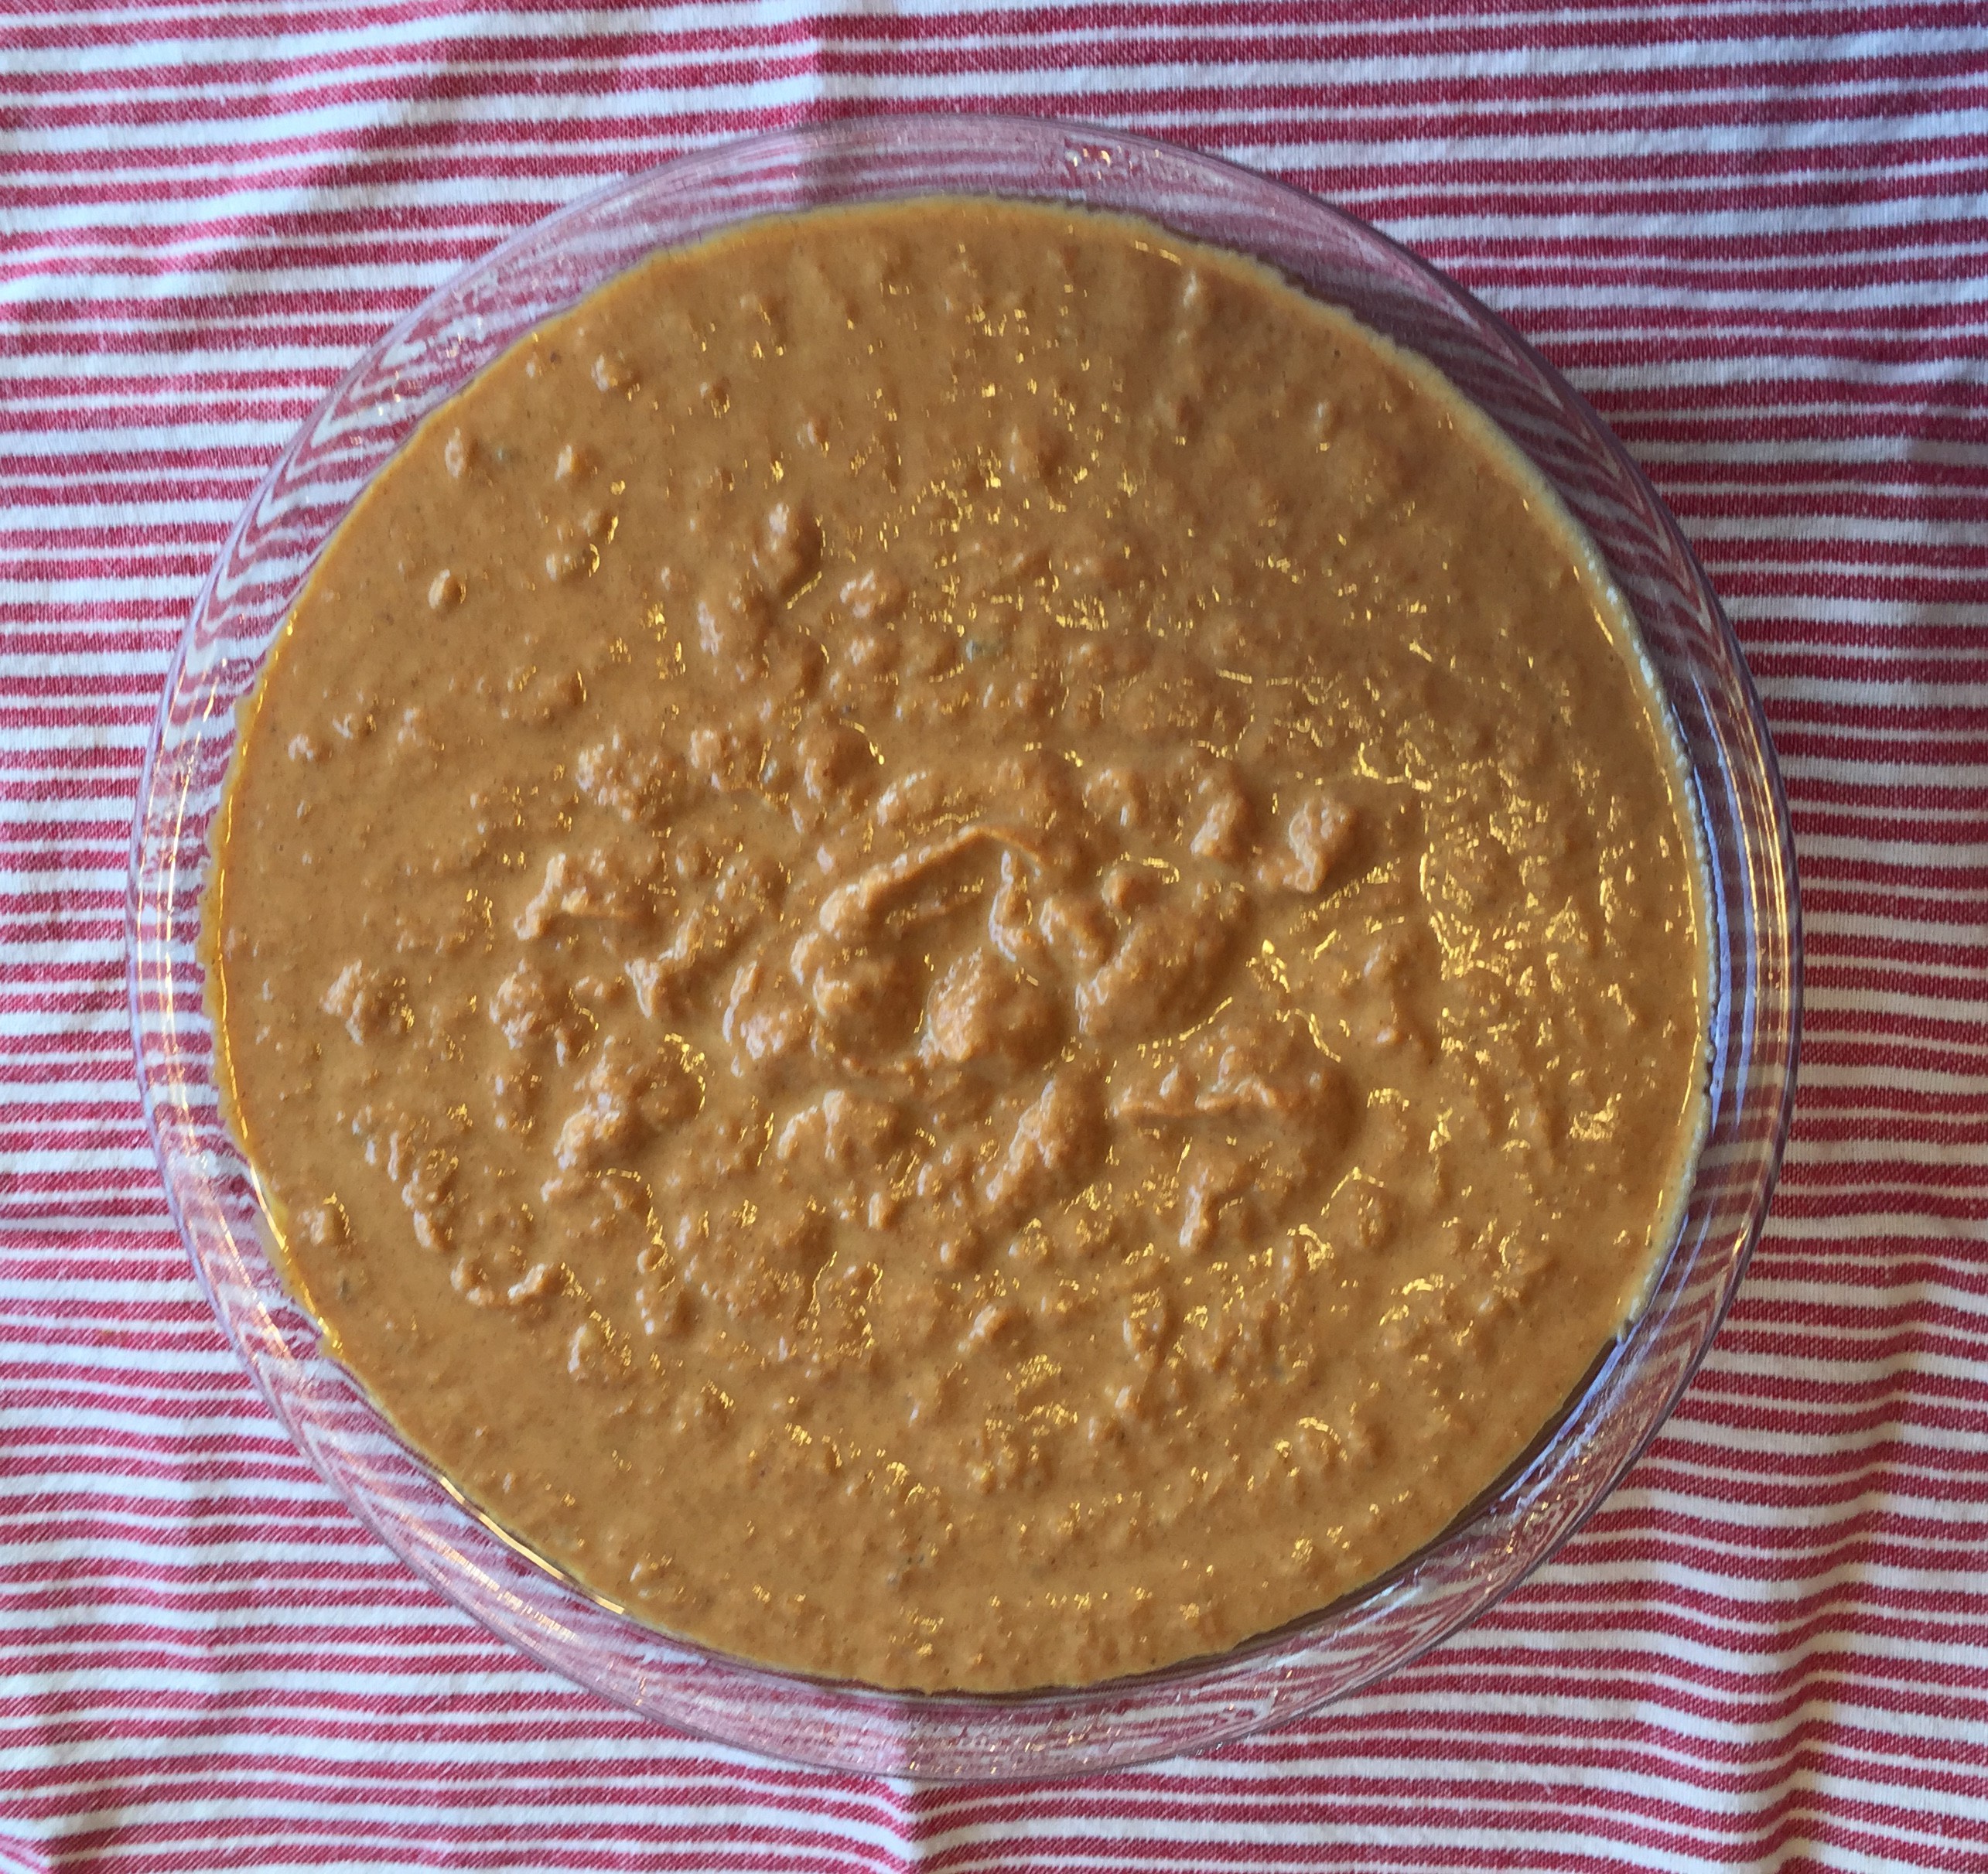
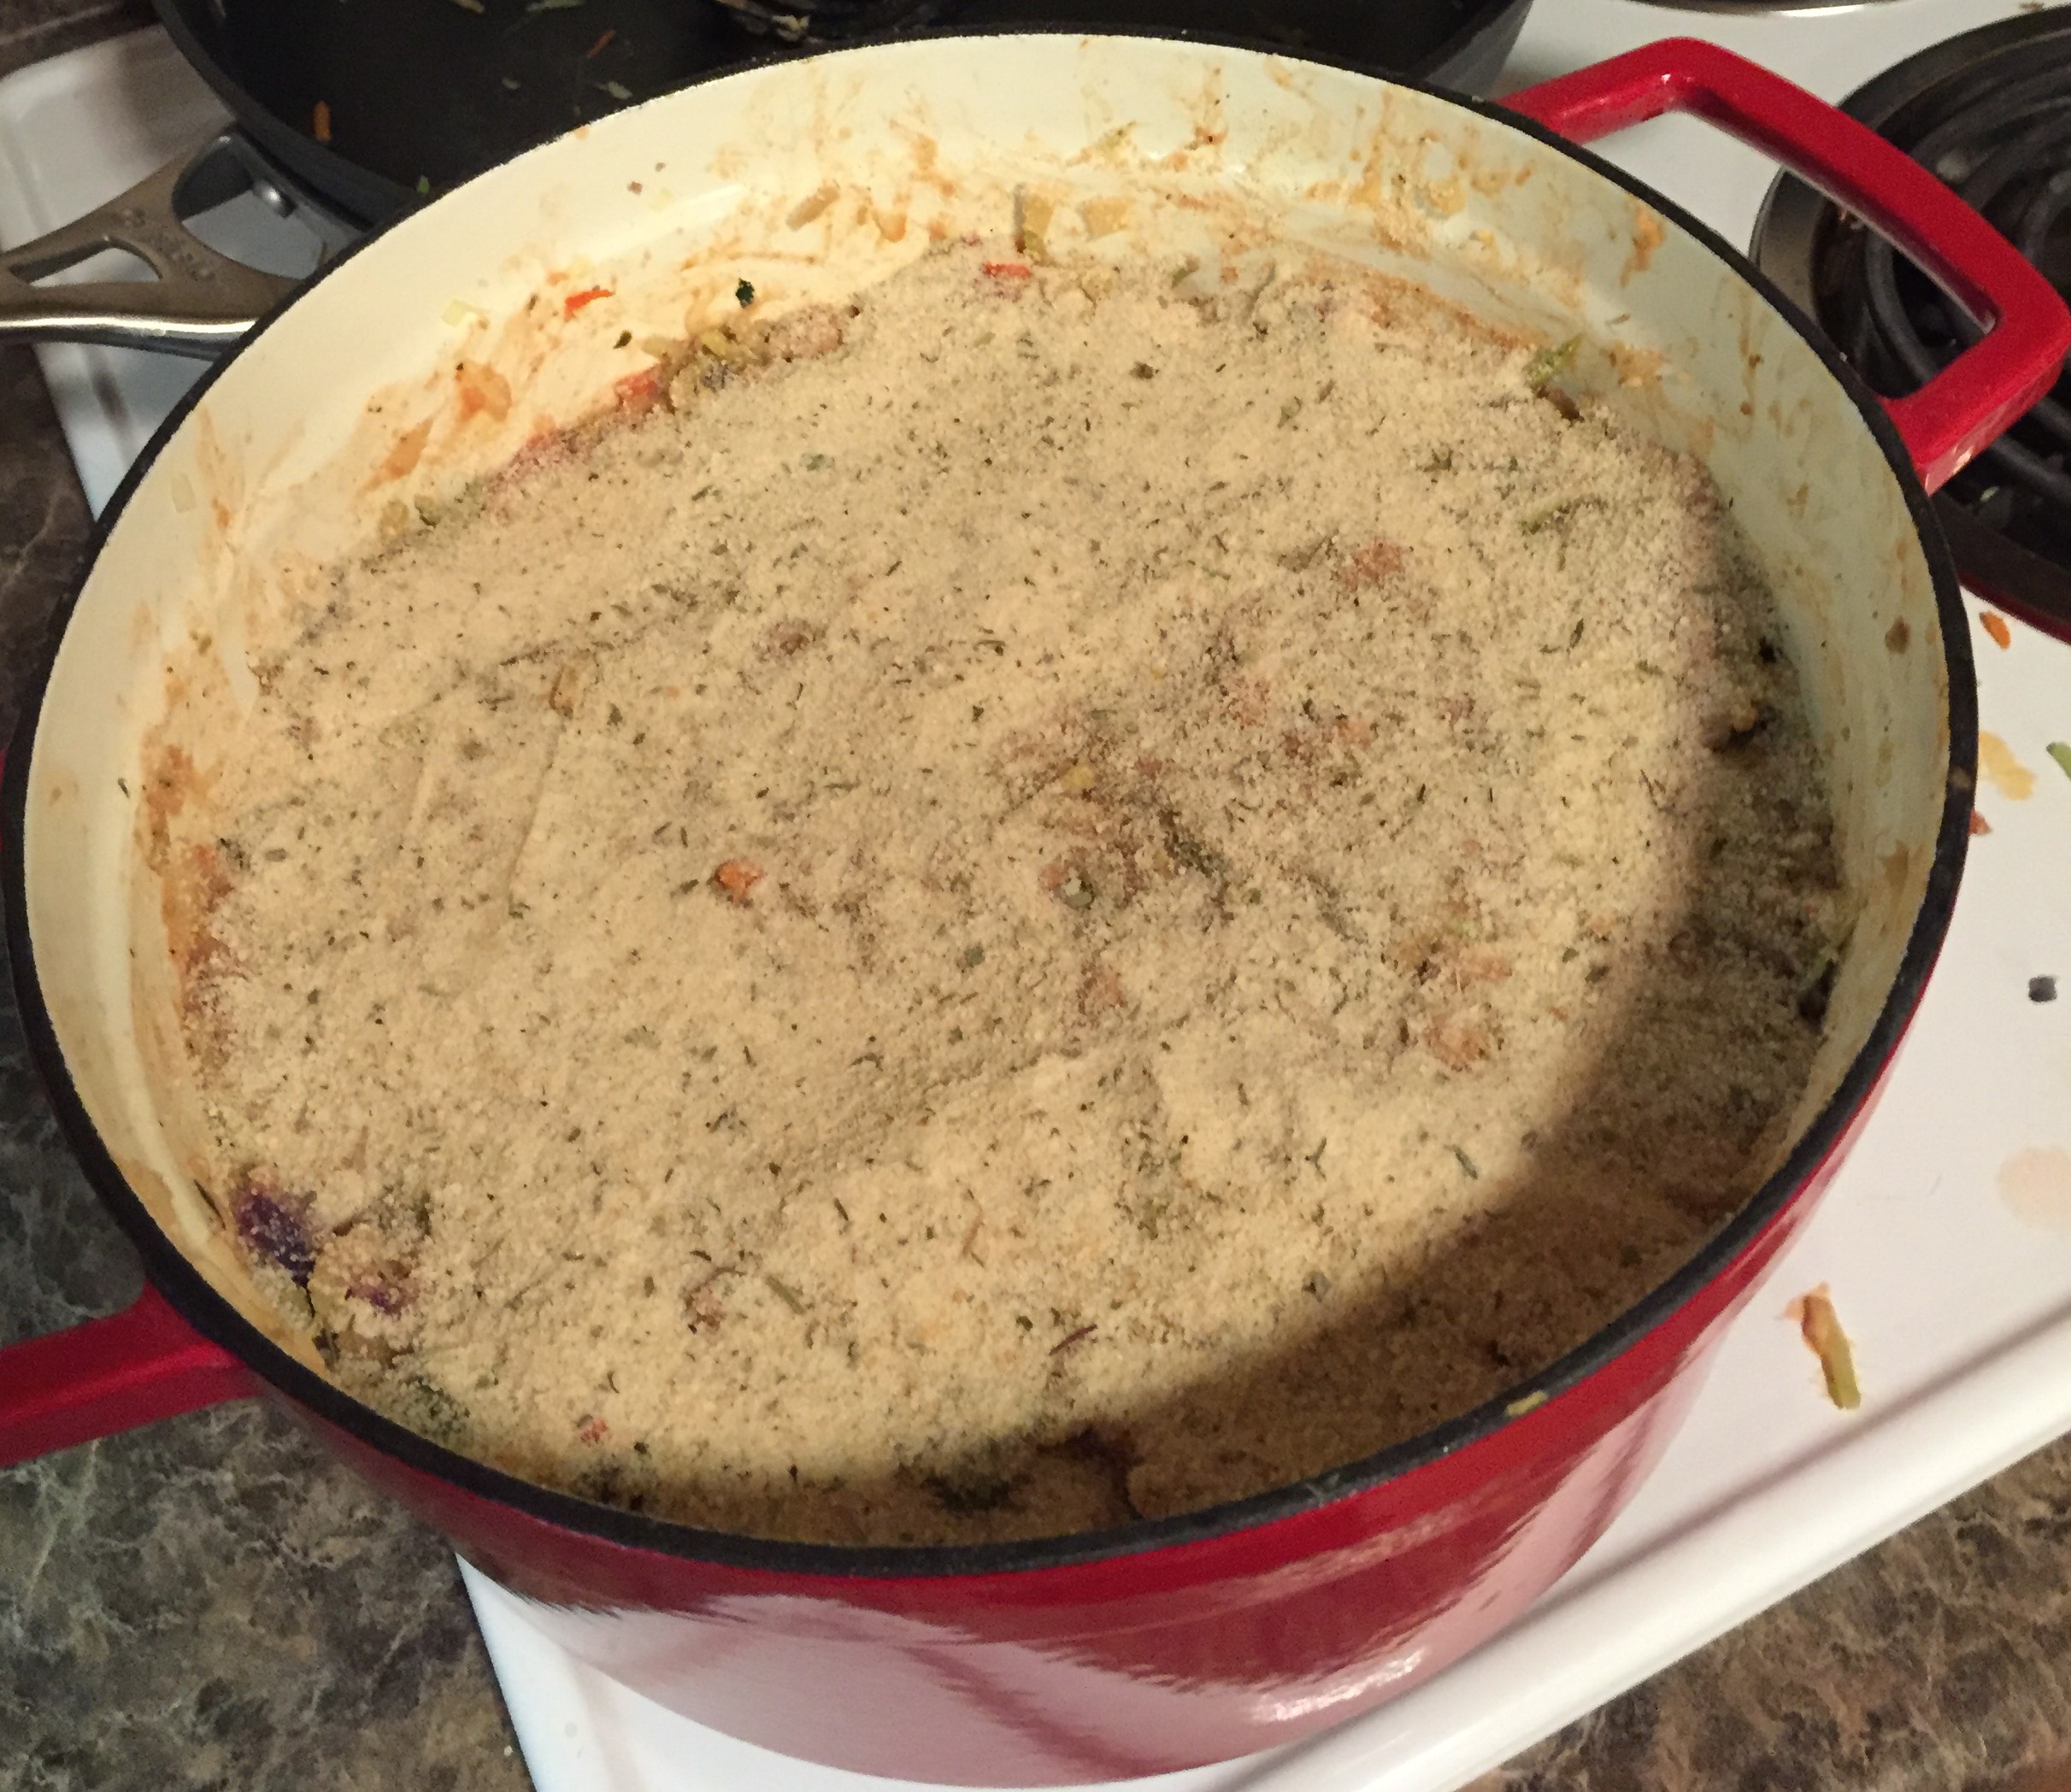
- Add tomato sauce and seasonings to pan—stir to combine

- Once combined, remove from heat
All that’s left is to put your peppers together and throw ‘em in the oven:
- Sprinkle a small amount of cheese into each pepper

- Spoon small amount of mixture into each pepper and top with a sprinkle of cheese
- Repeat until each pepper is full to the top (really stuff these babies!!) and top with sprinkle of cheese


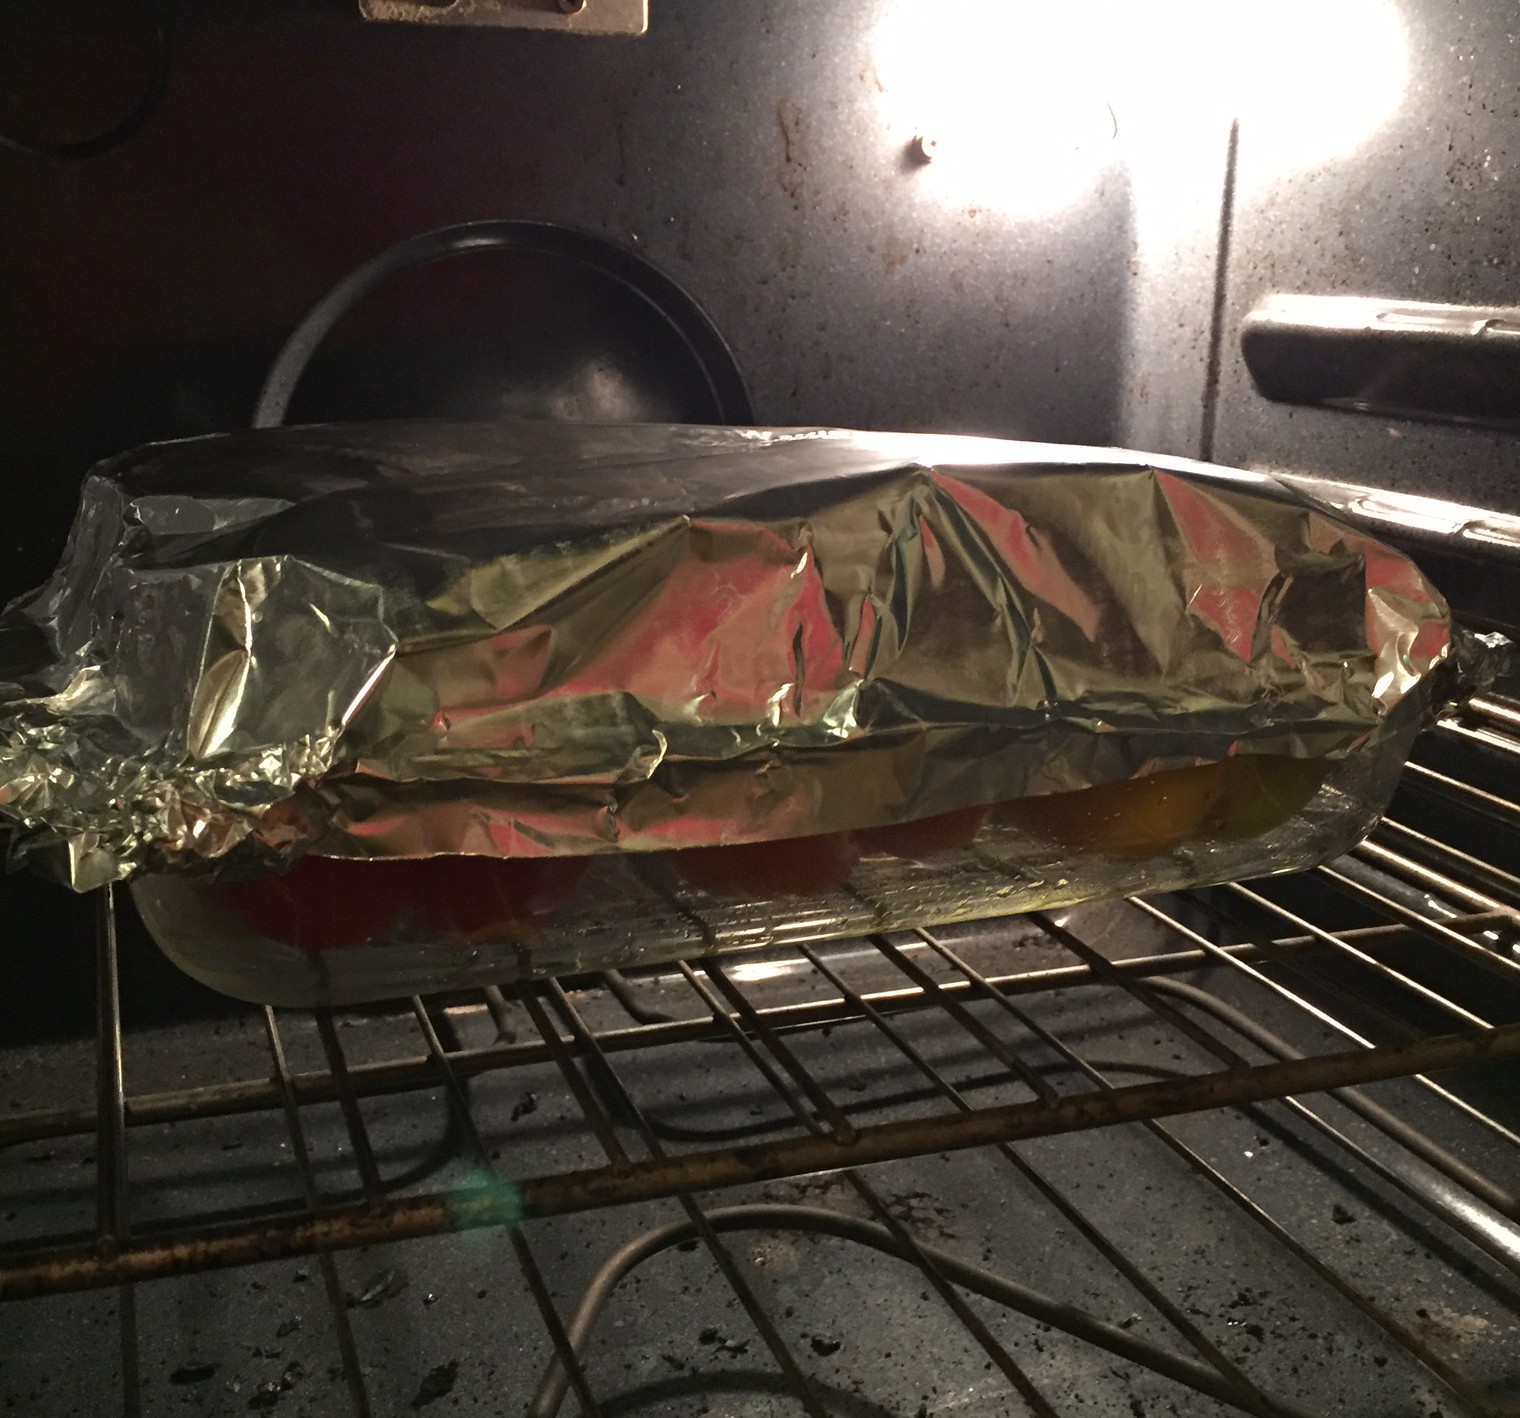
- Cover dish with aluminum foil
- Place peppers in oven and cook for 1 hour
While your peppers are cooking…
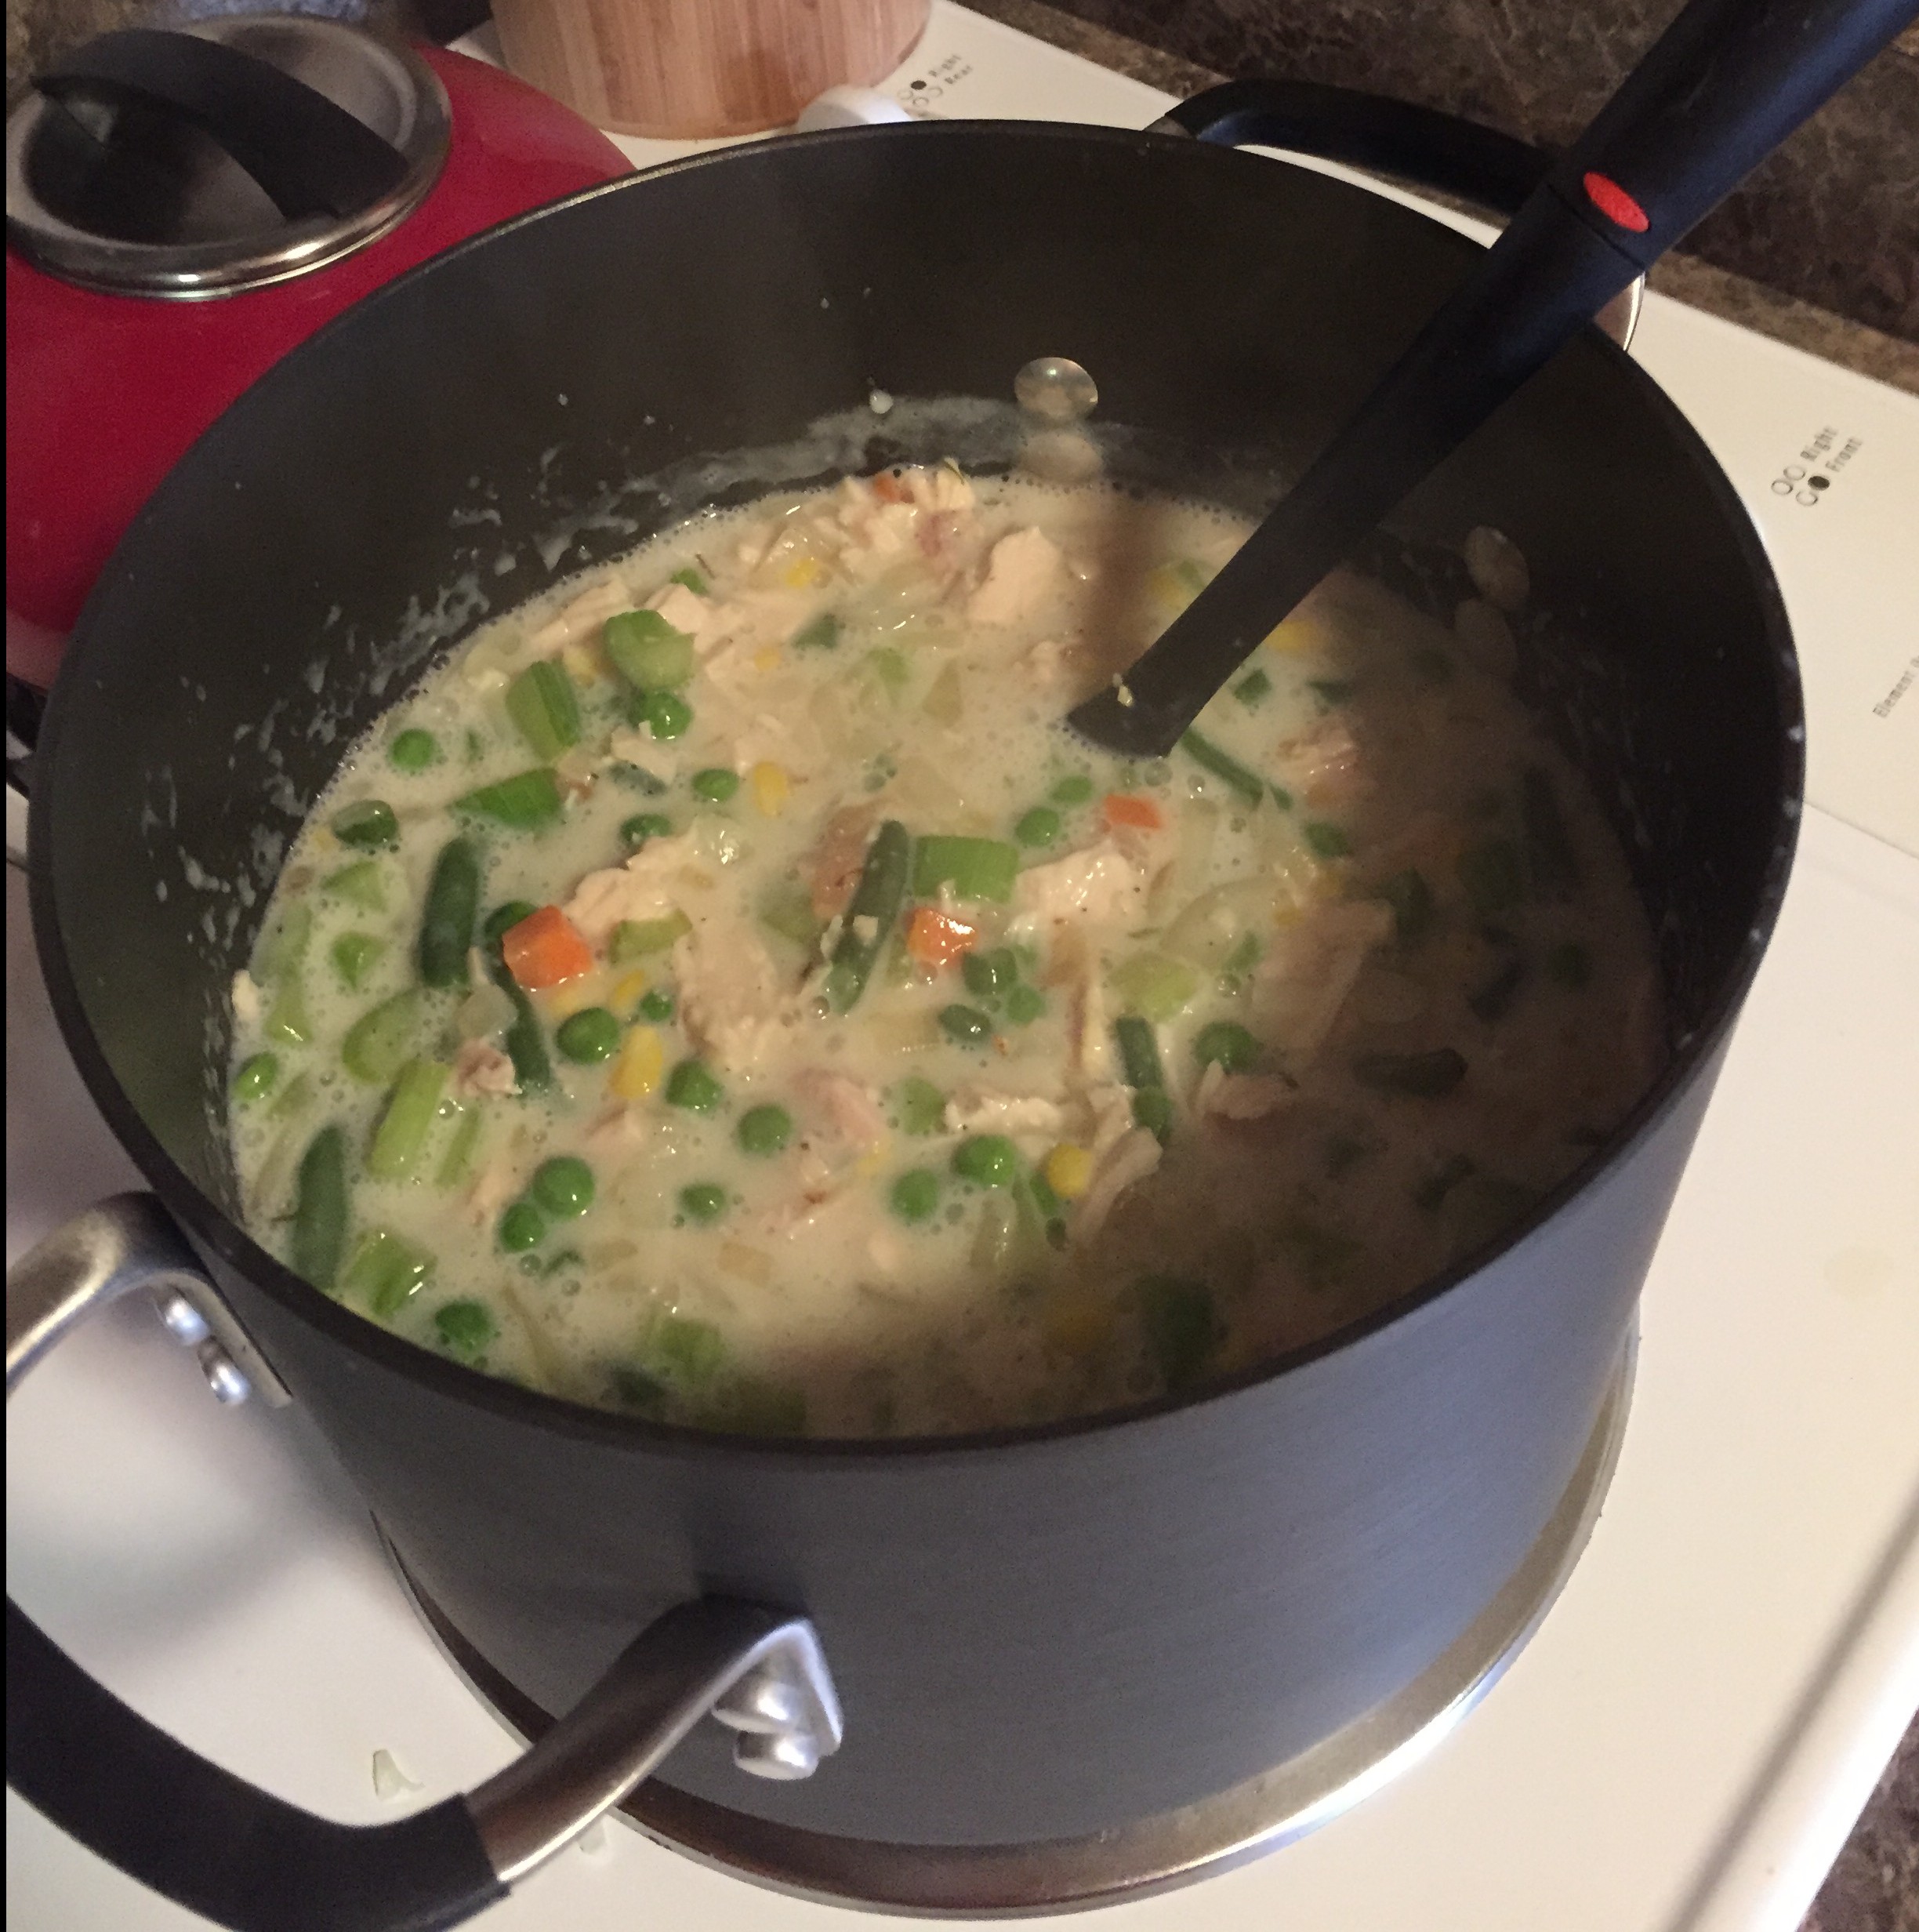
- Package up your leftover “filling” in a microwave-safe dish. This filling will be your best friend for the next week as your regaining your strength and getting better. Why? Because you can made so much with it!
- Add it to tomato soup for a hearty stew
- Use it as a sauce for your favorite pasta/spaghetti squash/broccoli slaw dish
- Add it to scrambled eggs and top with sambal oelek
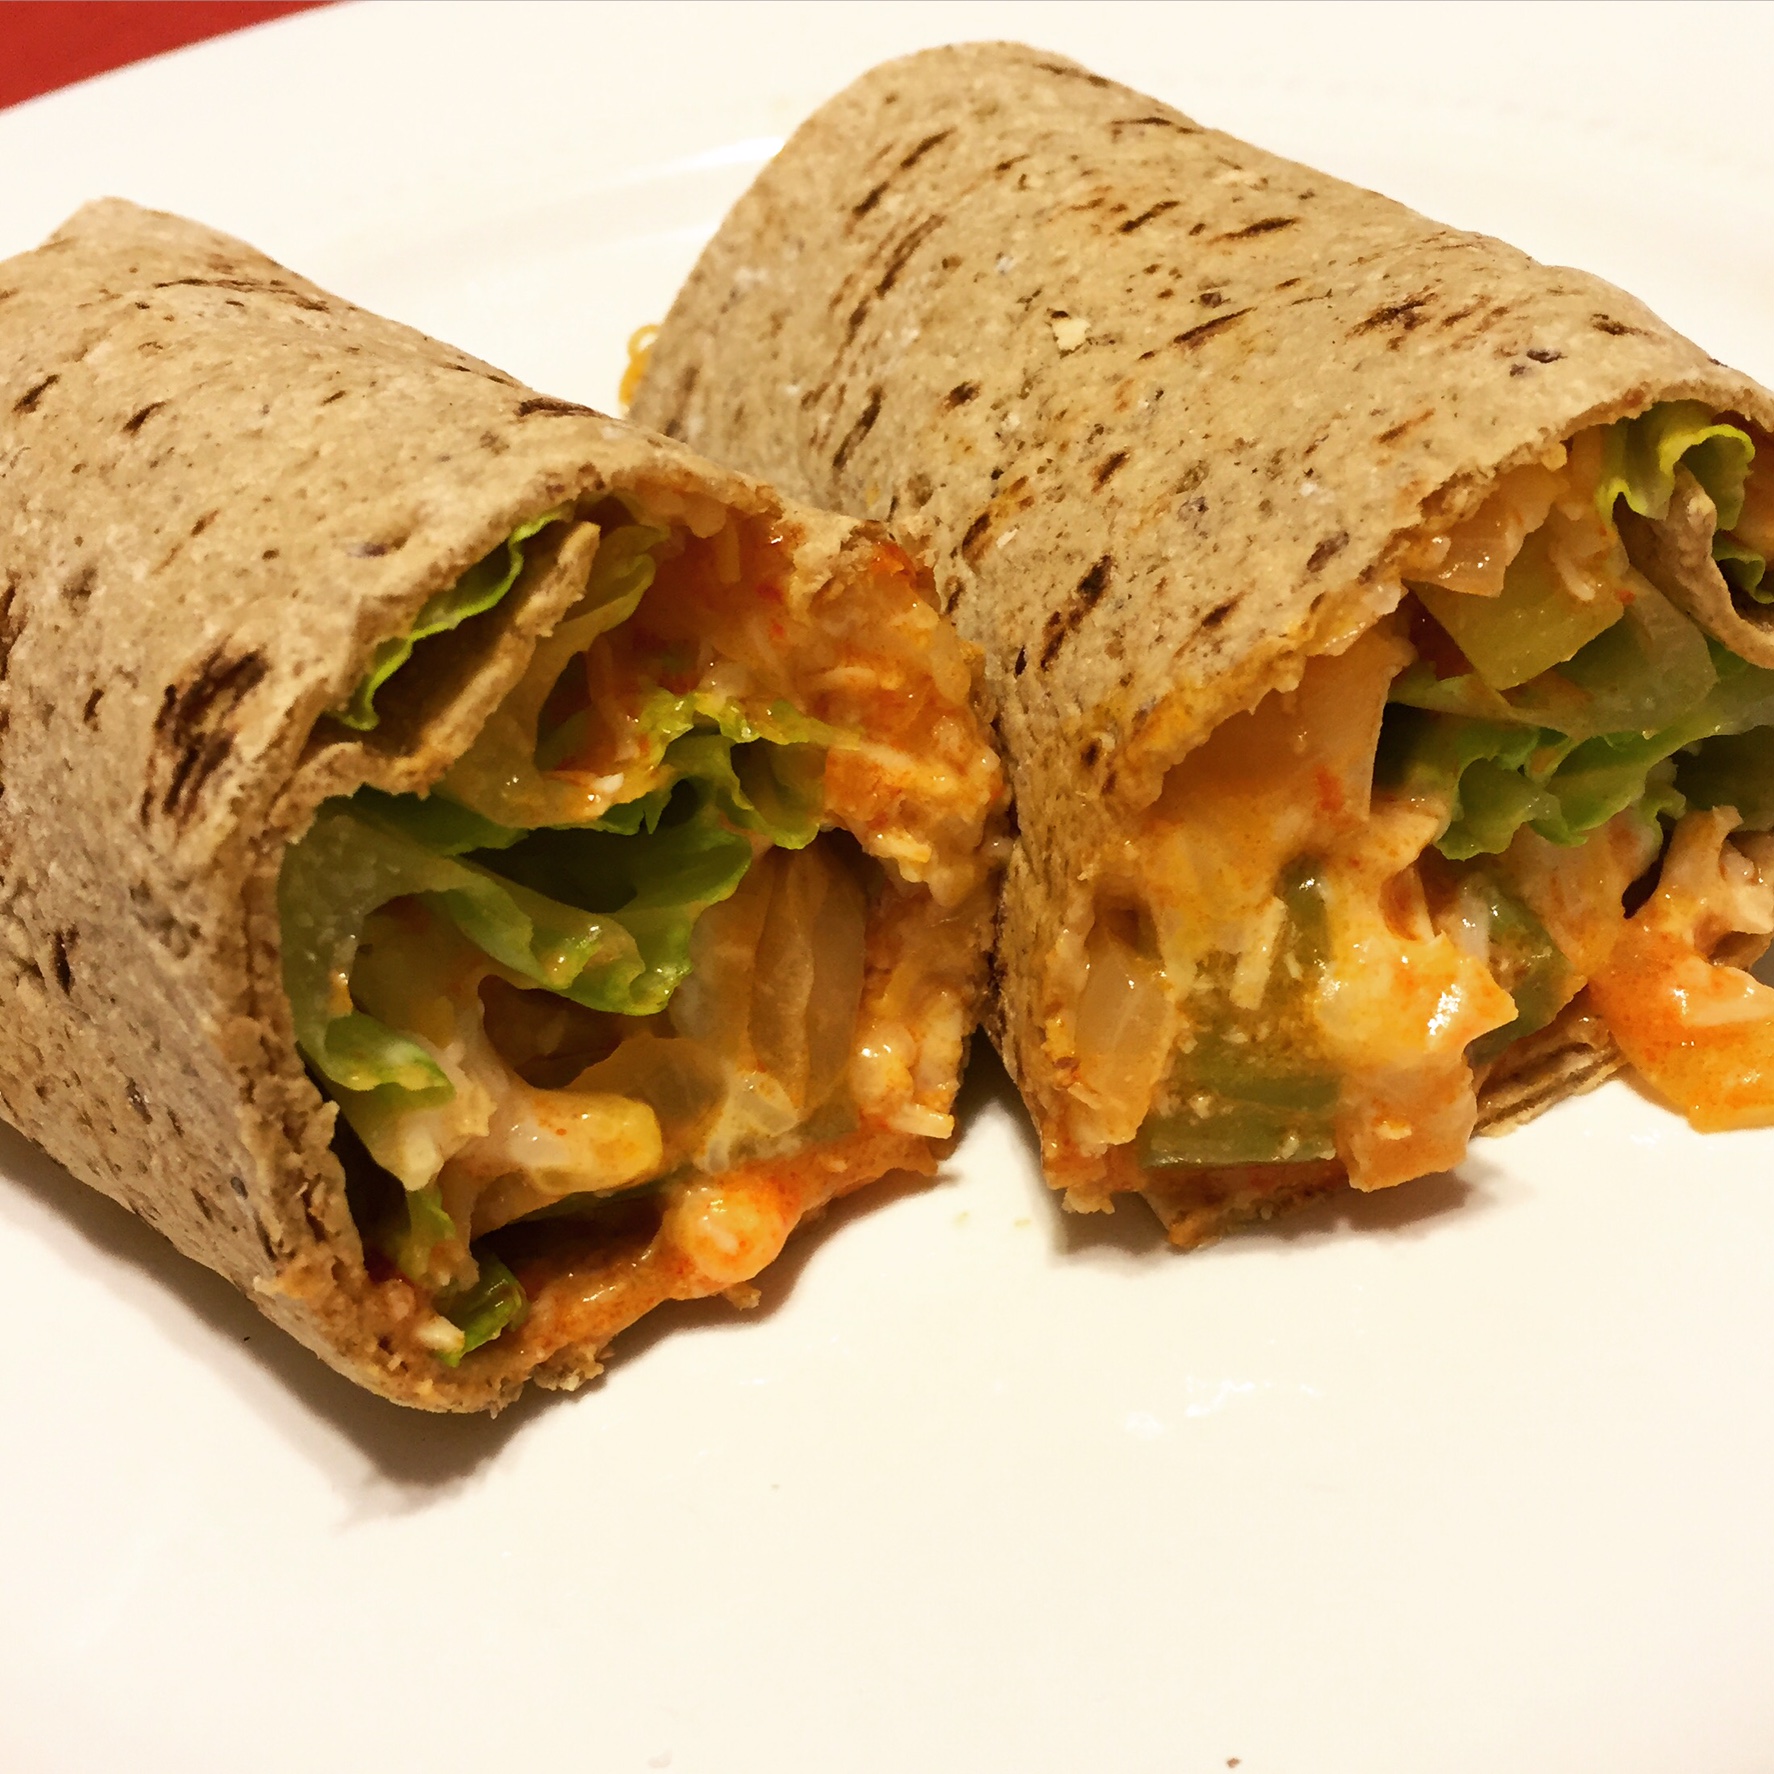
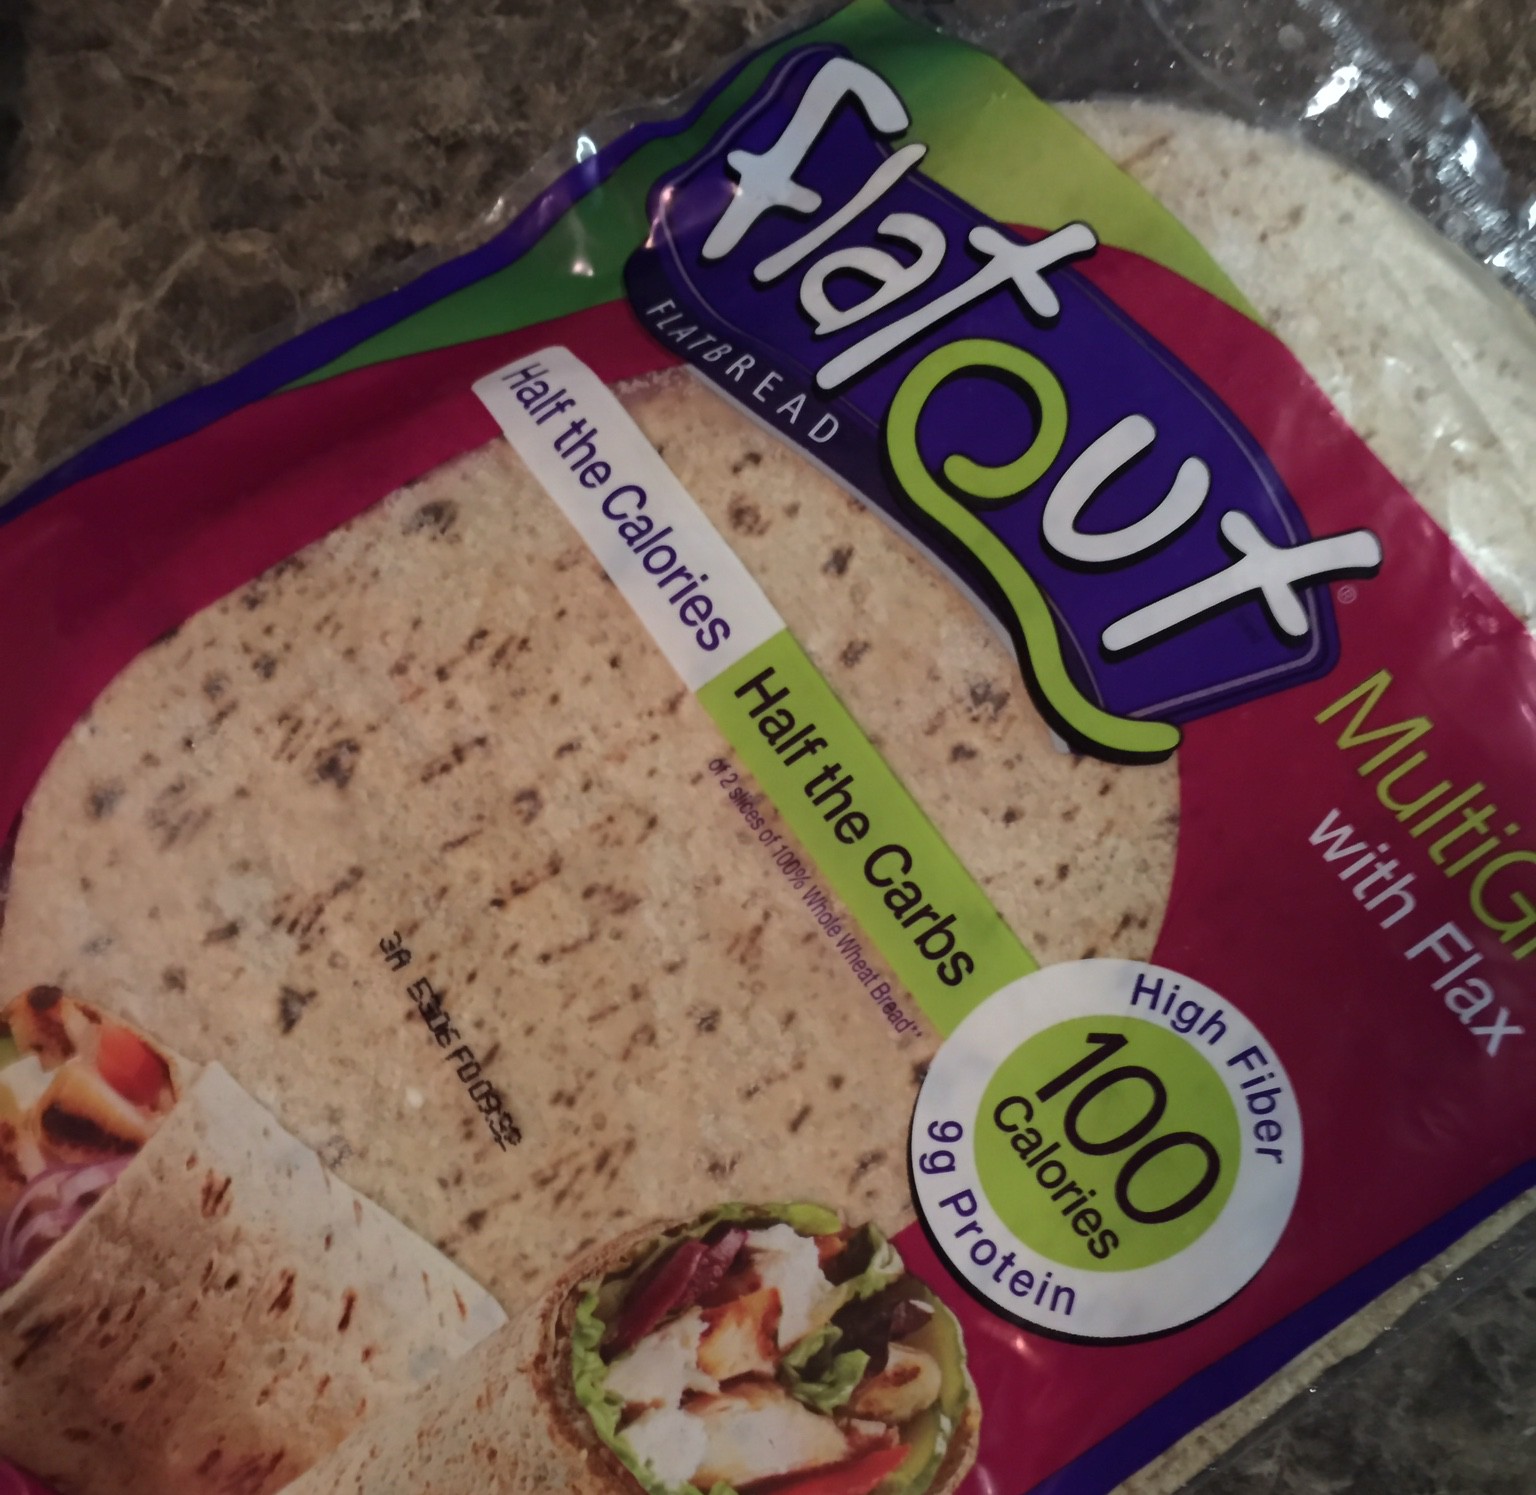
- Make enchiladas by spooning leftovers into Flatout tortillas, rolling ‘em up, placing them in an oven-safe dish, topping with cheese, and baking for 30 minutes at 350 degrees for thirty minutes
- Eat it plain!—it’s delicious heated up with a sprinkle of cheese and dollop of plain greek yogurt on top!
Your timer is going off!
- Now that an hour has passed , remove from oven and serve
- Be careful removing the foil from the pan–the steam that escapes is so so hot!

It might seem silly, but these stuffed peppers actually make your stuffed-up self feel a heck of a lot better–it’s comfort food, but it’s comfort food that makes your body feel better after eating it.
Why? This dish is literally “stuffed” with nutrient dense veggies–especially the vitamin C-packed bell peppers and tomatoes…the perfect cold-fighting boost your body needs when it’s under the weather.
So while you may be miserably sneezing, sniffling, and coughing all the day long, I hope that when you finally get to sit down in your comfies* you can sit back, relax, and let this comforting and cozy meal warm you from the inside out. Your body will thank you for giving it some nutrient-dense food to help fight your nasty virus, and your mouth will thank you for skipping the bland mashed potatoes.
{*Note: “Comfies” are what Tom and I call our comfy clothes. For example, for Tom its’s basketball shorts and t-shirt. For me it’s leggings, a sweatshirt, thick socks, and my electric blanket that I drag along with me everywhere like Linus from November through March}

So until this cold season passes, take heart. Use this time of year to slow down, take a deep breath, and curl up on the couch with your loved ones and read a good book or watch a Netflix marathon of your favorite TV show.
And, just for the record, I will say that sometimes mashed potatoes may be the answer to make your sick husband feel better. I may or may have not made mashed potatoes for Tom last week when it was the only thing he could stomach.
Why? Because at the end of the day cooking for someone is an act of love, and I love my husband more than anything in the entire world. As I always say, there is no such thing as a bad food or a good food. So if potatoes are what the situation calls for, make some dang mashed potatoes.
…and add lots of butter and half and half while you’re at it…because if you’re going to make mashed potatoes, really make ’em!
Here’s to making many more culinary compromises…all in the name of love.
xoxo,
alaina