You learn a lot in the first year of marriage. You learn a lot about yourself, you learn a lot about your spouse, and you learn a heck of a lot about what I like to call each other’s “learned truths“–otherwise known as things that you take to be true simply because that’s the way it was for you growing up.
For example, not long after we got married Tom left the gallon of milk on the table while we were eating dinner. I thought he was insane to leave a dairy product out of refrigeration for thirty minutes. When I questioned him about it, he looked at me with a puzzled look on his face–“Isn’t this what your family does?”
Tom’s not the only one. Shortly after we got married we took a trip to the grocery store and picked up a few items. As we were putting them away, I noticed Tom staring at me like a crazy person. “Did you just put the bread away…in the freezer?” Apparently it was only my house where a single loaf of bread lasted for so long if we didn’t put it in the freezer it would go bad…I didn’t even know where else you would even store bread if it wasn’t the freezer.
I could give you countless more examples, but the reality is that a big part of the first year of marriage is un-learning what you know to be true about how you were raised and consciously deciding how you both want to run your own brand new home.
Over the past nine months, we’ve adapted. We’ve held our ground on some things and relented on others. From the trivial to the momentous, it’s all been about compromise.
As I’m sure is not a surprise to anyone who reads my blog, compromise is at the root of how I cook for our little family of two. That being said, it’s usually because of the nutritional value of the food…not because of how it’s stored.
So as I was thinking about how we’ve gone through trial and error in deciding how to store our bread*, I had an idea. Oftentimes the reason we have to throw our bread in the freezer is because I don’t eat much of it and Tom can’t eat an entire loaf before it goes bad. So what if I baked a bread that we both could eat and enjoy?
{*Note: Oh yes…there is a such thing as trial and error in how to store your bread. Keep it out for a week then put it in the freezer, take out a few slices and then put it in the freezer, never put it in the freezer and just throw away what goes bad….I could go on AND on…}
My first thought? Since we sometimes feel like we’re going bananas (aka: CRAZY) when we disagree on things like where the milk should go during meals and how to store bread, my obvious choice for a type of bread to make was clear: BANANA BREAD.
So…where the compromise?
Here’s our answer:
- Bake a versatile bread that can be eaten at multiple eating occasions (breakfast, snack, dessert, etc.) so we can eat through it faster
- Ditch the typical ingredients (white flour, refined, sugar, etc) that make bread something not-so-great for a diabetic
- Ensure that the bread can be ready-to-eat if left on the counter OR popped in the freezer
| “Gone Bananas” Bread |
Serves: 10 Tom’s or 12 Alaina’s
Ingredients Needed:
Wet Ingredients:
- 4 ripe bananas, mashed
- The more ripe the better–this is where a lot of the sweetness comes from!
- I always keep ripe bananas in the freezer so I’ve got them ready when I want to bake–just peel and slip into a zip top bag when you have an overly ripe banana!
- 3 eggs
- 1 stick butter, melted
- You want salted butter here!
- 1/4 cup honey
- Check the label here–you want pure honey, not corn syrup!
- 2 tsp. vanilla
Dry Ingredients:
- 3 cups finely ground almond flour
- Like I’ve said before, almond flour is an awesome low-carb/high-fiber substitute for white flour–but it also can be expensive. You can find sales on Bob’s that is sold in 1 lb. bags for about $10, or Costco sells a 3 lb. bag for $22 (~$7.33/lb)
- 2 tsp. cinnamon
- 2 tsp. baking soda
- 1 tsp. baking powder
- 1/4 tsp. nutmeg
Optional Mix-Ins:
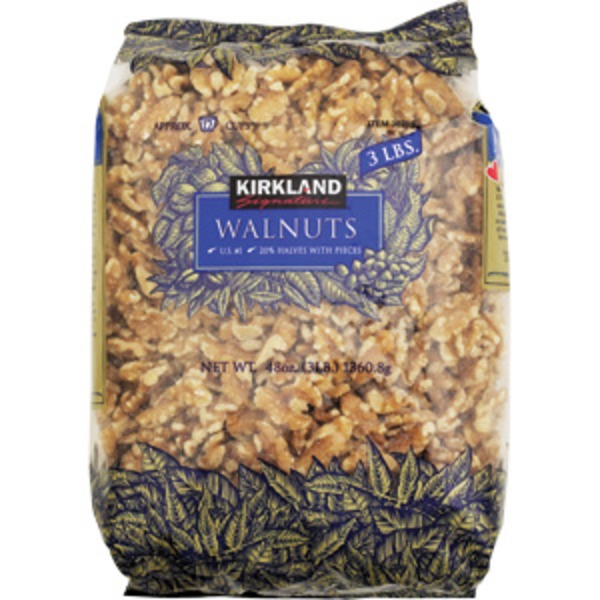
- 1/2 cup walnuts, roughly chopped
- Tip: We buy walnuts in bulk at Costco, take out a cup or two at a time to store in the pantry for yogurt topping & baking, and keep the rest in the freezer. Then we simply just take out a cup or two as we need them. You save a decent amount of money when buying in bulk and you extend the life of your walnuts up to a year!
- 1/2 cup semi-sweet chocolate chips or cacao nibs
Directions:
First up, get prepped…
- Preheat your oven to 300 degrees F
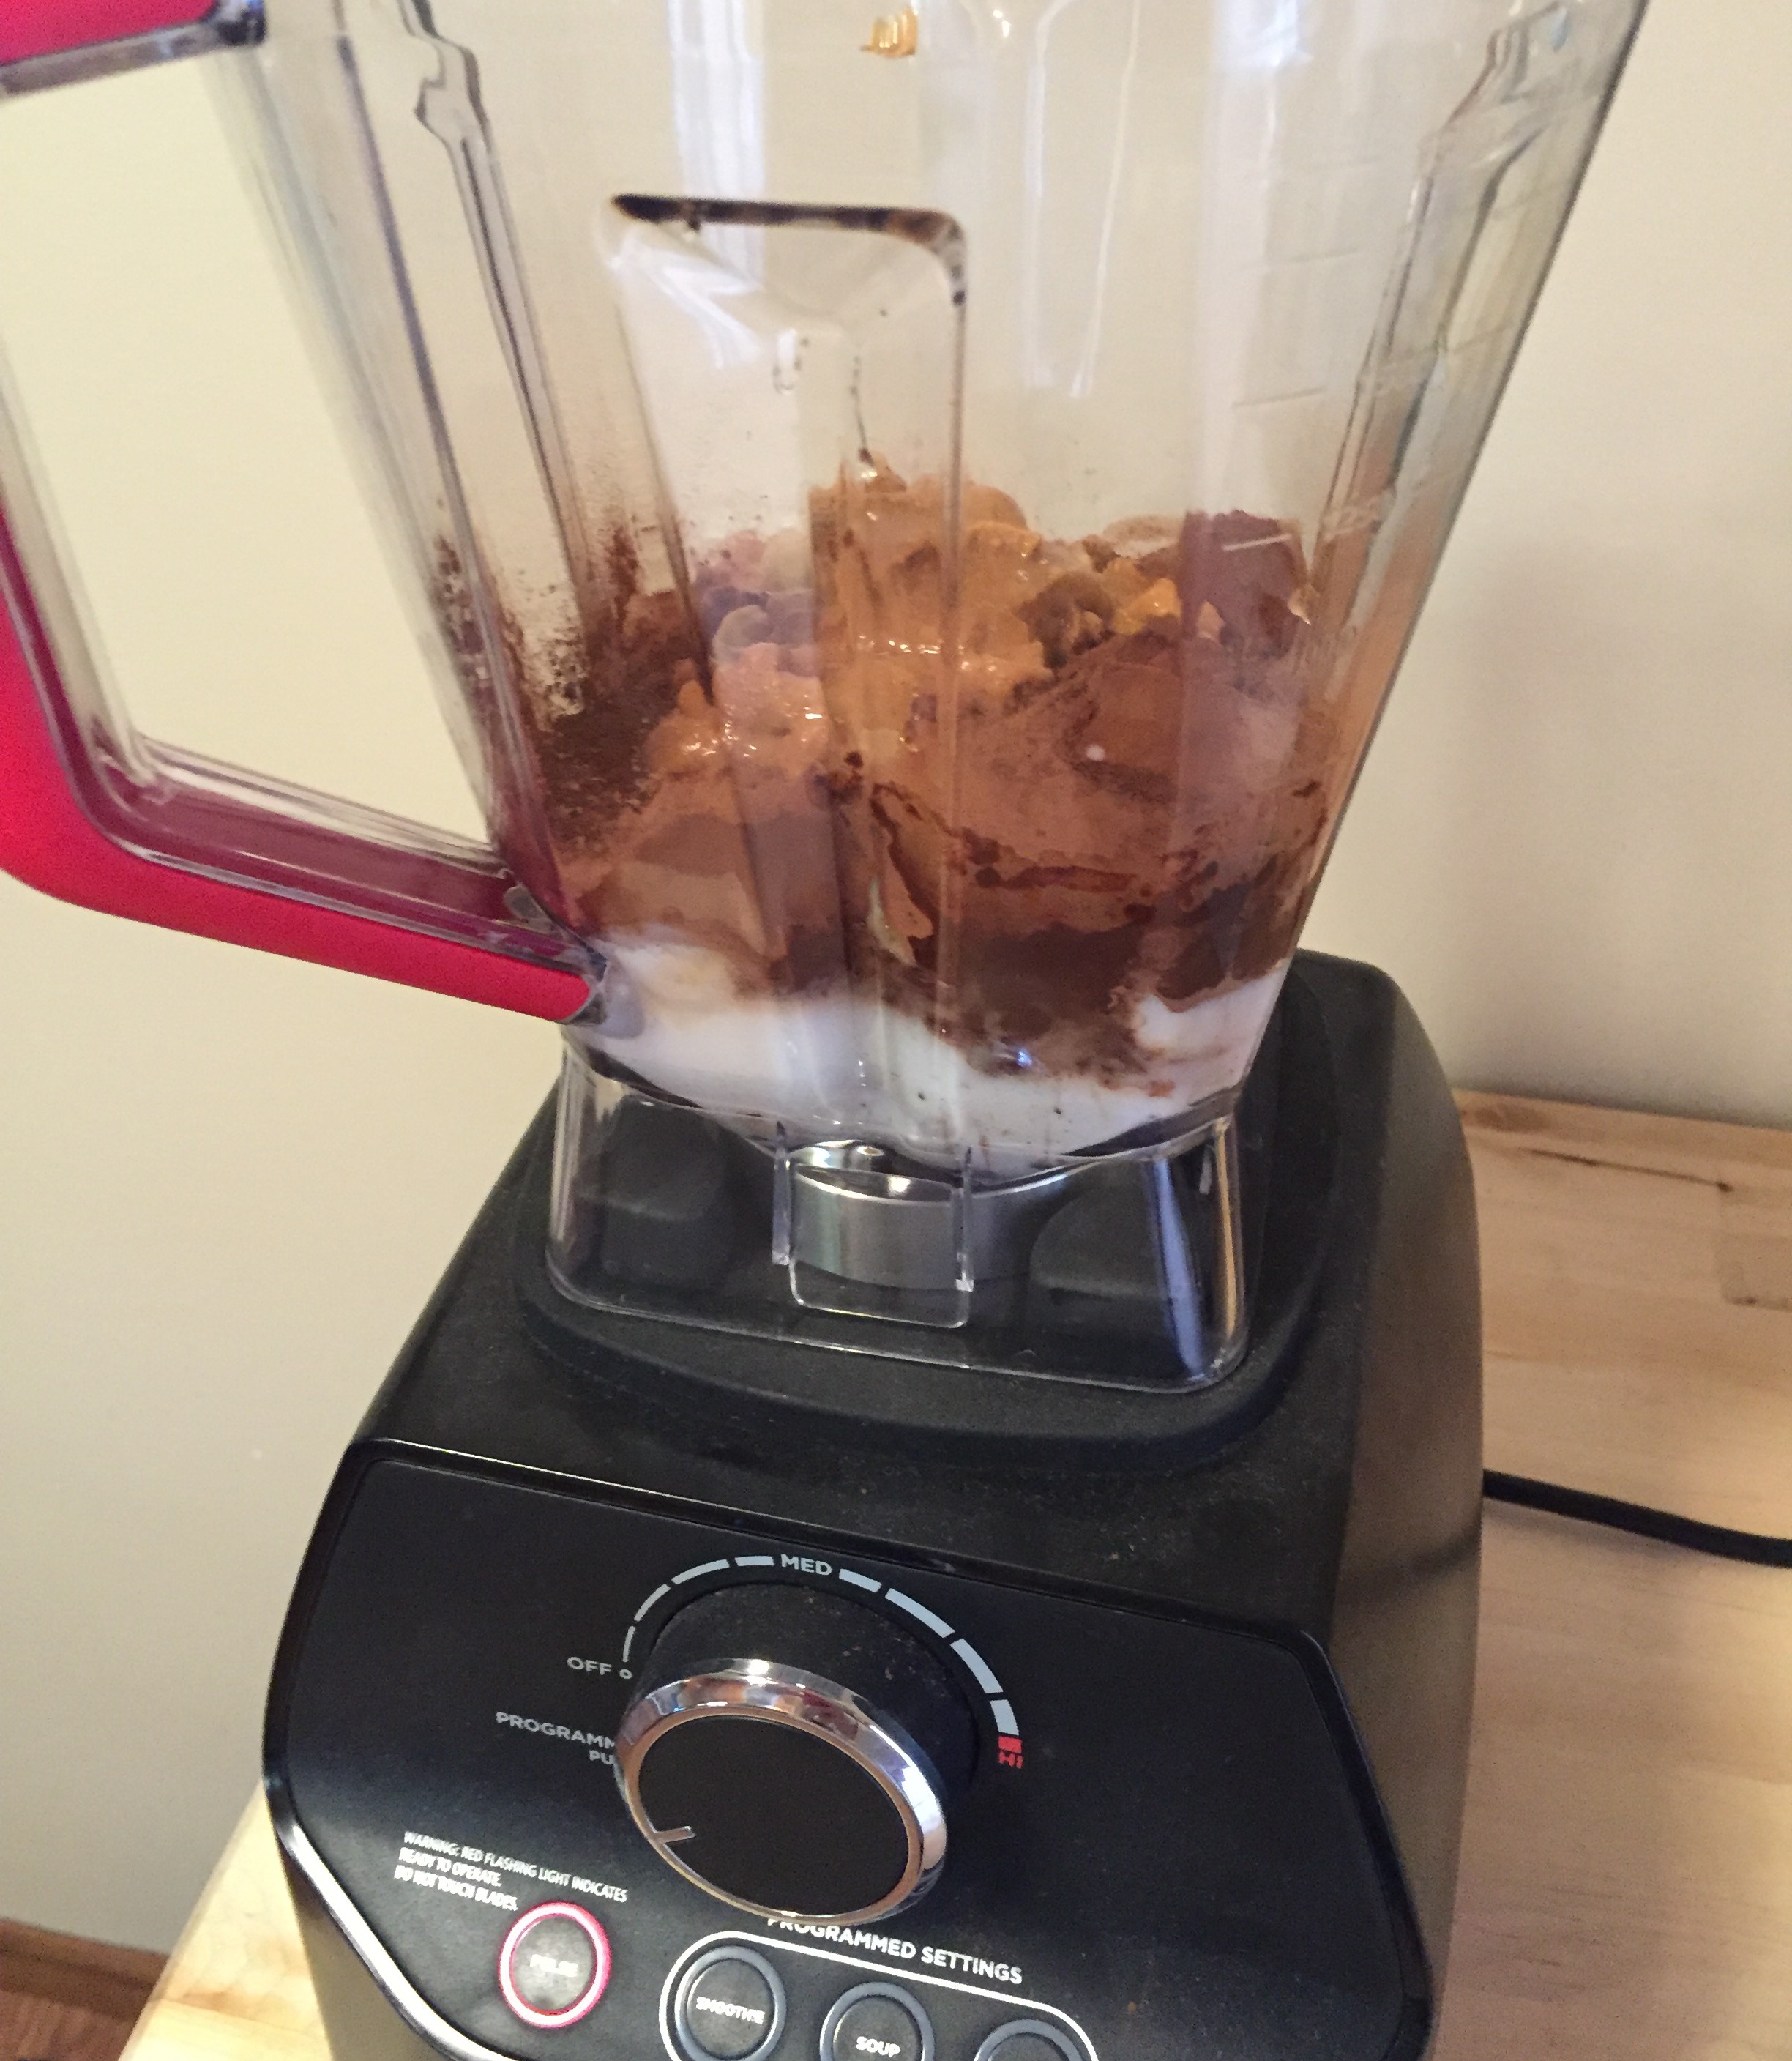
Next, get your wet mix a mixin’…
- In the bowl of your stand mixer (or any other medium/large mixing bowl), add all of your wet ingredients; mix well and set aside


Then get your dry ingredients ready for the party…
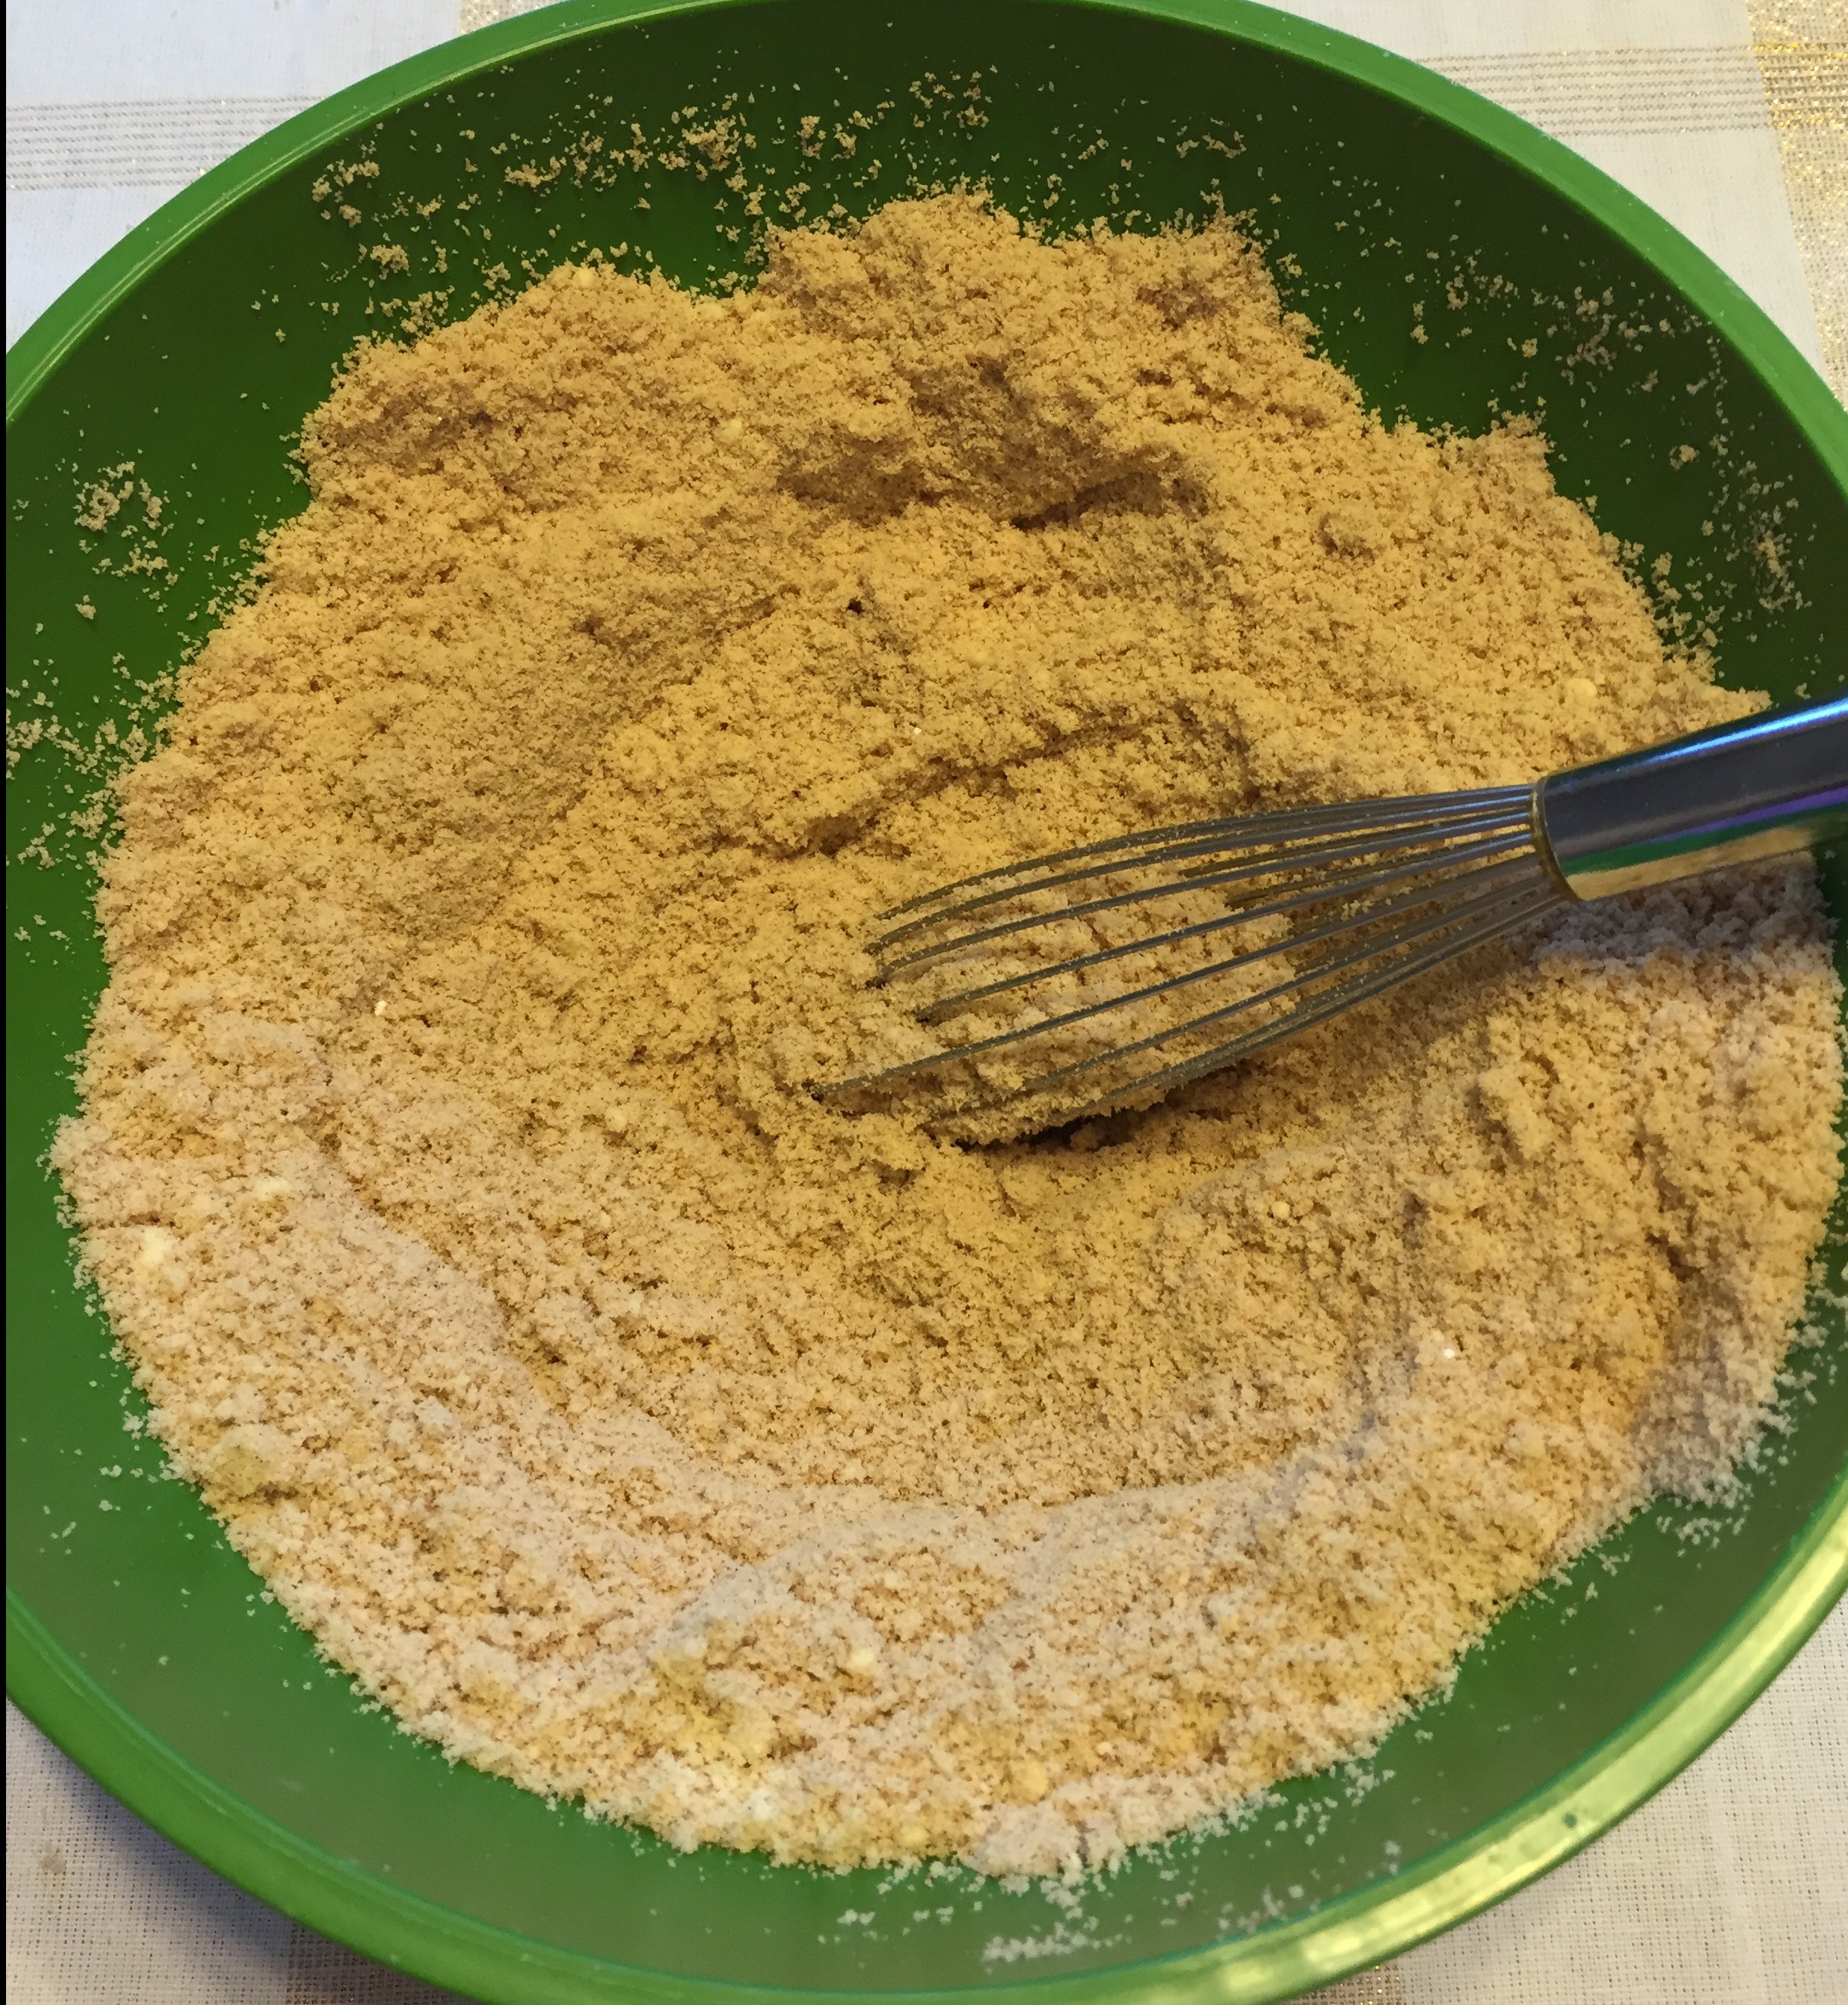
- In a separate medium-sized mixing bowl, add all your dry ingredients

- Once all your dry ingredients are added, combine well with a whisk
- Note: It is super important that the dry ingredients are well-incorporated to ensure the bread rises properly!
Now combine your mixes…
- Slowly incorporate your dry mixture into your wet mixture using your mixer


- If desired, once combined stir in chopped nuts and/or chocolate chips

You’re almost done! Now just get this baby in the oven!
- Pour/scrape your batter into a well-oiled loaf pan
- I used a 9 by 5 by 3 inch pan and would recommend this size if possible!

- Bake loaf in the oven for 1 hour 25 minutes to 1 hour 35 minutes, or until toothpick can be removed cleanly and the loaf doesn’t “wiggle” at all when you lightly press it in the center
- I recommend checking the loaf at around 1 hour and covering with foil if the top seems to be browning too quickly–this often happens with baked goods made with almond flour


- Once baked, let cool in the pan 15 minutes before inverting onto a cooling rack to completely cool before slicing (at least 2 hours)
- Once cool, slice and serve!
- To store, loosely cover with plastic wrap or store in a zip top bag
- Tip: For easy breakfasts, I recommend pre-slicing and storing slices in individual sandwich-size zip top bags in the freezer for a quick grab ‘n go meal that’s ready-to-eat by the time you get to work!
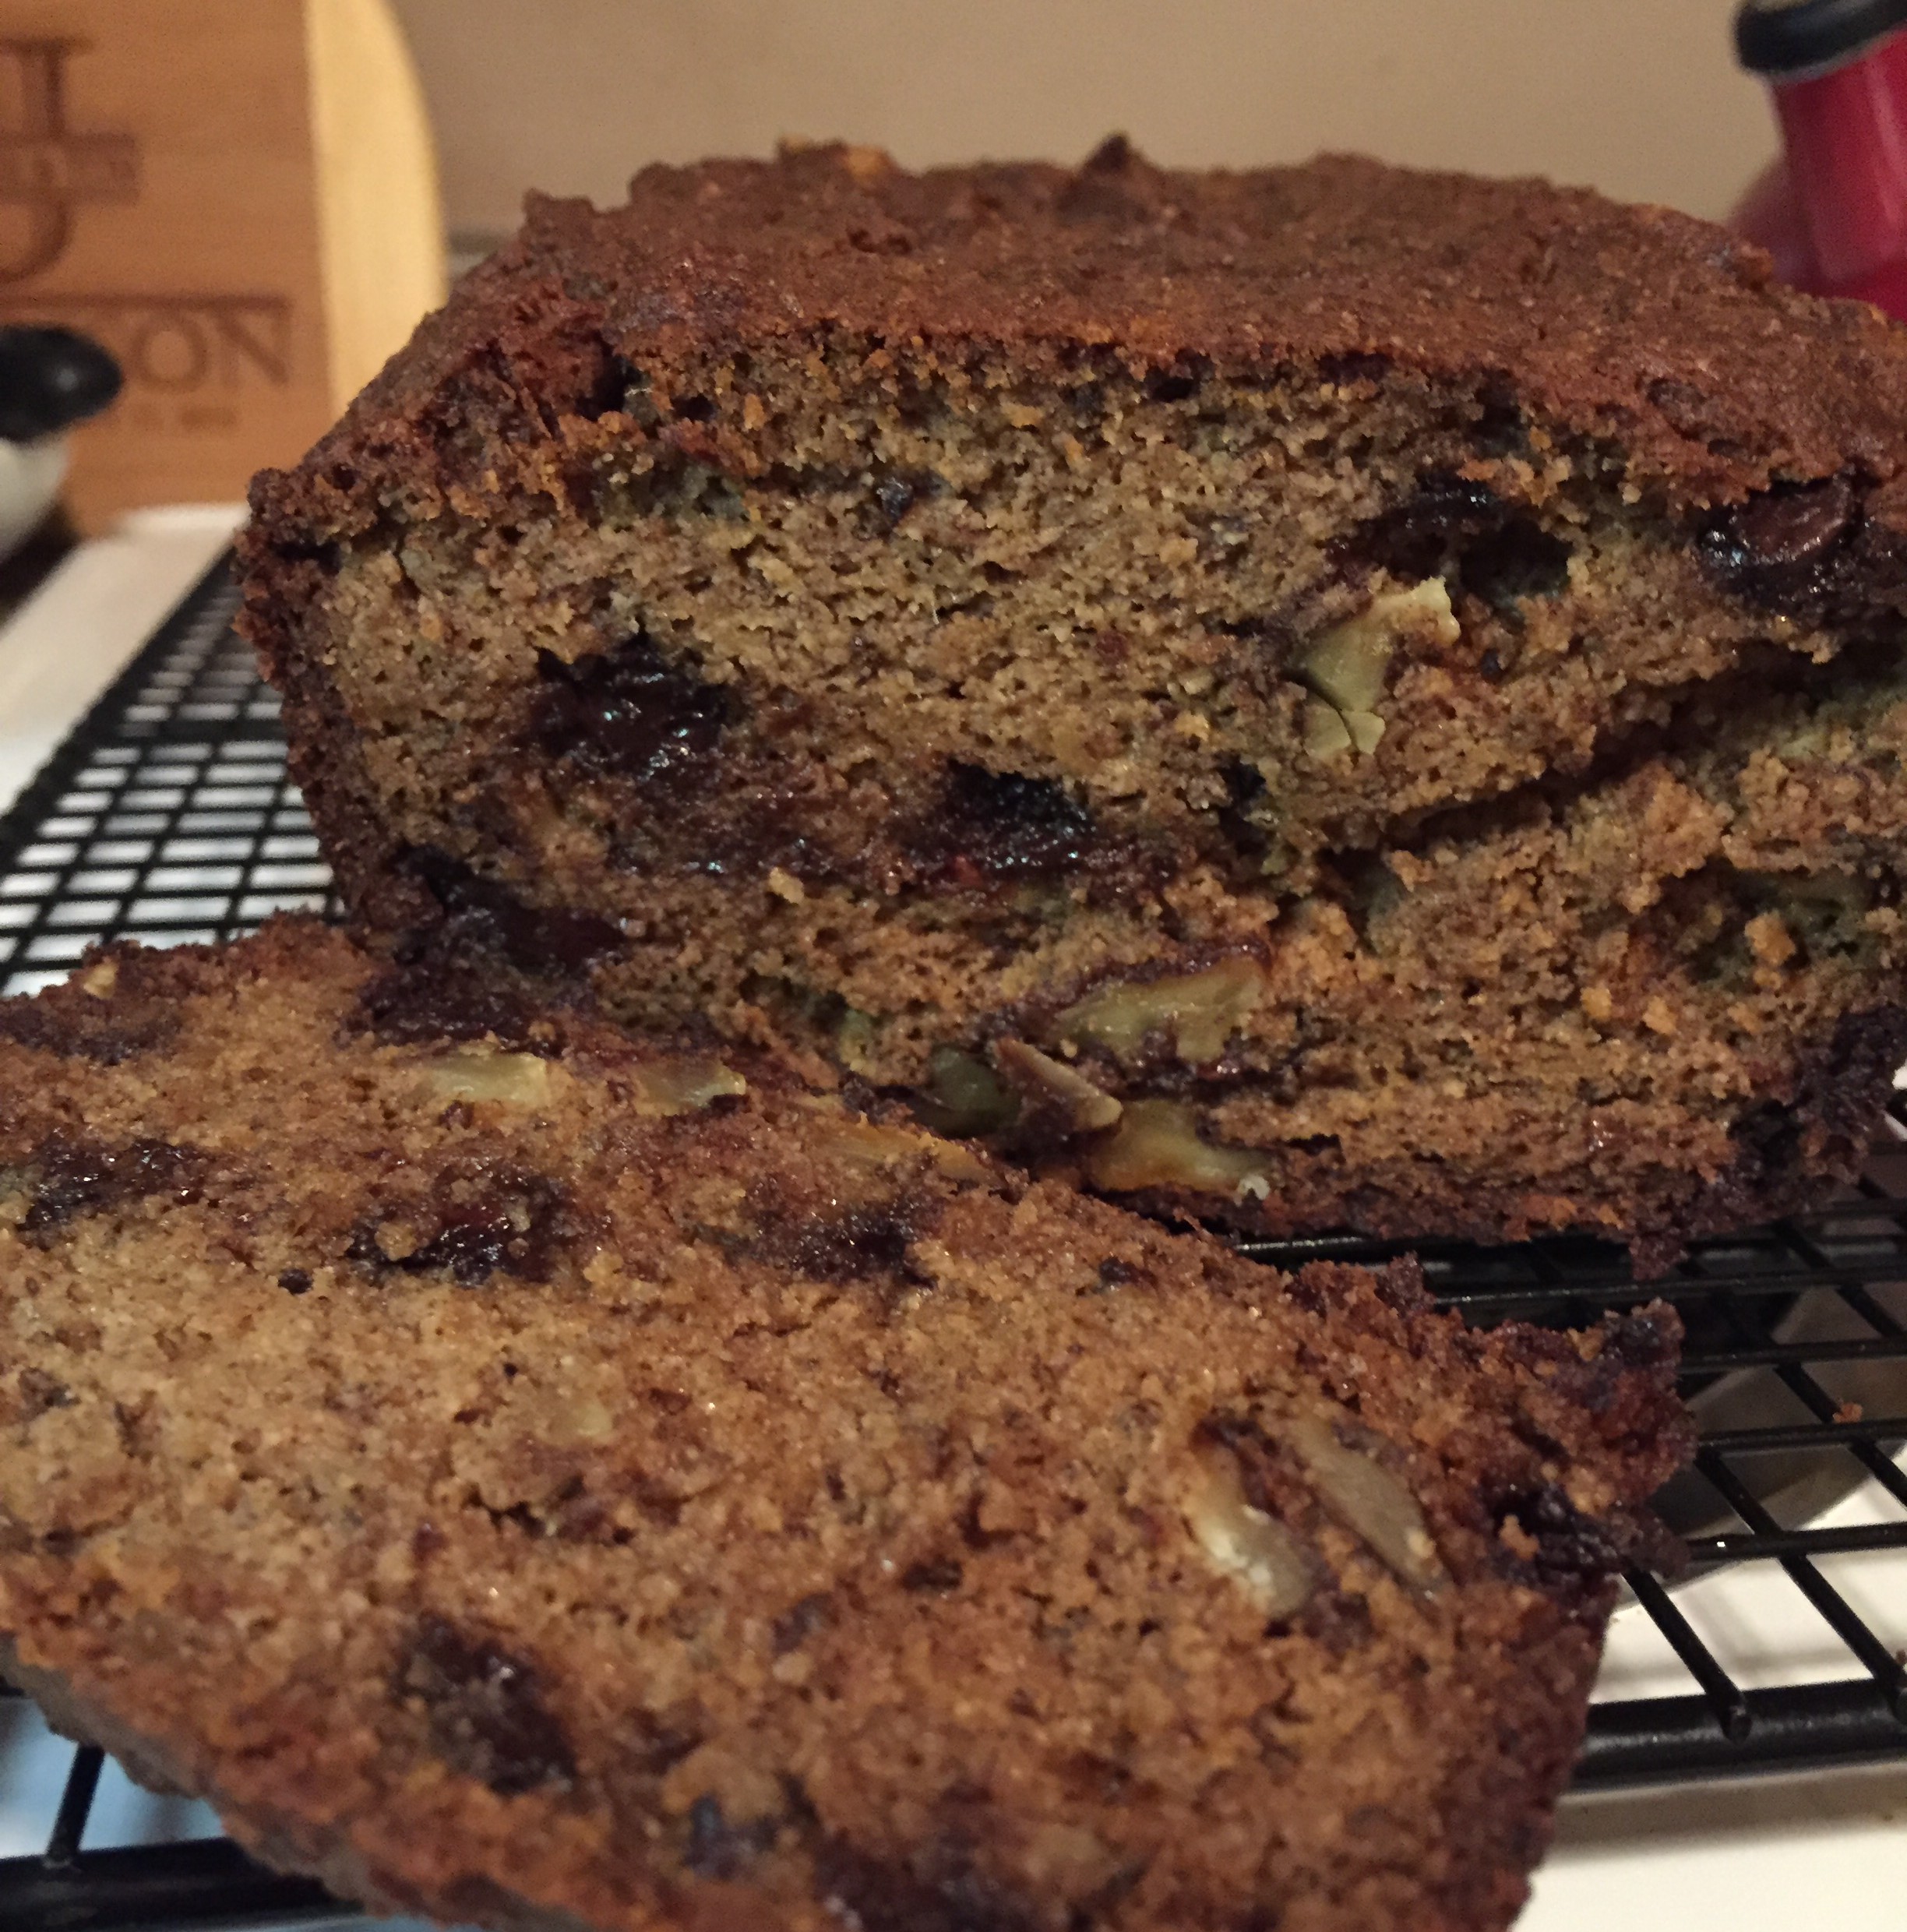
Knowing that this bread was dreamed up somewhat out of the blue and to create a compromise, we were completely surprised when it was absolutely delicious. To put it mildly, we’re obsessed with this bread–even without the inclusions of walnuts and chocolate chips
In fact, this was the exact email I got at 7:52 AM when Tom had it for breakfast the first time I made it just plain (ie: no inclusions):
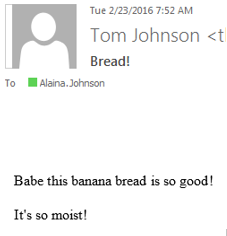
And Tom is hitting the nail on the head: this bread most notably delectably moist. Unlike most almond flour-based items, this bread is not dry and crumbly, but instead balances being perfectly dense with being wonderfully light. My favorite part? Its flavor profile emanates a strong banana presence, but it doesn’t overwhelm the subtle notes of vanilla, cinnamon, and nutmeg.
A slice of this bread is truly like a slice a heaven…especially when you include the walnuts and chocolate chips. Although I normally stray away from adding any refined sugar if I can help it, the decadence it adds to this recipe is just too good to pass up.
And the best part? This bread is still good for you (and diabetic-friendly!)–even if you add the chocolate chips! A slice of this deliciousness (with the mix-ins!) has only 18 net carbs and 13 sugars*–with almost all or the carbs/sugars coming from one of three natural sources: the almond flour (aka ground up almonds), the bananas, and the honey. In fact, if you remove the mix-ins, one slice has just 17 net carbs and 12 sugars…so in my opinion you might as well just throw on in those extra bits of goodness.
{*Note: For reference, the average slice of banana bread usually has between 40-50 grams carbohydrates and 20-30 grams of sugar. If store-bought (ie: Starbucks} it’s usually toward the higher-end…yikes!}
It’s also worth mentioning that each slice has 9 (yes, NINE!) grams of protein. You can eat a slice of this bread for breakfast and not be hungry until lunchtime*. It’s also great for Tom to get a shot of protein in the morning before he works out over lunch, and it makes me feel good he’s not getting his morning energy from other typical breakfast items that are loaded with sugar.
{*Note: Normally, if I don’t eat peanut butter with my breakfast I want to eat my arm off by 11AM. This bread solves this problem completely and also helps me with the whole trying to cut-back-on-my-peanut-butter-addiction thing. Win-win}
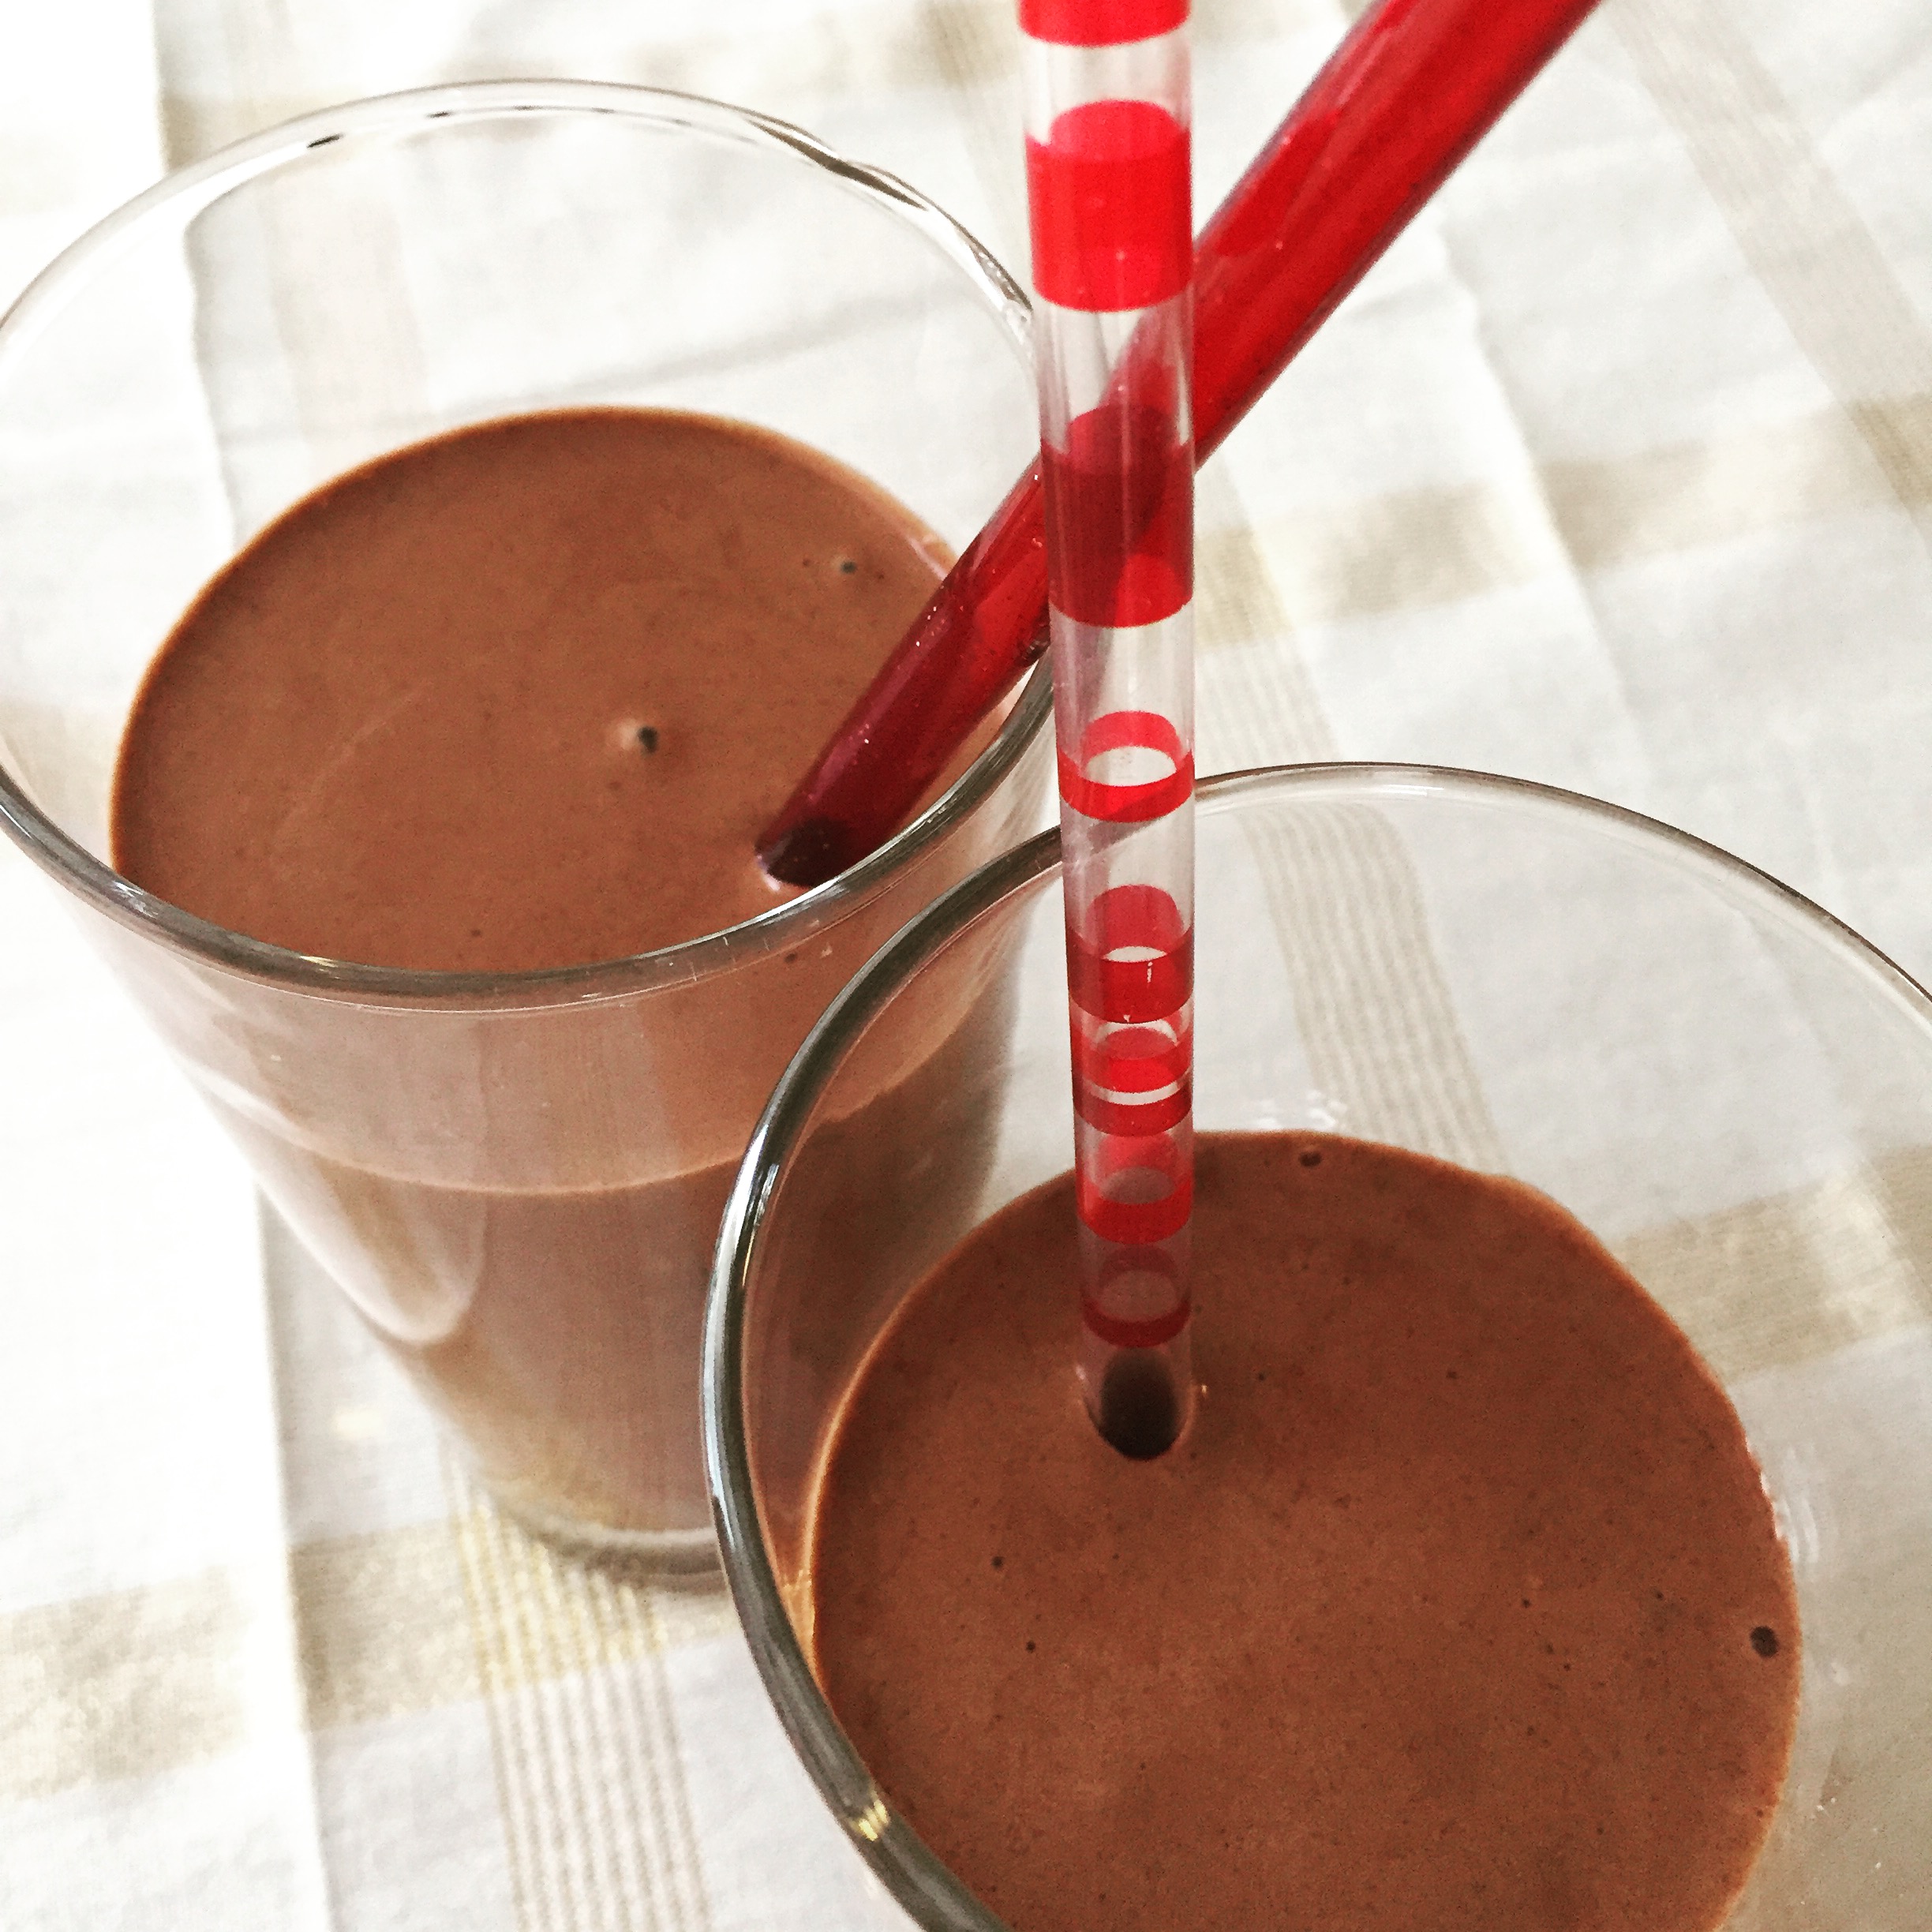
And, of course, you don’t have to have this bread just for breakfast. It makes a yummy (and filling!) dessert that’s a perfect way to subdue your 8PM cravings for a little taste of something sweet…especially when paired with a big glass of milk.
Having this bread for breakfast and dessert also serves another purpose: you go through the loaf a heck of a lot faster. And if you go through the loaf faster, you don’t have to put it in the freezer. And if you don’t have to put it in the freezer, your husband doesn’t think you’re a crazy person.
So while we’ve learned a lot about ourselves and each other in this first year of marriage, we’ve also gotten a lot wiser. There’s ways to compromise on the big things and the little things, and baking a bread that we can both eat and enjoy has been a great way for us to compromise on the little thing regarding how we store our bread.
And while this little thing concerning storing bread in the freezer may seem trivial, the reality is that how we approach the small disagreements is a direct reflection on how we will approach the bigger ones that are sure to come when bigger life changes (read: a house, a baby, etc.) come our way.
We’re each slowly building our compromise muscles with every little disagreement that will make us a stronger and more empathetic spouse for the other when more difficult situations inevitably occur.
So enjoy this delectable bread and the silly reason it came to be. But remember: there is only one type of milk you should ever enjoy it with: SKIM, the best type of milk the world.
{*Note: We still may or may have not yet agreed upon what type of milk is best…but this is my blog so I’m making the decision. SKIM. IS. BEST. Sorry, Thomas 🙂}
Here’s to making many more culinary compromises…all in the name of love.
xoxo,
alaina