that’s a wrap!

FINAL
Our version of a quick weeknight meal: a delish buffalo chicken wrap that uses pre-cooked rotisserie chicken and store-bought greek yogurt dressing to make healthy meal in under 20 minutes

To put it simply, I’m a planner.

I’m really actually probably putting it a bit too normal-sounding…I’m actually more likely categorized as an excessive planner. I literally have a plan for everything; whether it be my outfit for tomorrow or when Tom and I want to have babies…there is a PLAN.

{Note: Why the second after you’re married do people start asking you when you’re having kids? It’s very odd. I don’t want to share my husband with a kiddo right now. It feels selfish…but he’s the most handsome, amazing man I’ve ever met. I just want to focus on him for a little while!}

I mean COME ON. How could I not want some time with just him sans kiddos?!

Anywho, while I know this can seem overwhelming to some, I find extraordinary comfort in simply having a plan. The plan can change (and it often does), but I feel better about life when I feel like I’ve at least thought about what’s happening next and the most efficient and effective way to tackle it.

{Note: I am totally that person when there isn’t a plan to jump in and just take over. This was confirmed both by an assessment I took two weeks ago in my project management class as well as this weekend at Tom’s sister’s wedding. Does there need to be a plan on how to have perfectly spaced tables? Heck no! Do I for some odd reason feel the crazy need to create one? YES.}

The most important plan I make every week is our meal plan. Every Saturday or Sunday Tom and I sit down and make a grid that outlines every day of the week with lunch and dinner columns. As we decide what to have, we make a grocery list below it laying out what we need from Costco vs. Target to make the meal plan a reality. Then we go shopping…ideally on a Saturday afternoon where we can eat all the delicious samples at Costco while we shop.

costco samples
I am 90% convinced that Costco samples are the reason my husband loves to grocery shop.

Now here’s the dose of reality: despite having perfectly planned meals for the entire week in a beautifully formatted grid…we almost NEVER stick to the plan. Tom gets busy and doesn’t have time to eat lunch one day, I have a work event that pops up one afternoon, or there’s a last-minute family gathering one night. That’s just life!

But here’s the dealio…when it’s 5:15 and you all of a sudden have something happening at 6:00 and you have exactly 25 minutes to make, eat, and clean up dinner that beautiful plan to eat spaghetti squash that takes an hour to cook goes FLYING out the window.

In this time-crunched scenario, you have a few options:

  • Grab fast food on the way
    • This is Tom’s pre-marriage preferred option. It meant “Hey! I have a reason to get McDonald’s! YAHOOOOO!”
  • Skip dinner and grab a snack
    • This option is usually followed by devouring your entire fridge when you get home at 10PM
  • Have one of your back-up meals you have handy for JUST this such occasion 

Now because I am such an excessive planner, YES we always have some frozen leftovers or something that can be put together for a quick, healthy meal.

BUTTTT here’s the thing…you don’t have to be an insane planner like me to be able to throw a quick & healthy meal together when time-crunched evenings inevitably arise. In fact, it’s so easy to keep everything on-hand for our favorite go-to meal when time is limited and you’re STARVING.

So when Tom wants McDonald’s, I want healthy food, and we both want it FAST…where’s the compromise?

Here’s our answer:

  • Using pre-cooked rotisserie chicken for the base of the meal
  • Keeping the ingredient list short & simple–as well as easily interchangeable if you don’t have something on-hand
  • Saving yourself time by using store-bought greek-yogurt dressing

| In-a-Hurry Buffalo Chicken Wraps |

Serves: 6 Tom’s OR Alaina’s (just depends how much you fill the wraps!)

Ingredients Needed:

For the filling:

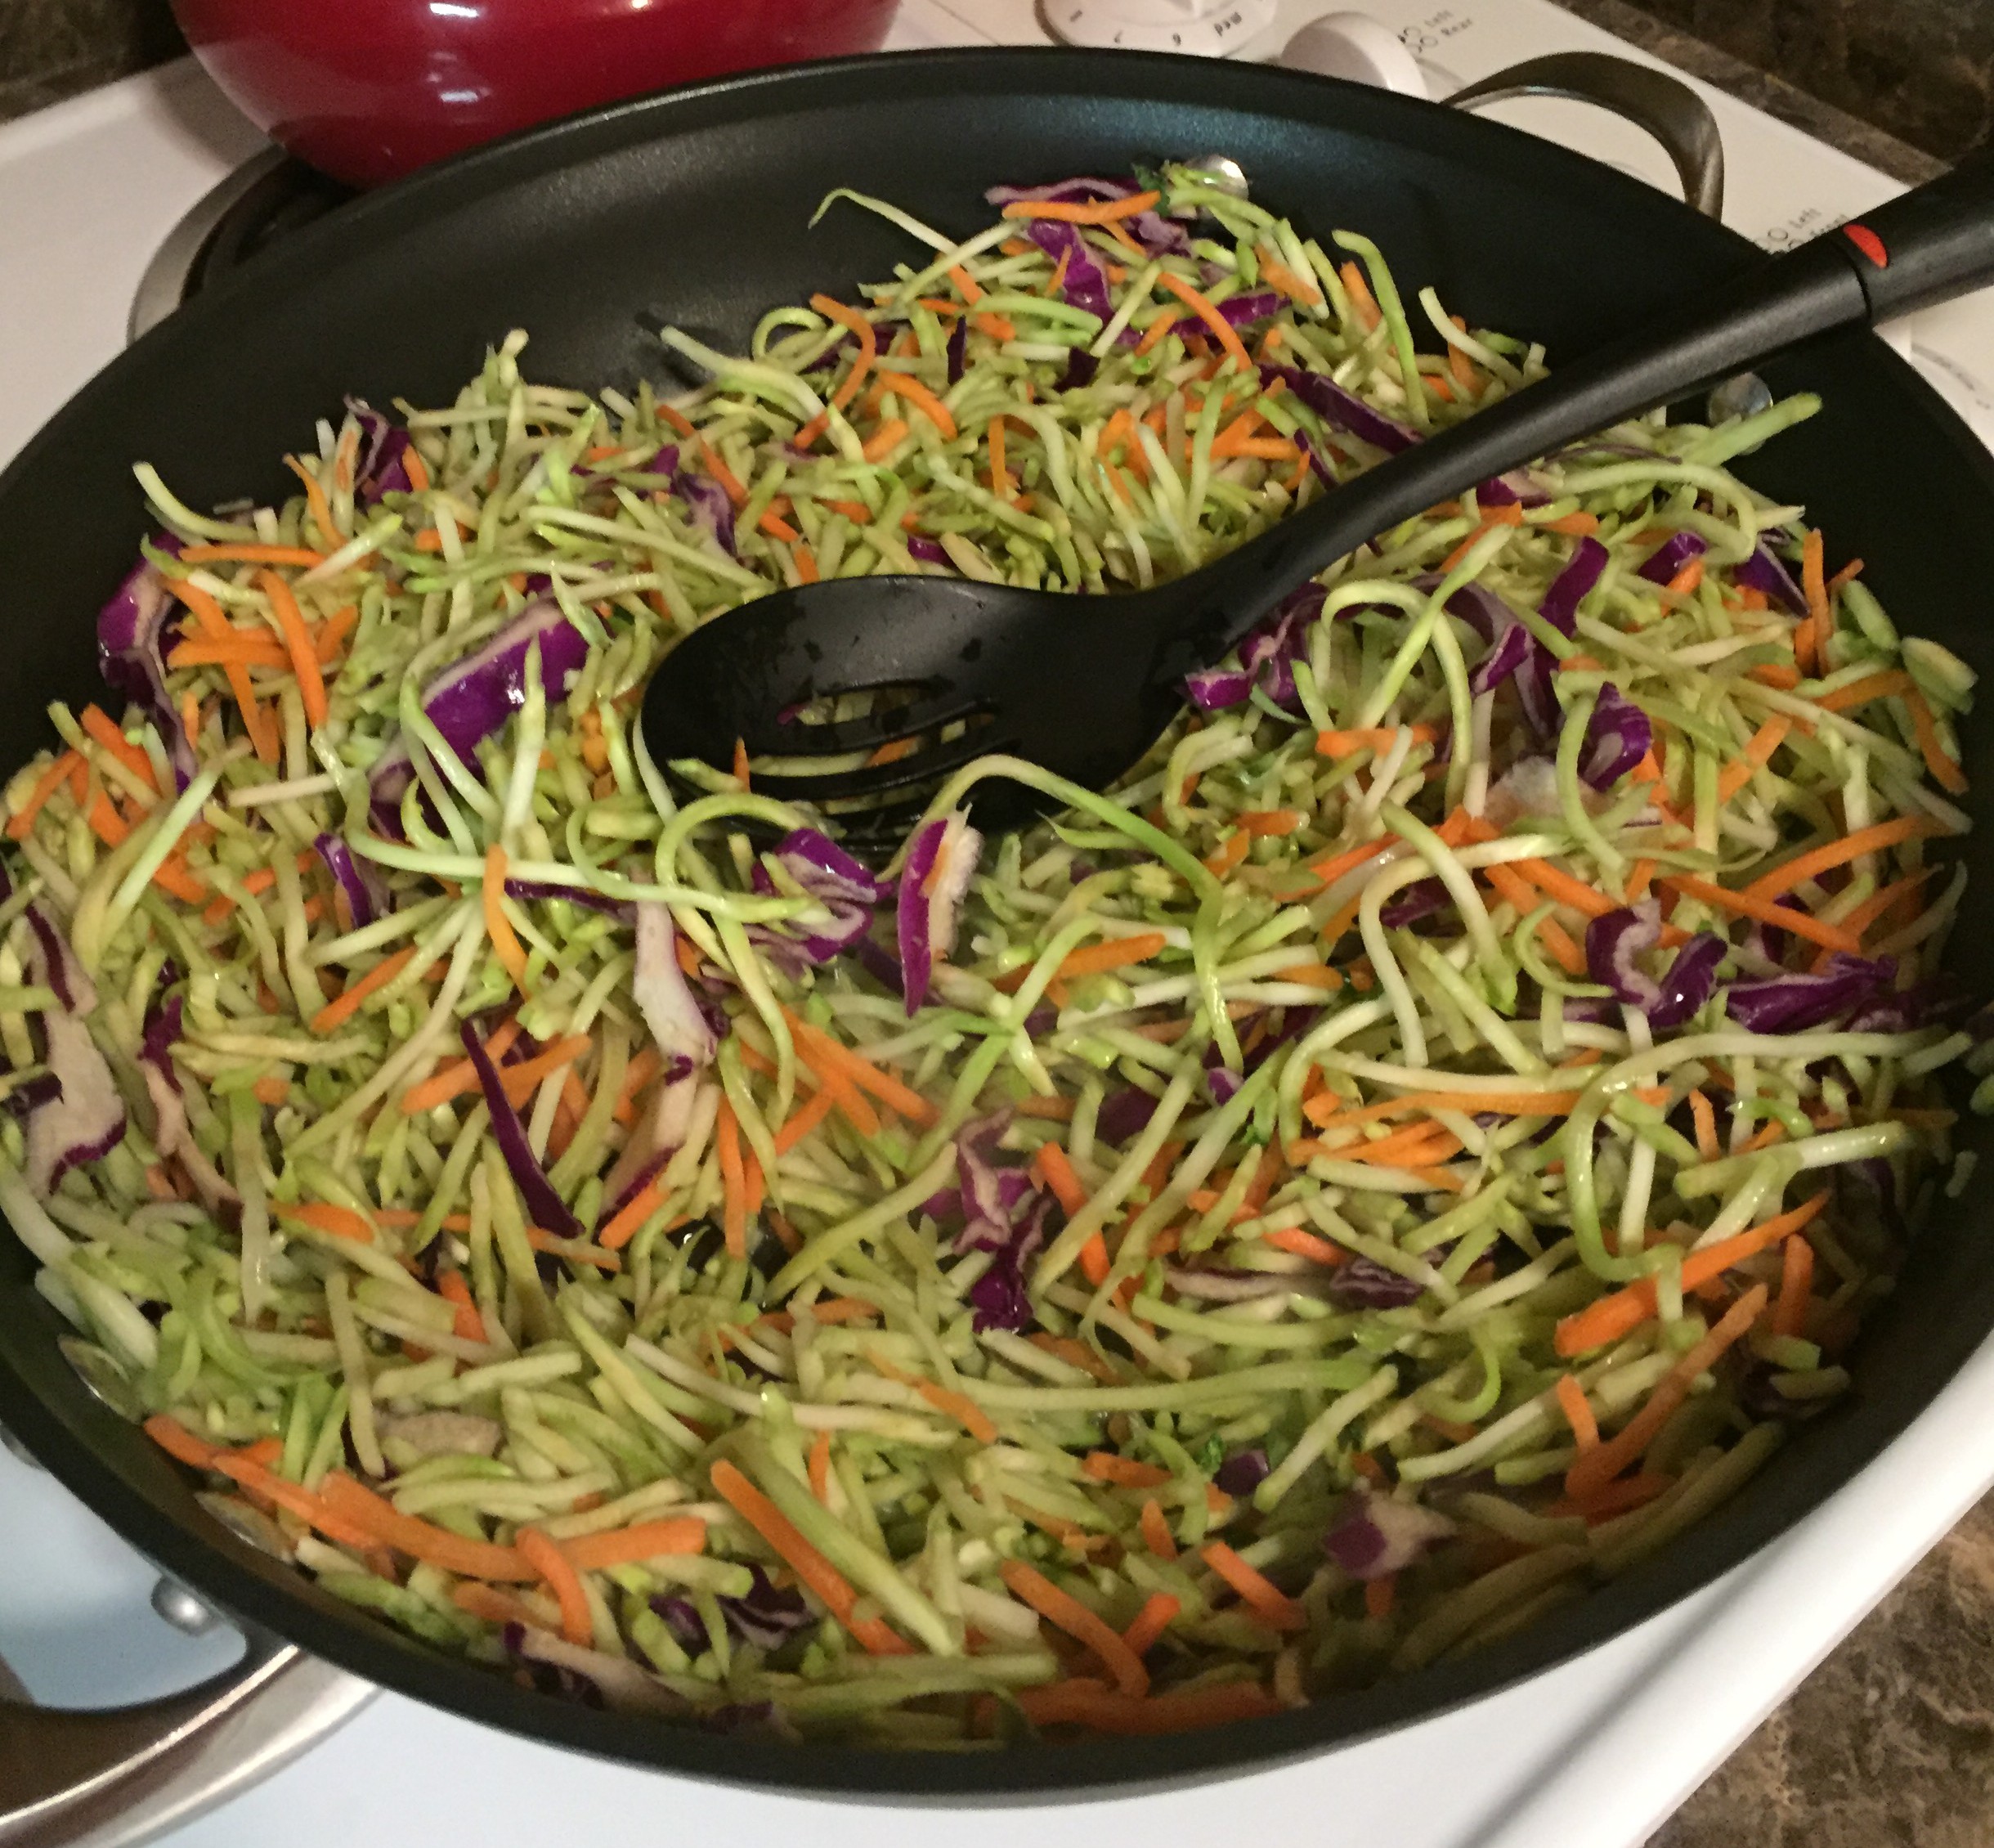
  • 1 1/2 cups onion, chopped
  • 1 1/2 cups celery, chopped
    • If you don’t have celery, swap in carrots instead
      • Don’t have carrots either? Just omit this ingredient!
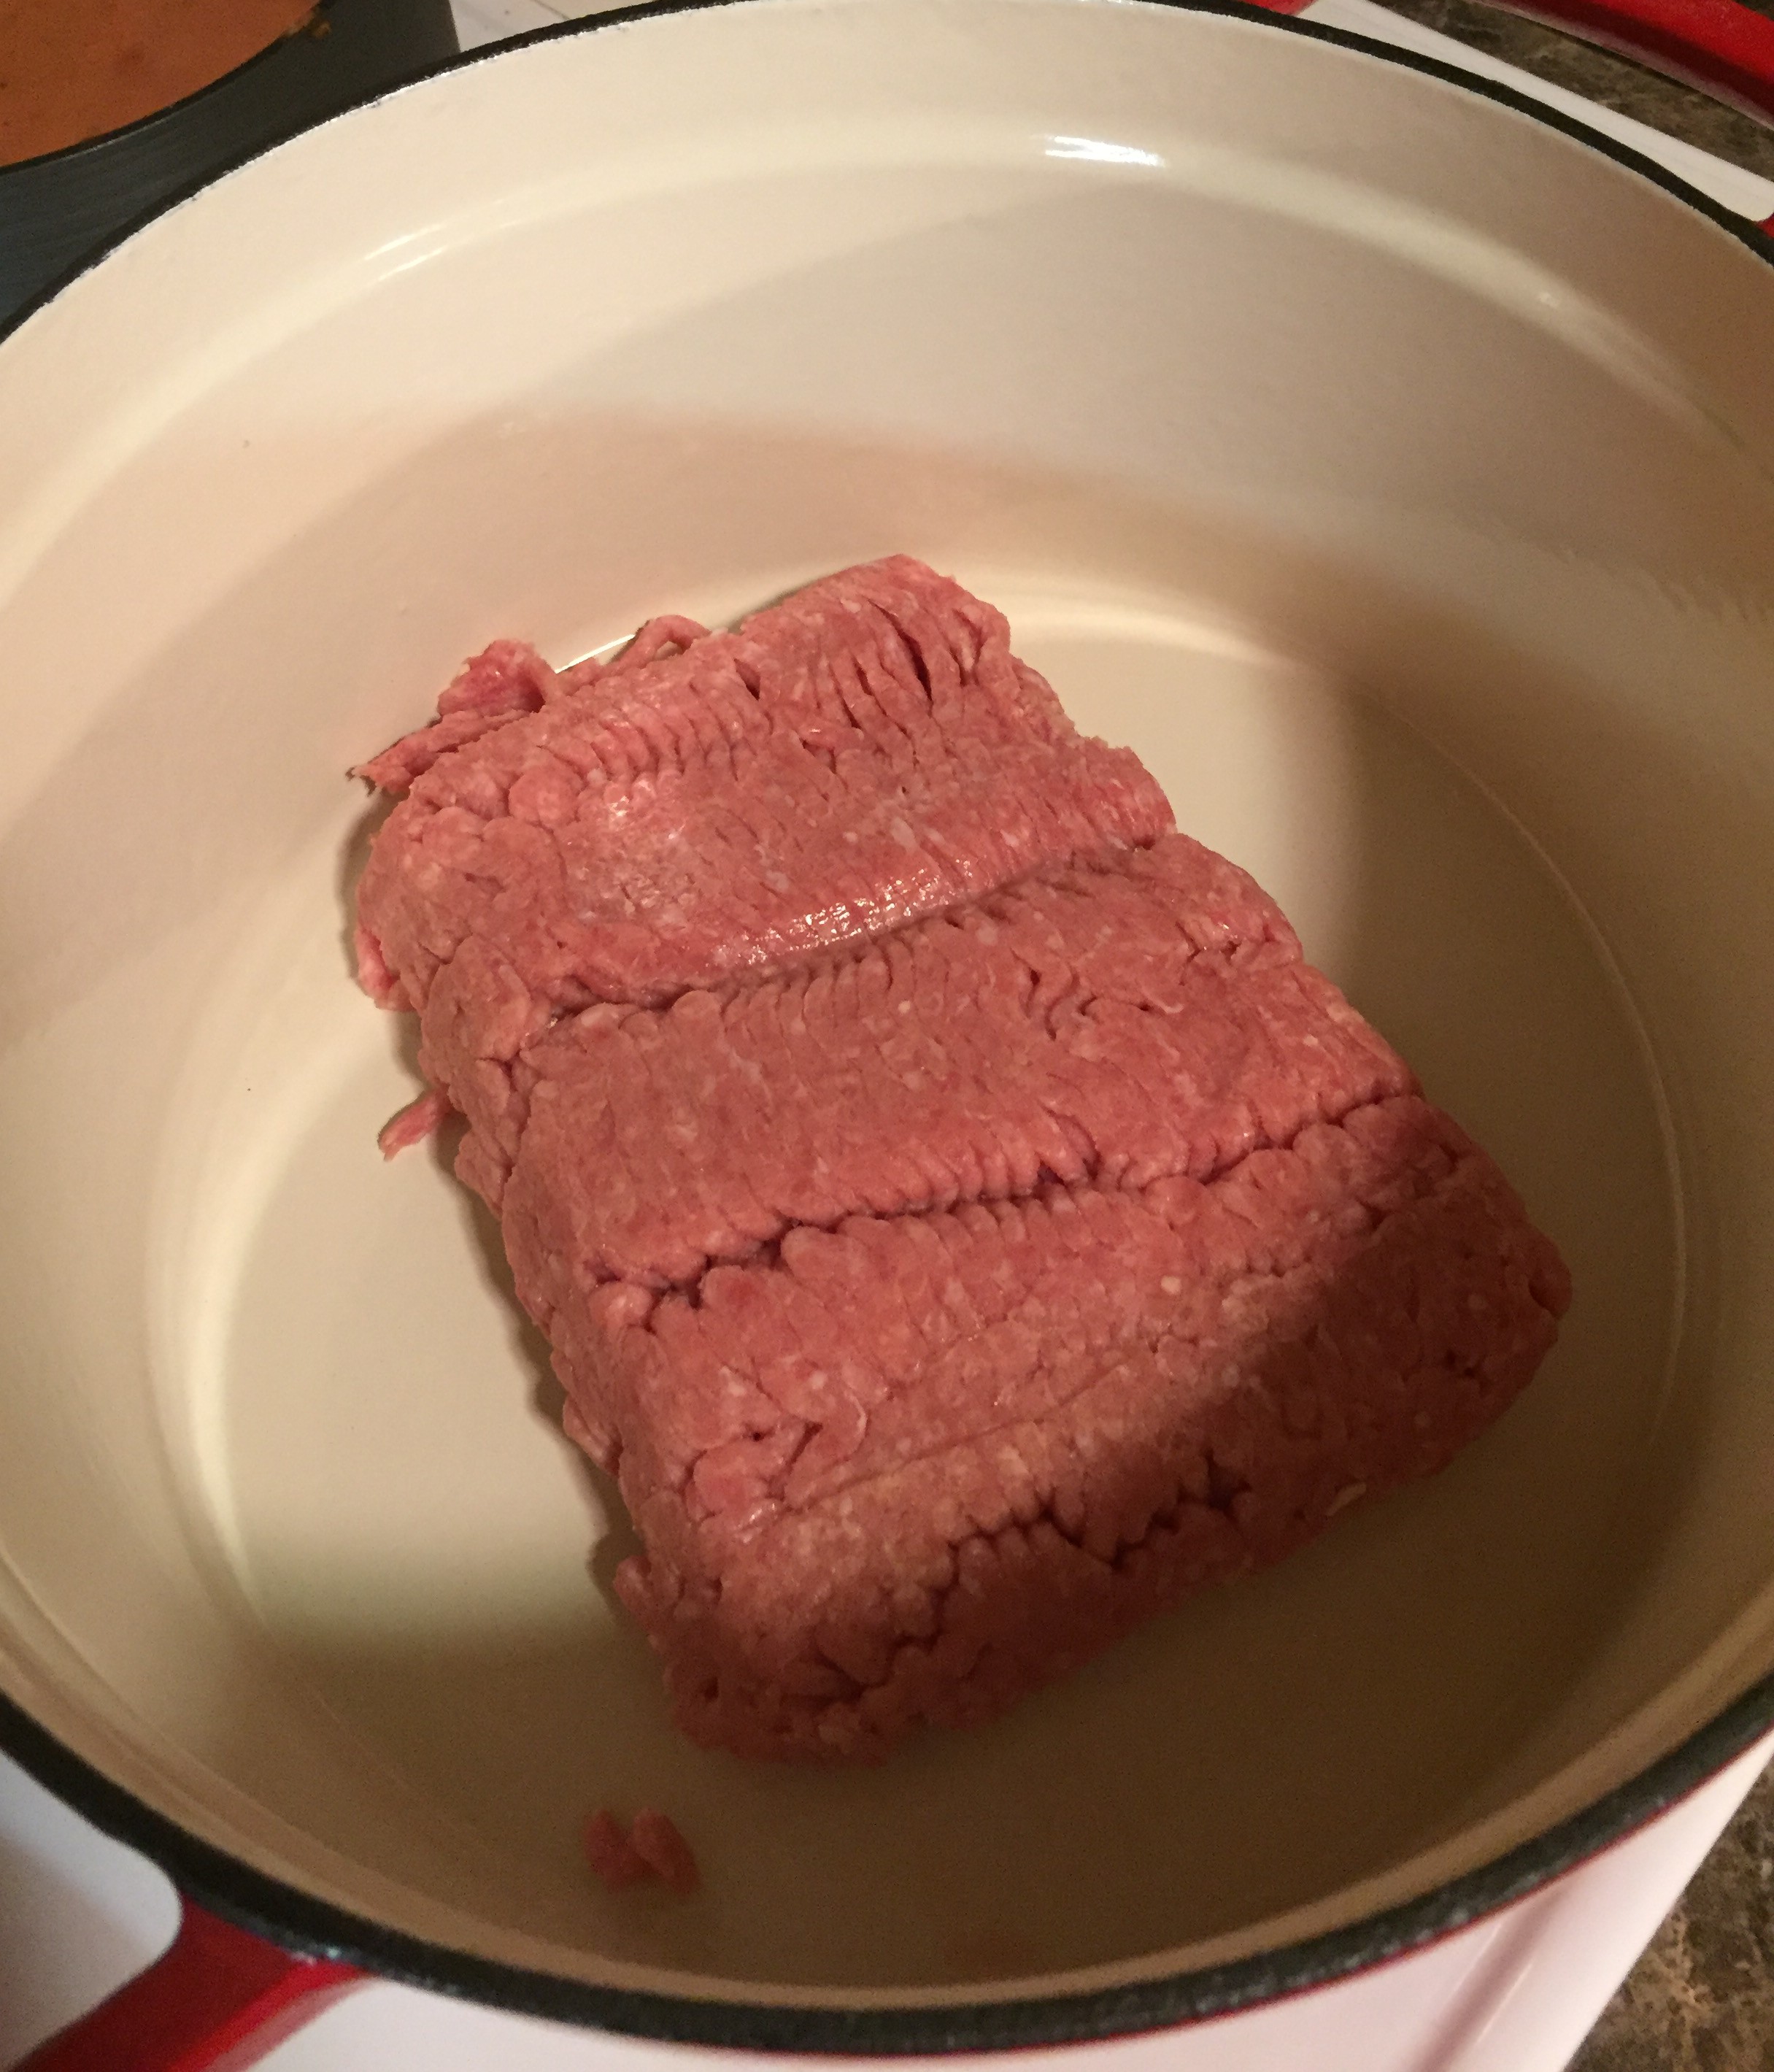
  • 2 cups rotisserie chicken, chopped
    • GET IT AT COSTCO. IT COMES PRE-PULLED. #gamechanger
  • 1/2 cup shredded cheese
    • Any kind will do–I like to use a cheddar jack if possible
  • 6-10 romaine leaves, washed & dried
    • Or any type of lettuce…or omit it if you don’t have any!
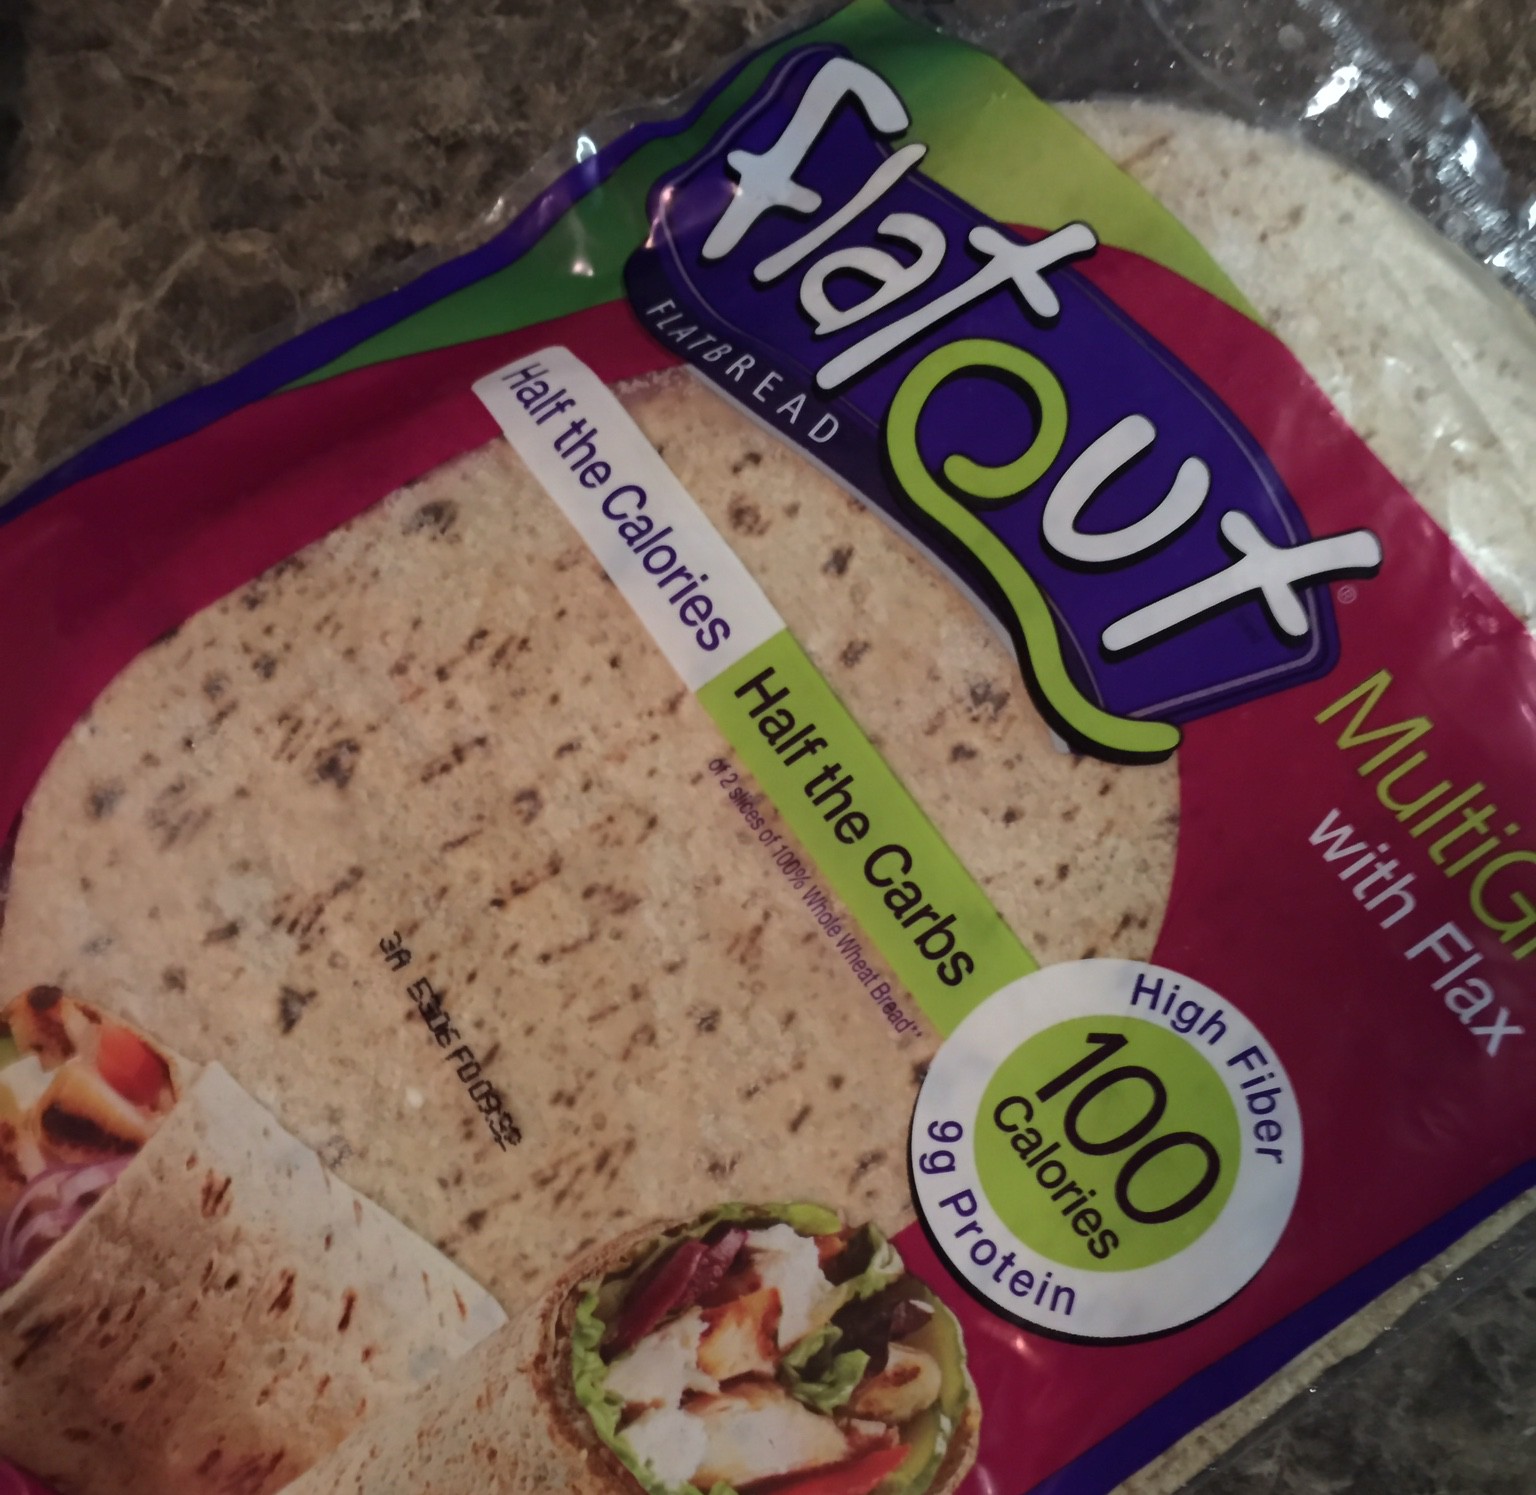
  • 6 Flatout wraps
    • Store these in the freezer so you always have them on-hand
    • You can find these by the bakery in Target stores or by the packaged bread/tortillas at Costco
life changing.
life changing FIBER-PACKED wraps! if you do freeze them, just set them out when you start sautéing the veggies so they have time to thaw out.
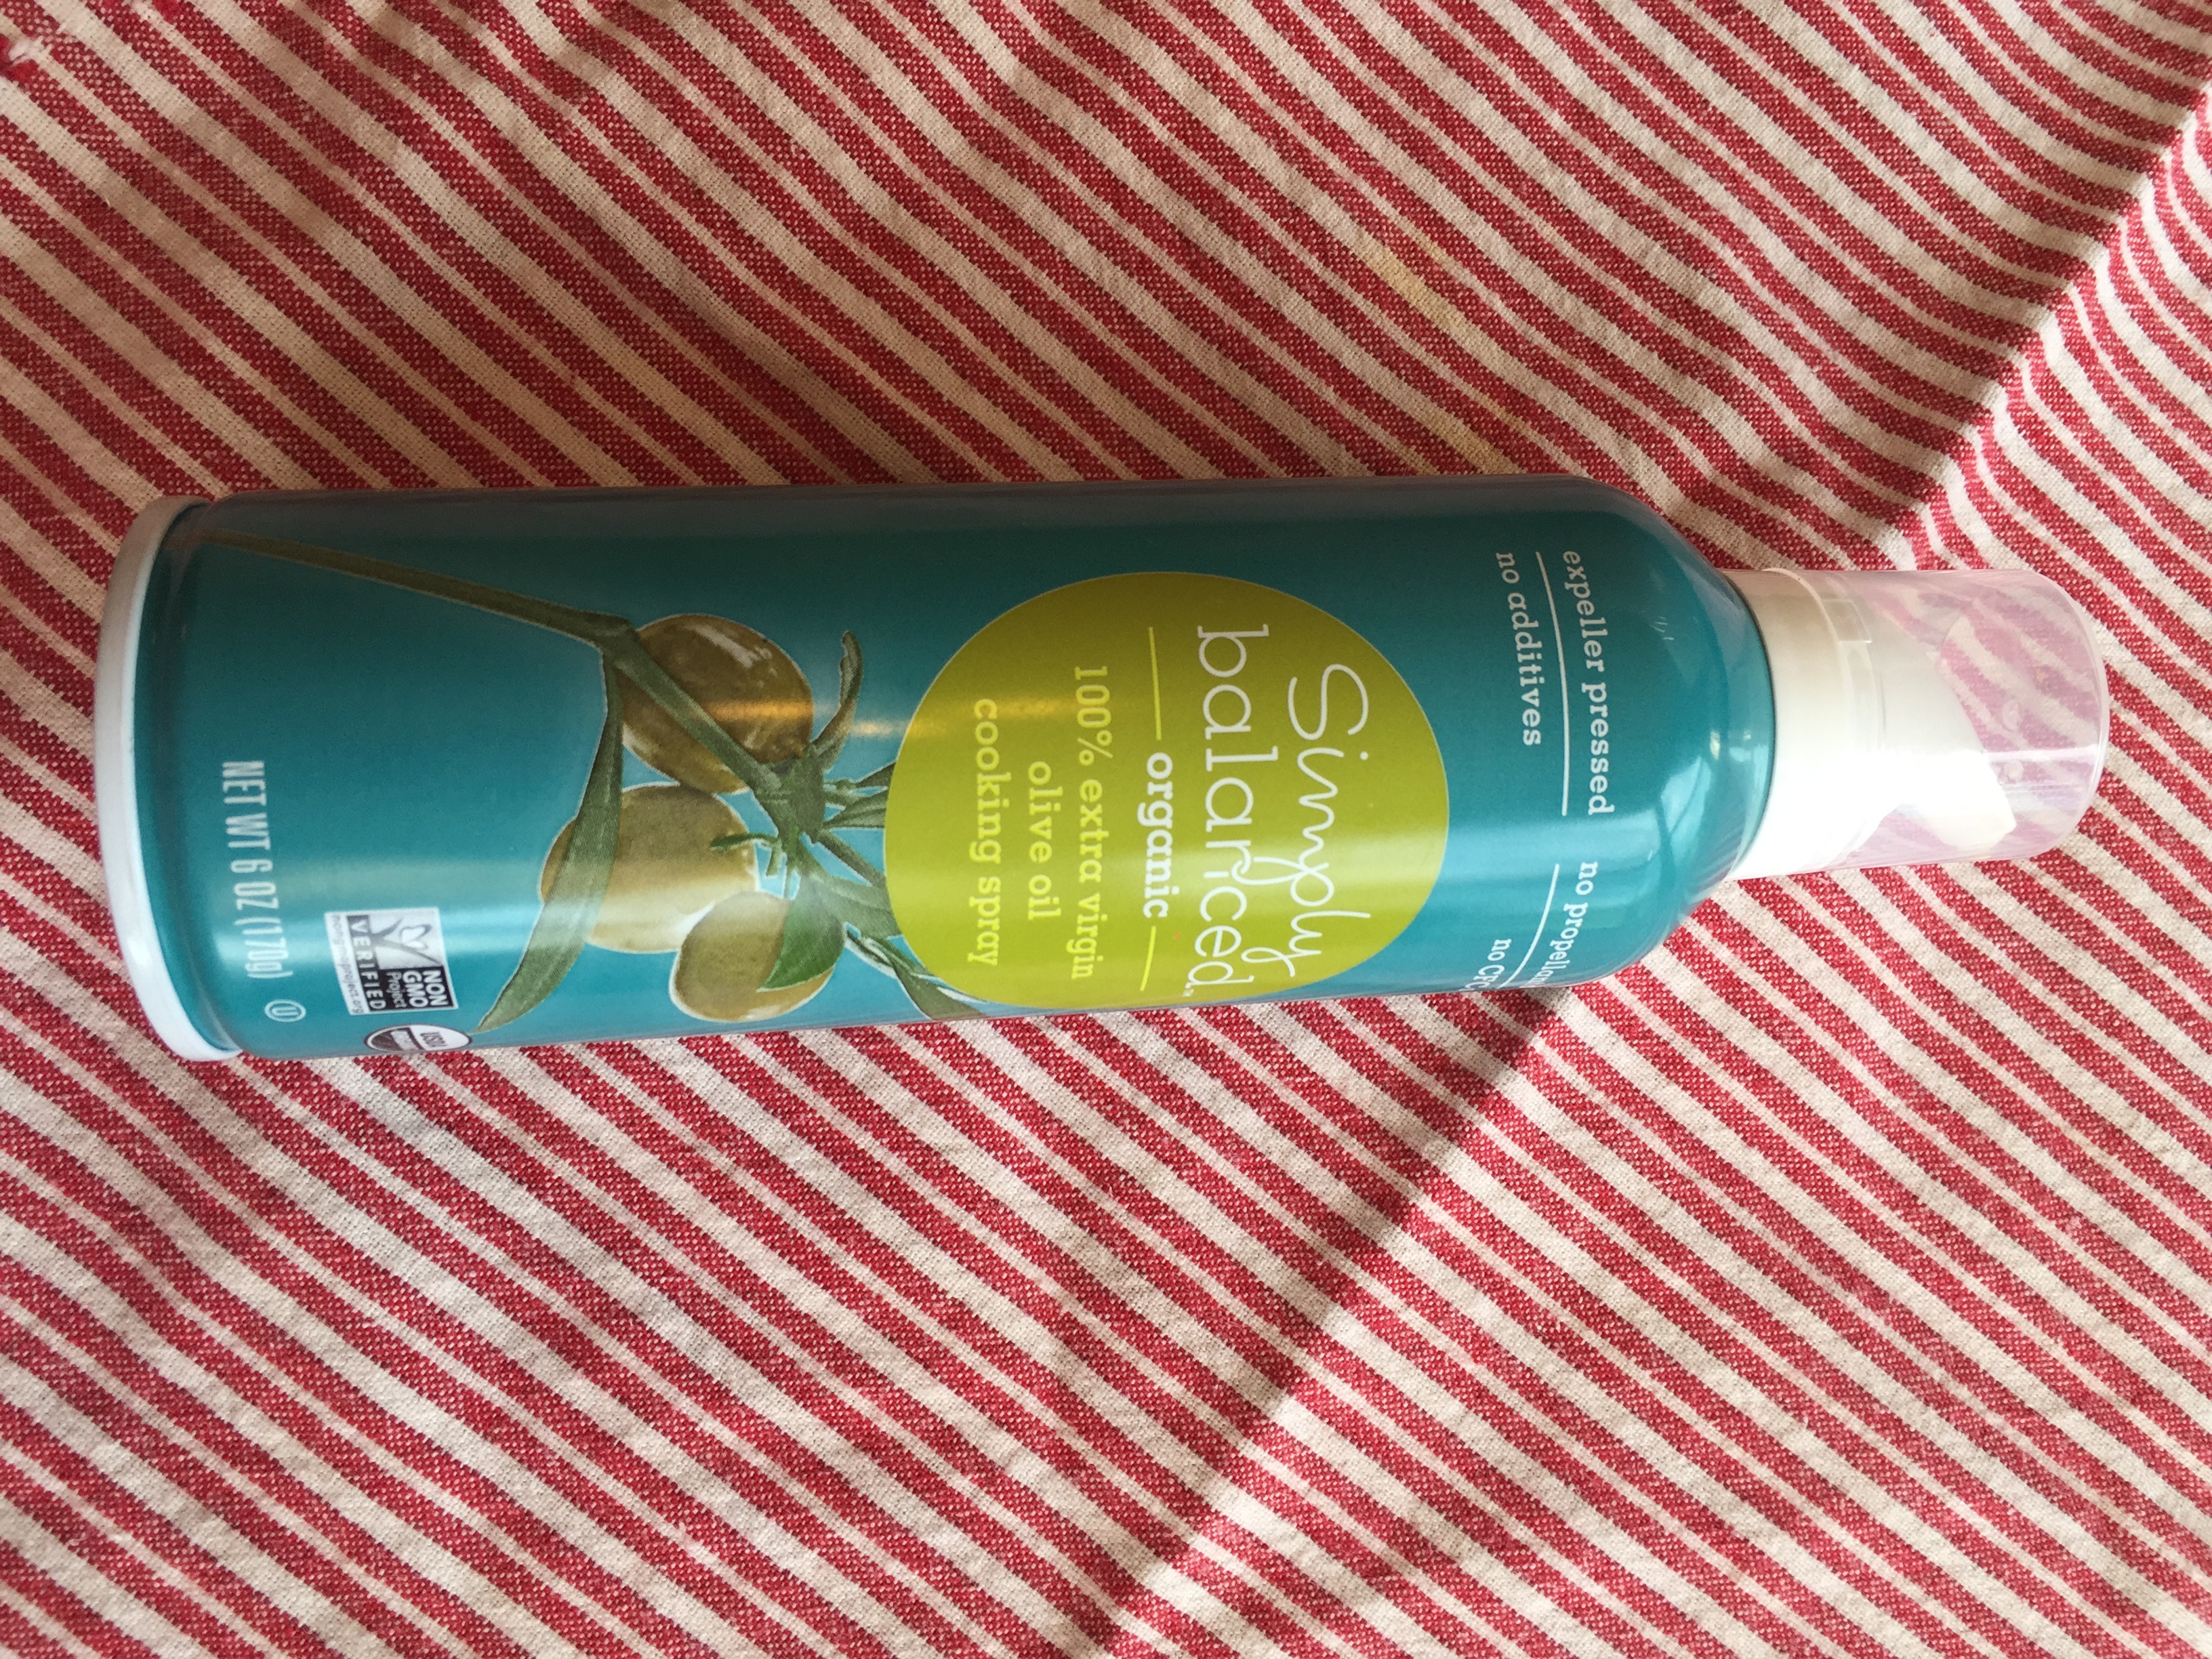
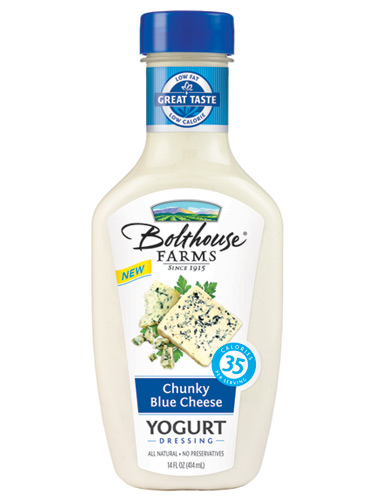
  • 6 tbsp. Bolthouse Farms Chunky Blue Cheese Yogurt Dressing
bolthouse-farms-chunky-blue-cheese-lgn
SO GOOD. And so easy to always keep on-hand!

For the sauce:

  • 1 cup Frank’s Red Hot
  • 2 tbsp. butter
    • Don’t freak out. Yes, it’s butter. Yes, you need it. NO this little bit will not hurt you. Butter is your friend!

Directions:

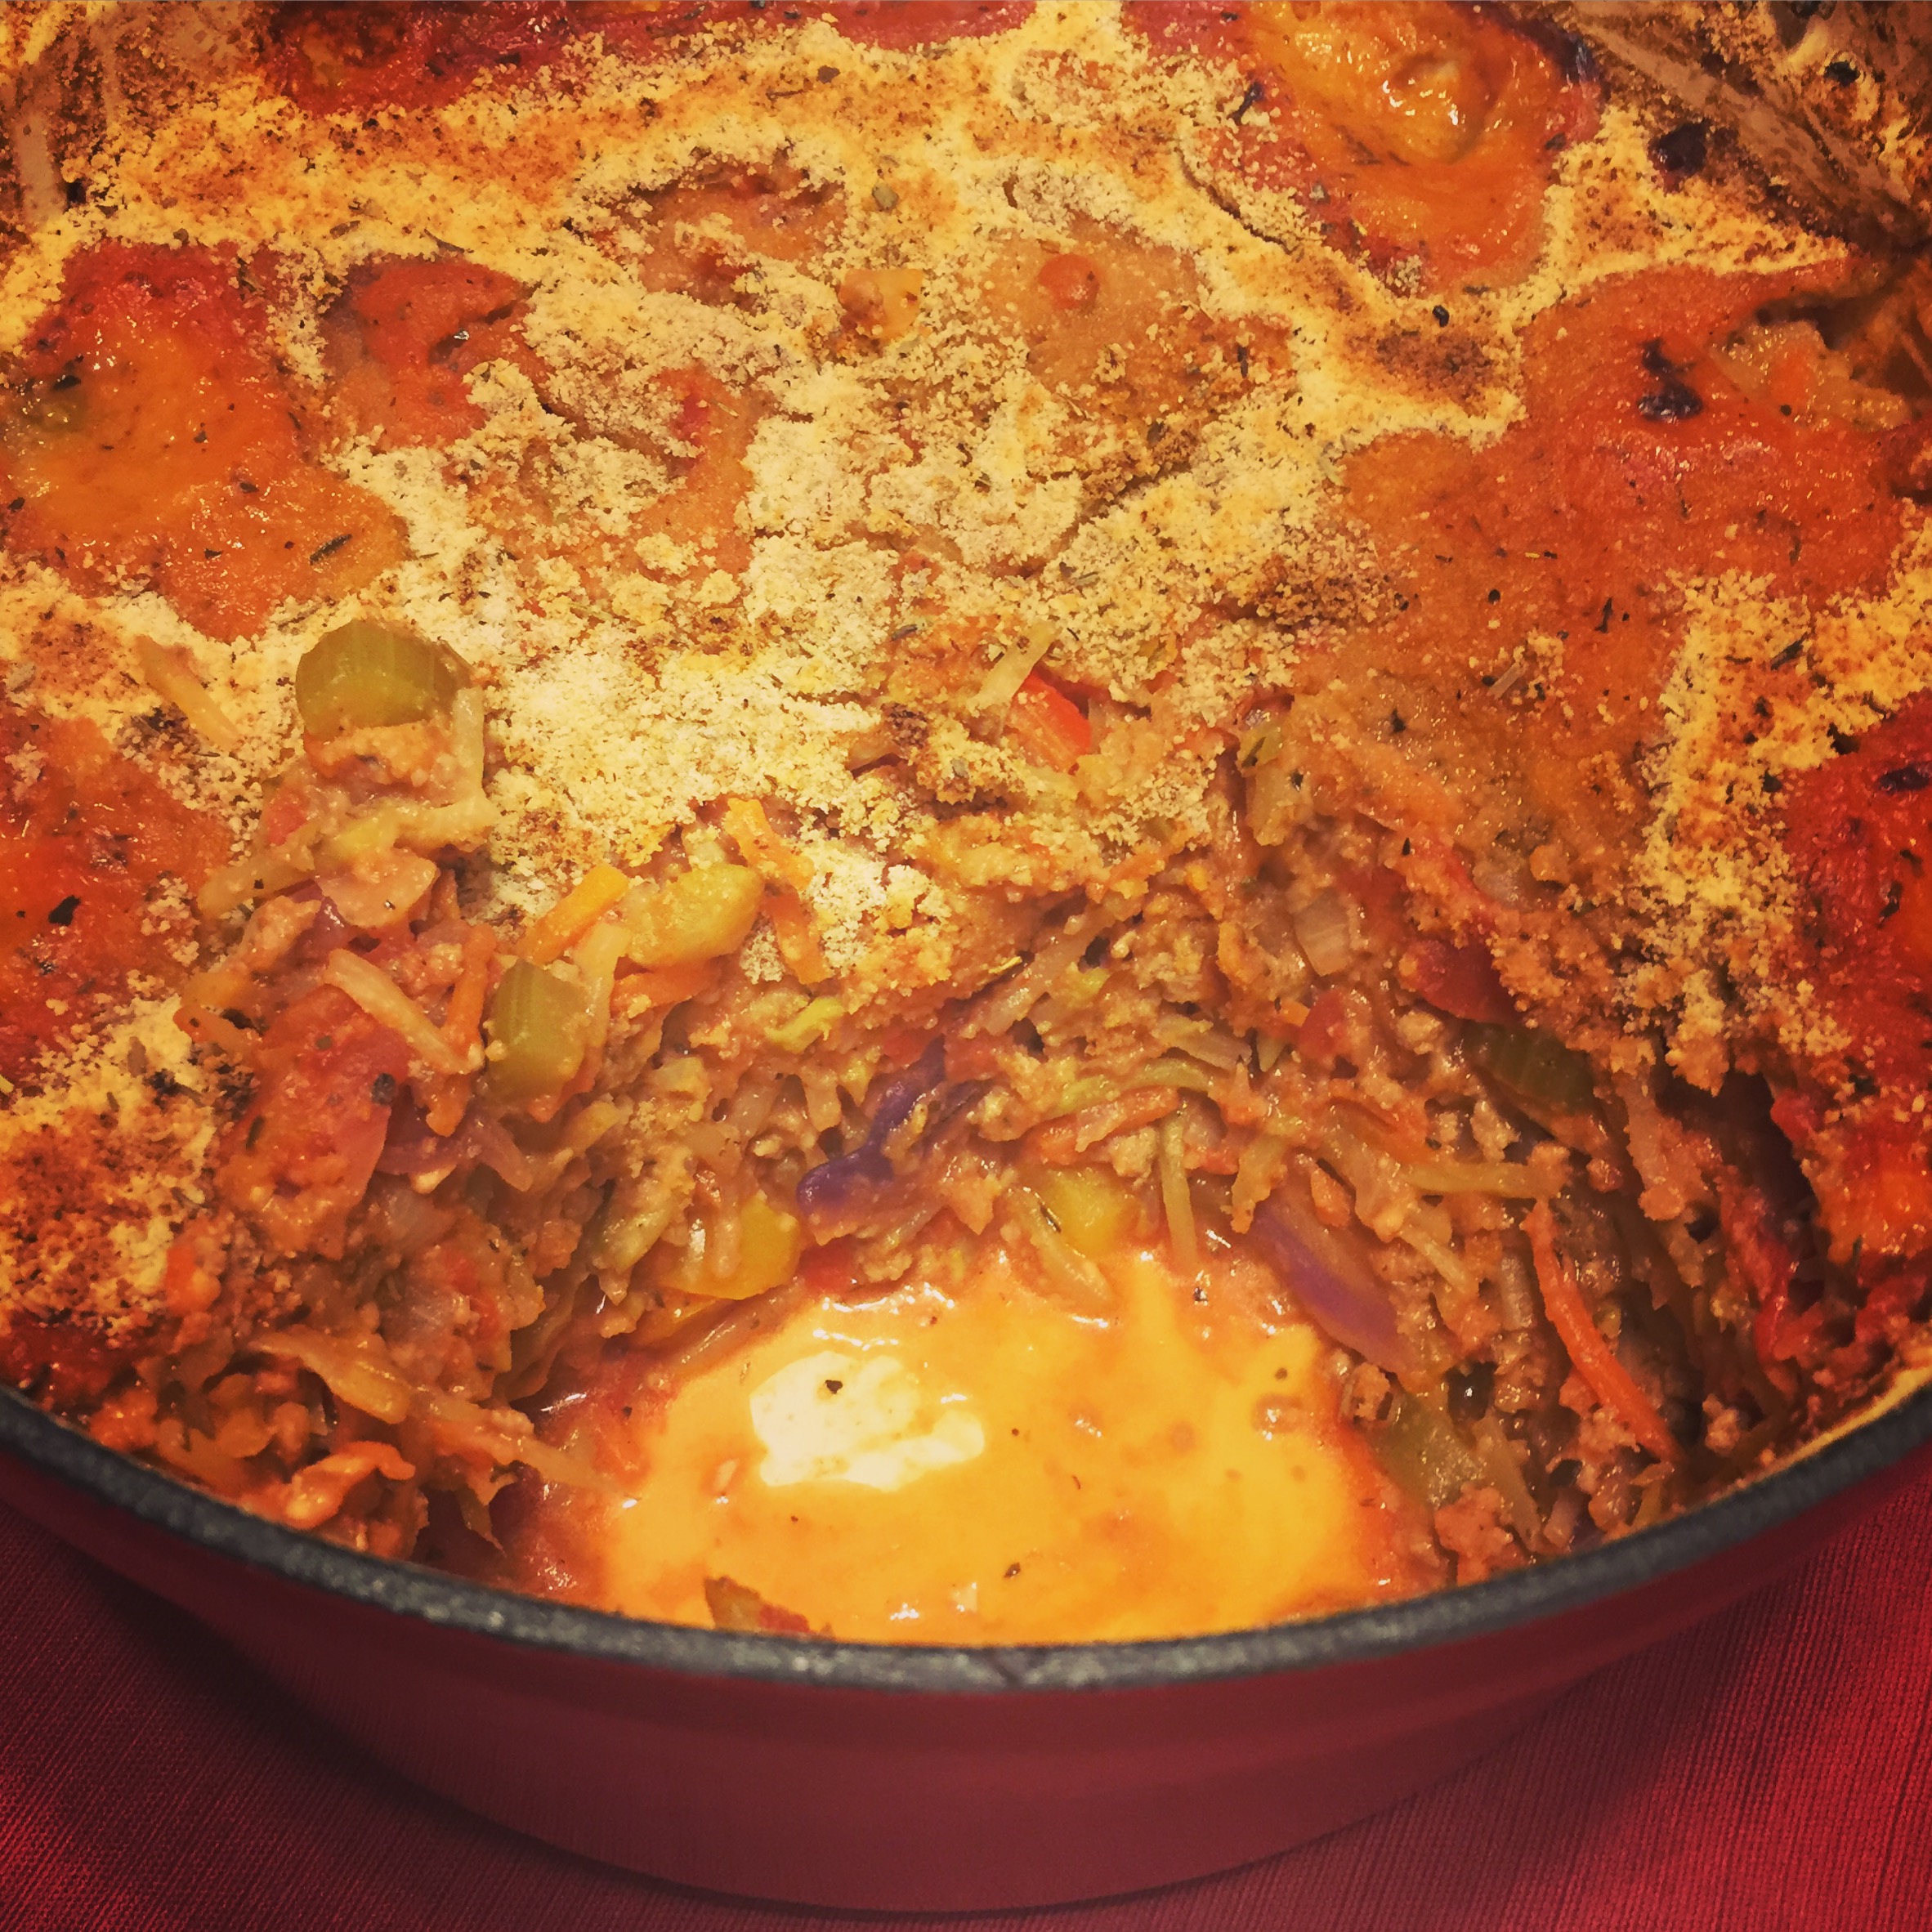
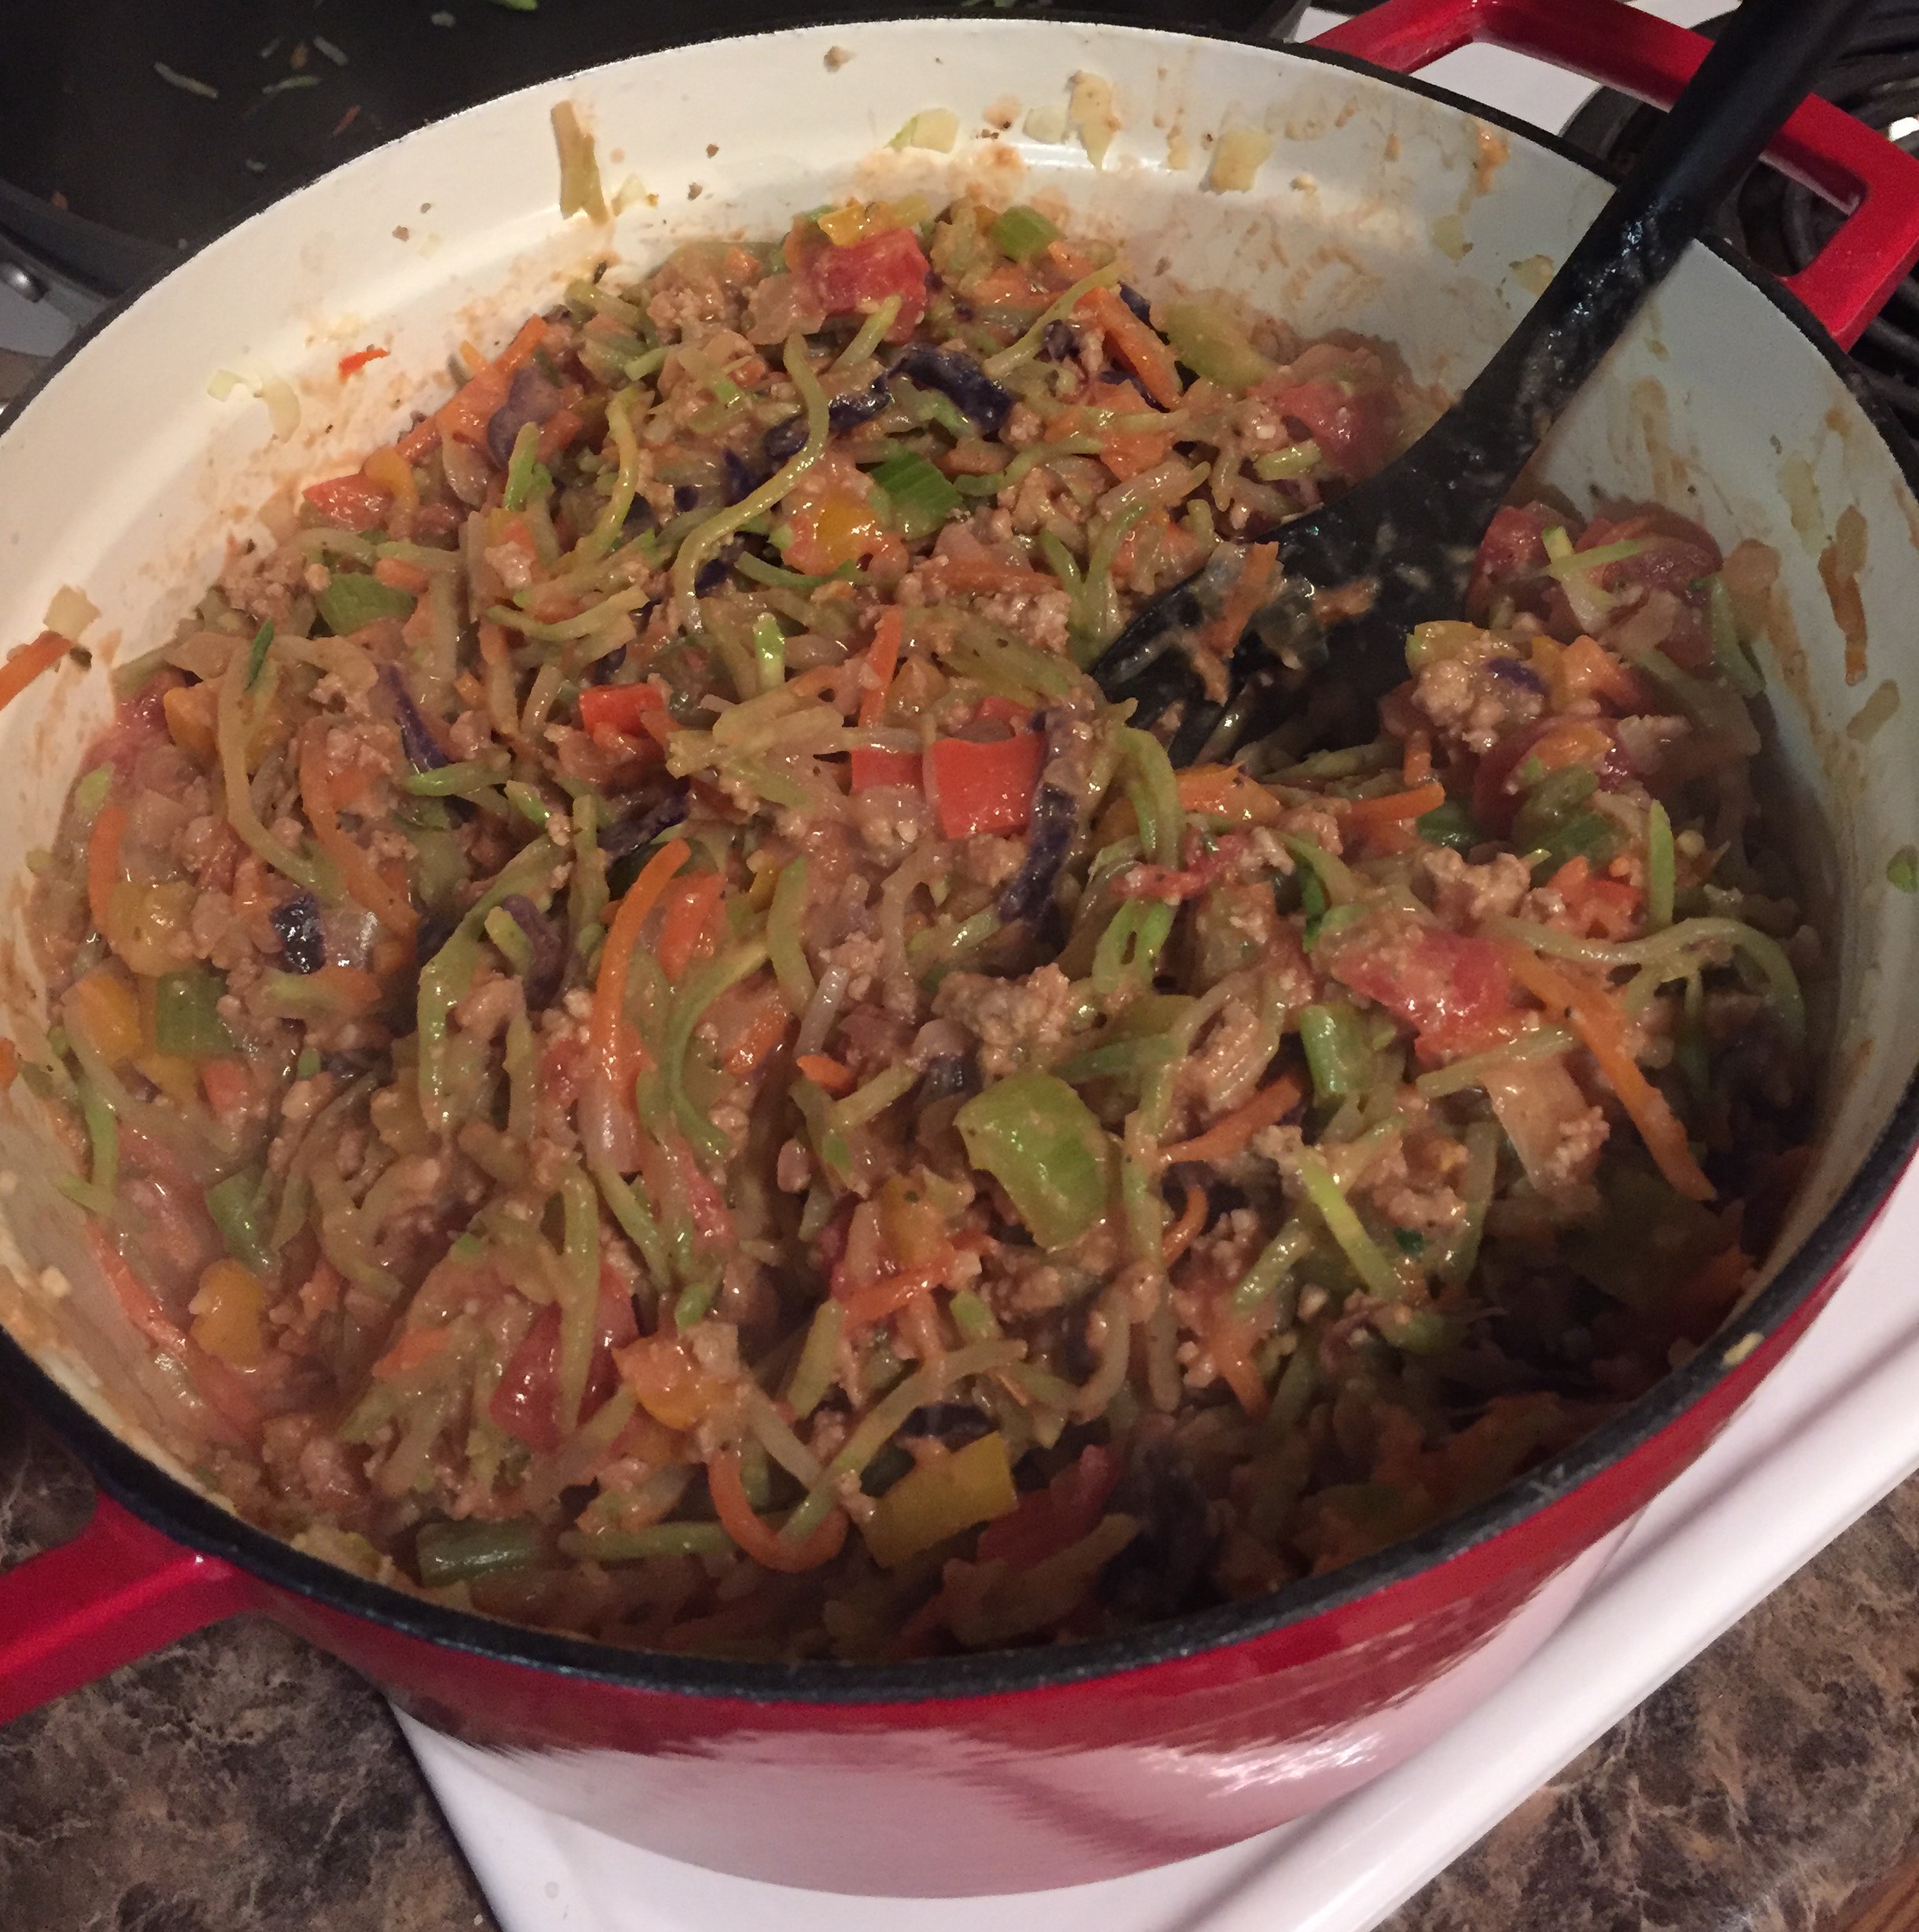
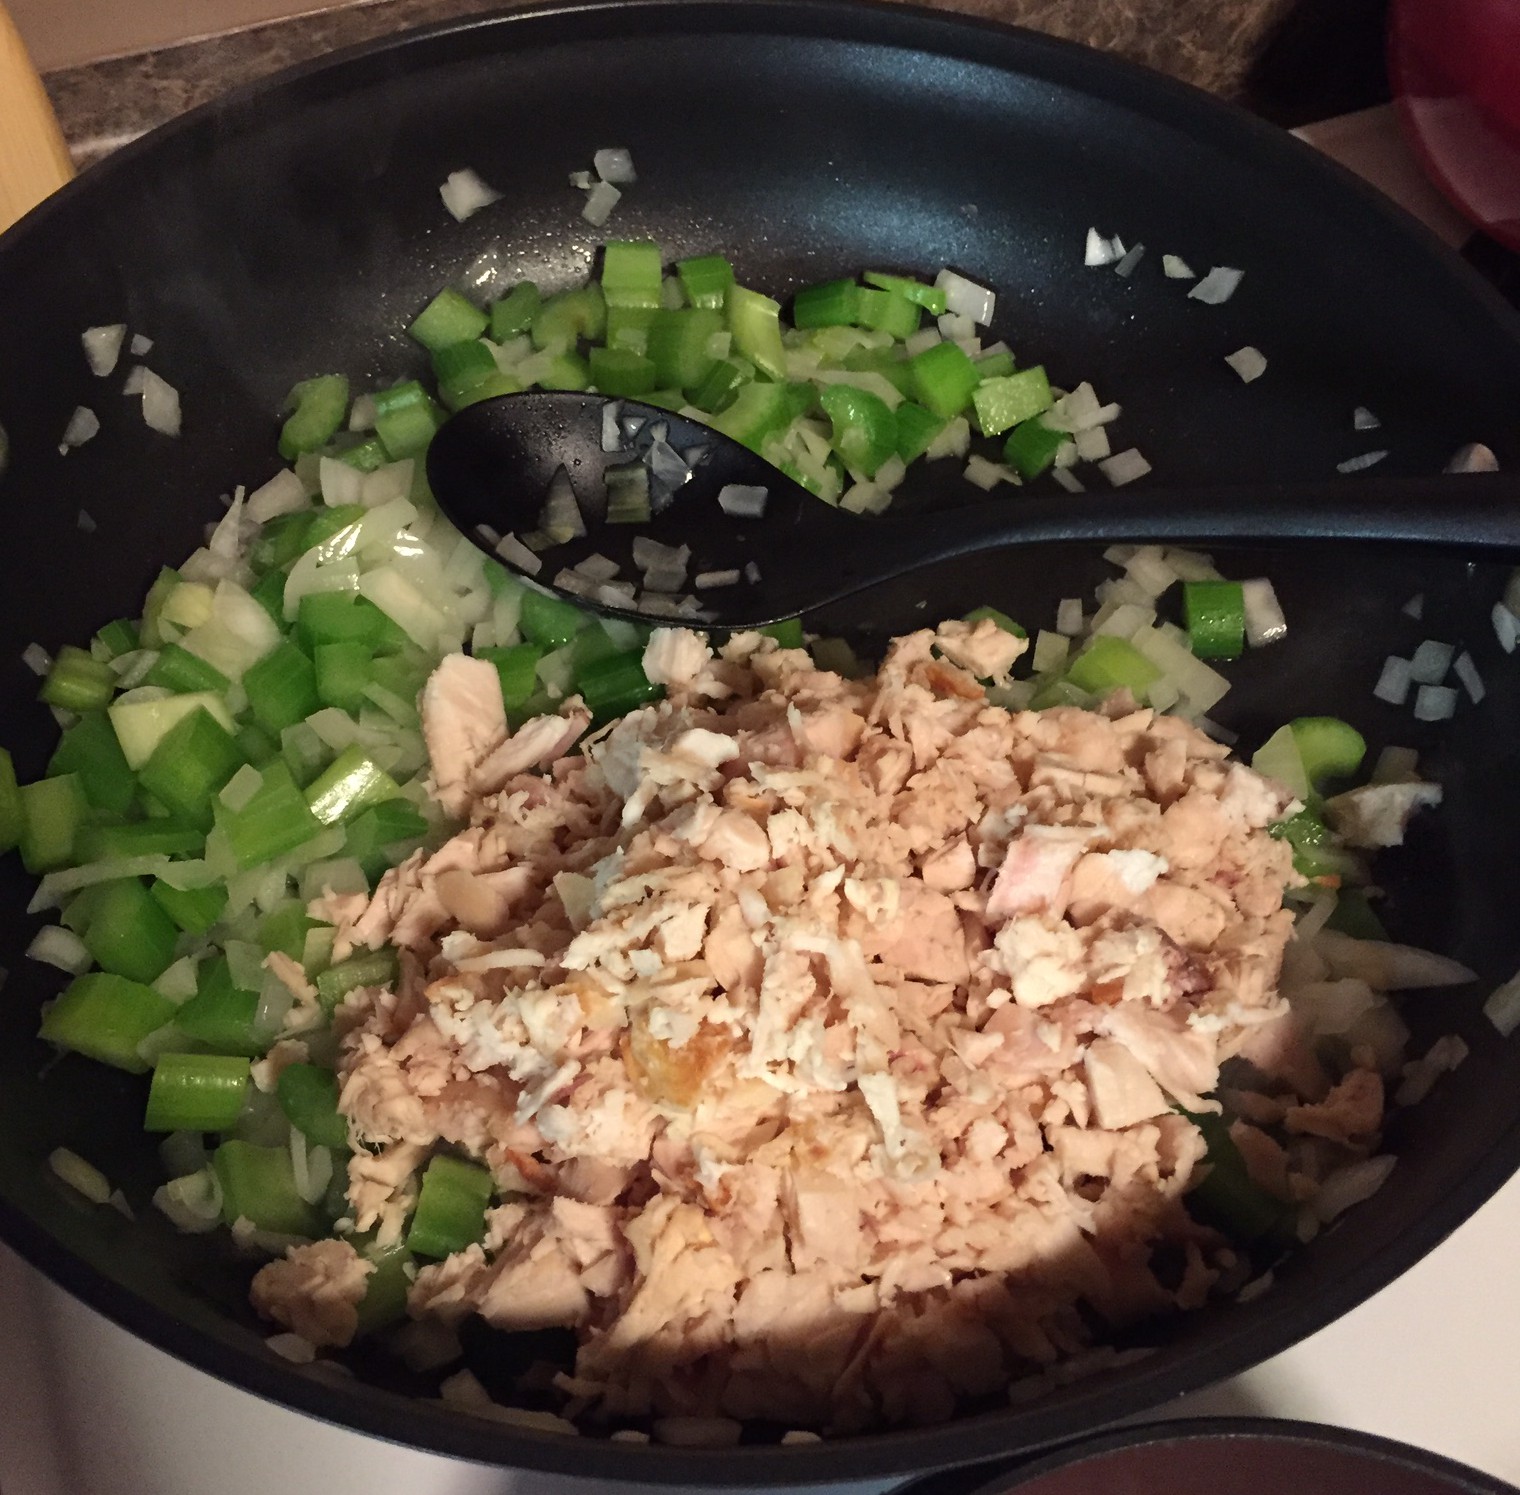
First get your veggies going…

  • In a large pan, saute your onion and celery in a little bit of olive oil until just softened

While that’s cooking, get your sauce on the stove…

  • Add your Frank’s and butter to a small saucepan
  • Heat ingredients on medium-high heat until your butter has melted, stirring occasionally
melt butter saute veggies
THE BUTTER WILL NOT KILL YOU.

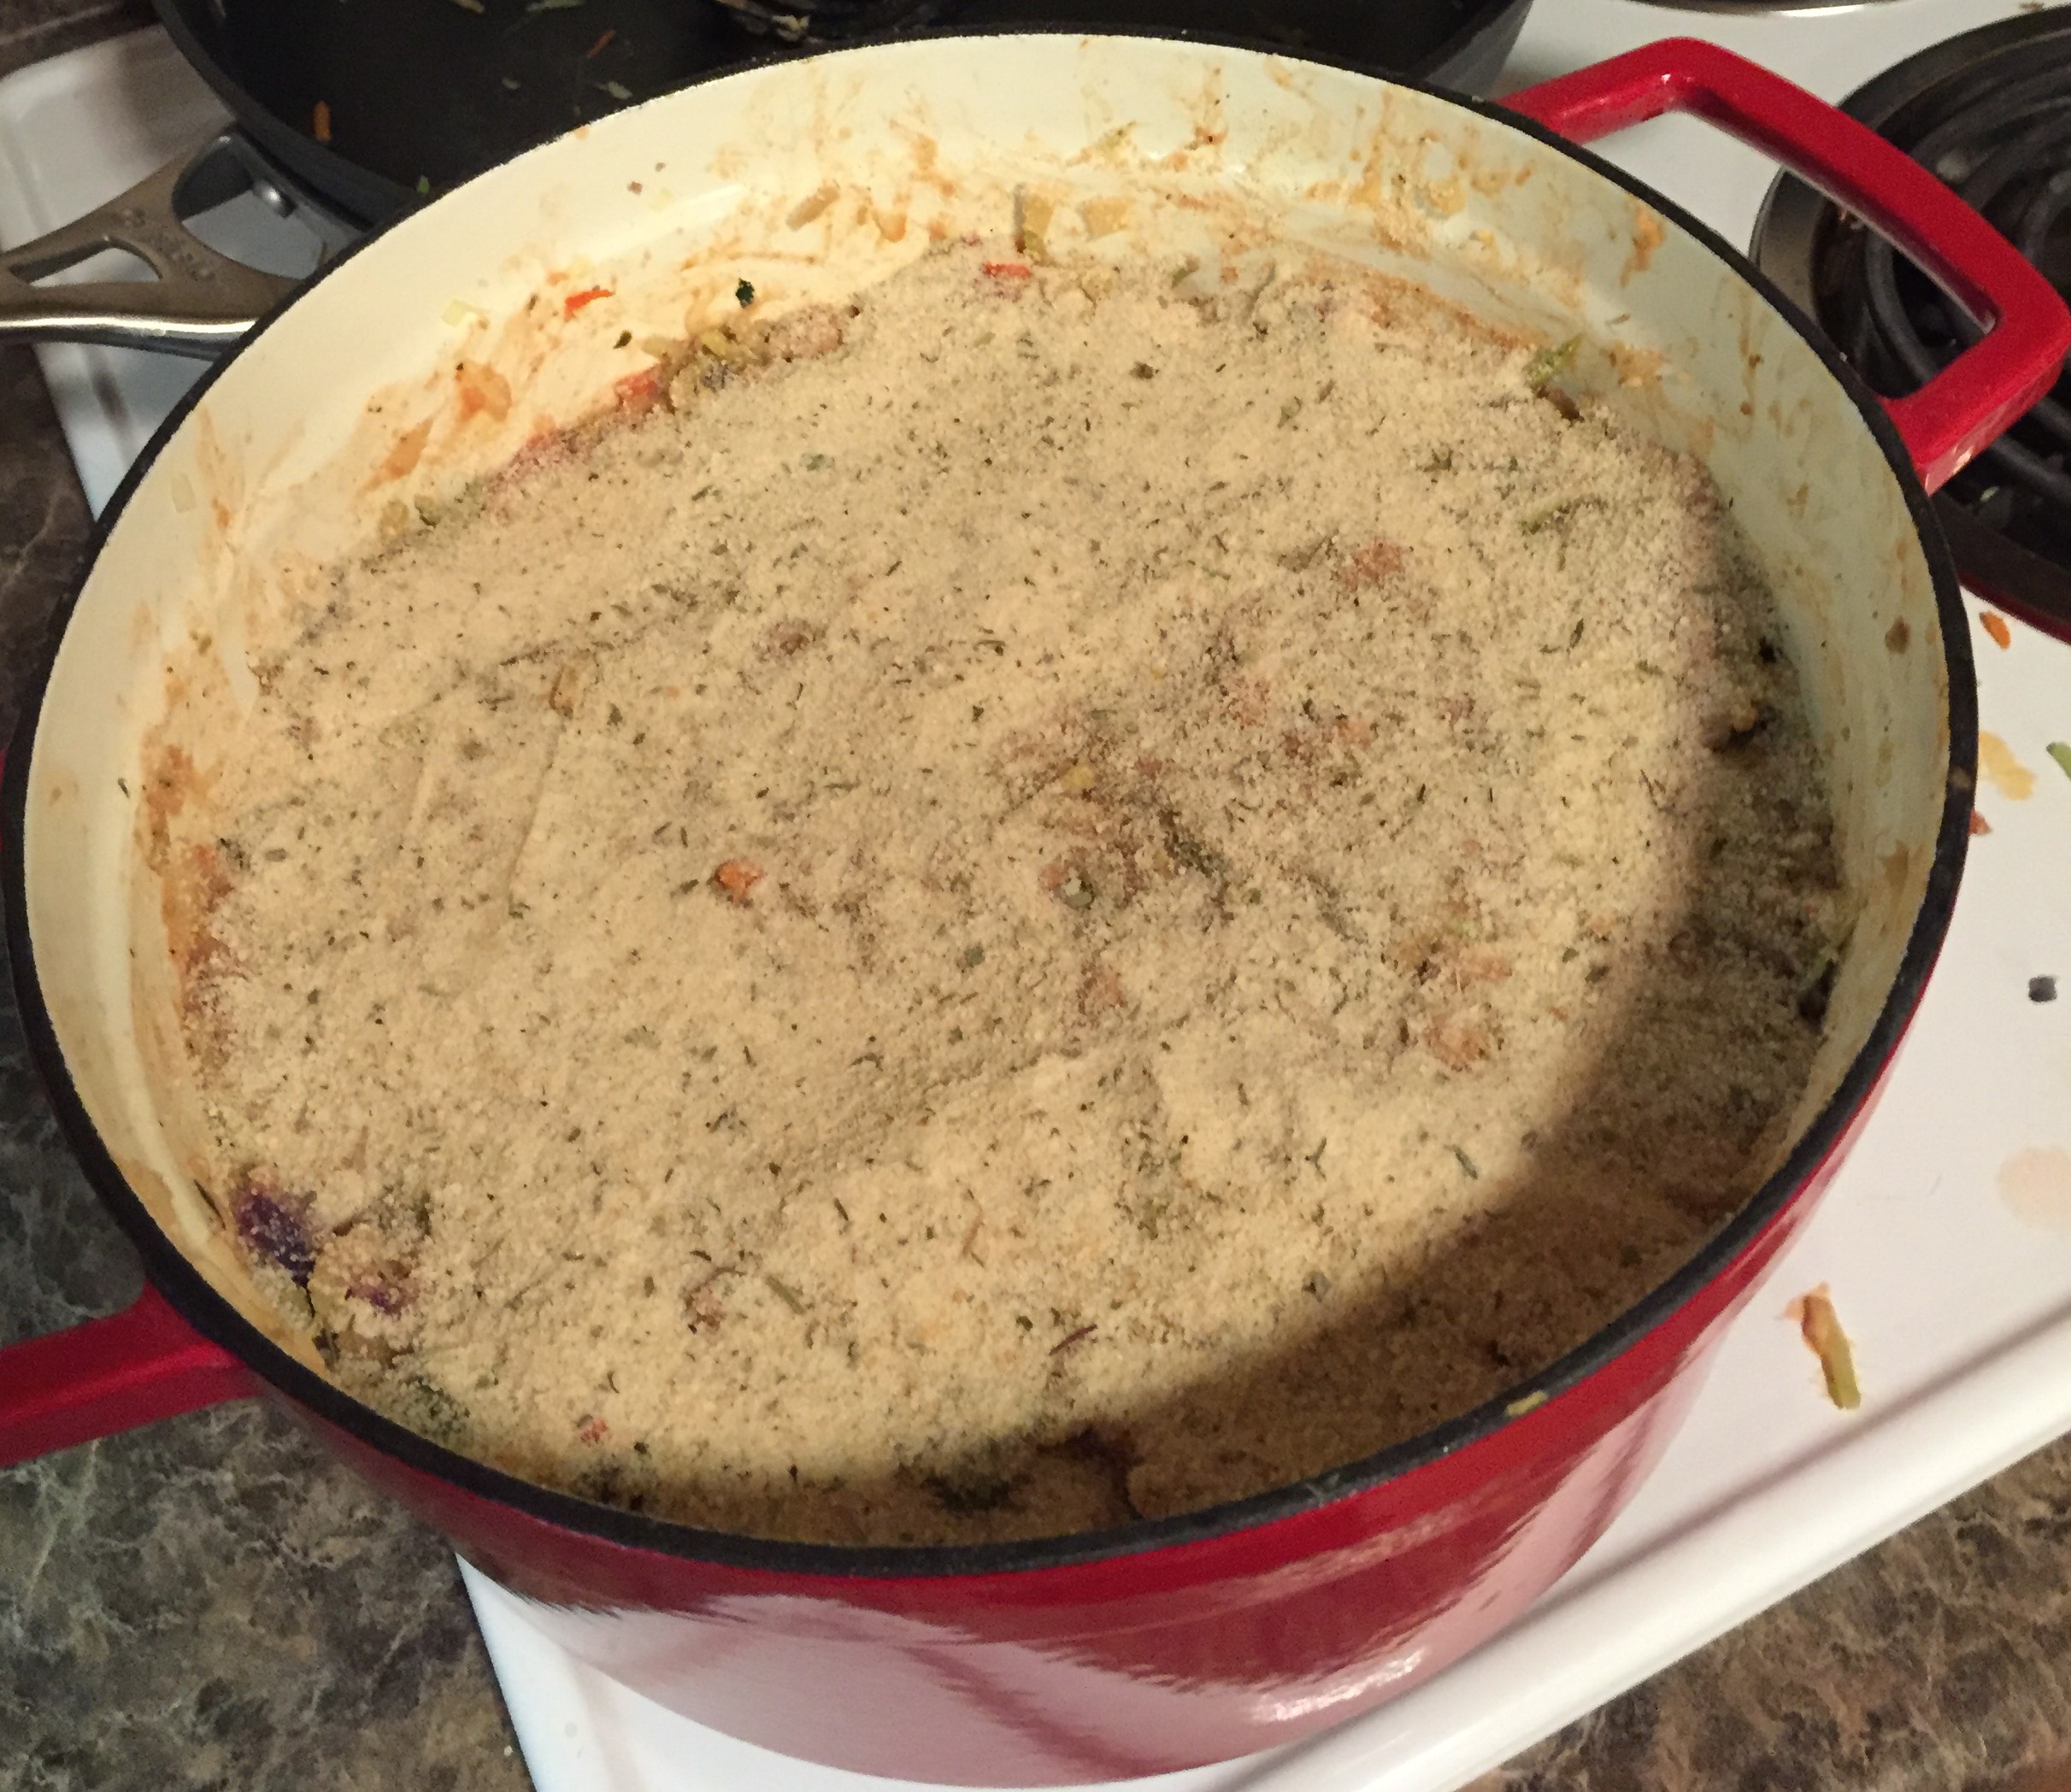
Now finish your filling…

  • Once your veggies are softened add your chopped chicken to the pan

add chicken

  • Pour your sauce into the pan

add sauce

  • Stir ingredients together
YUMMMM
YUMMMM
  • Once chicken is heated through, remove pan from heat

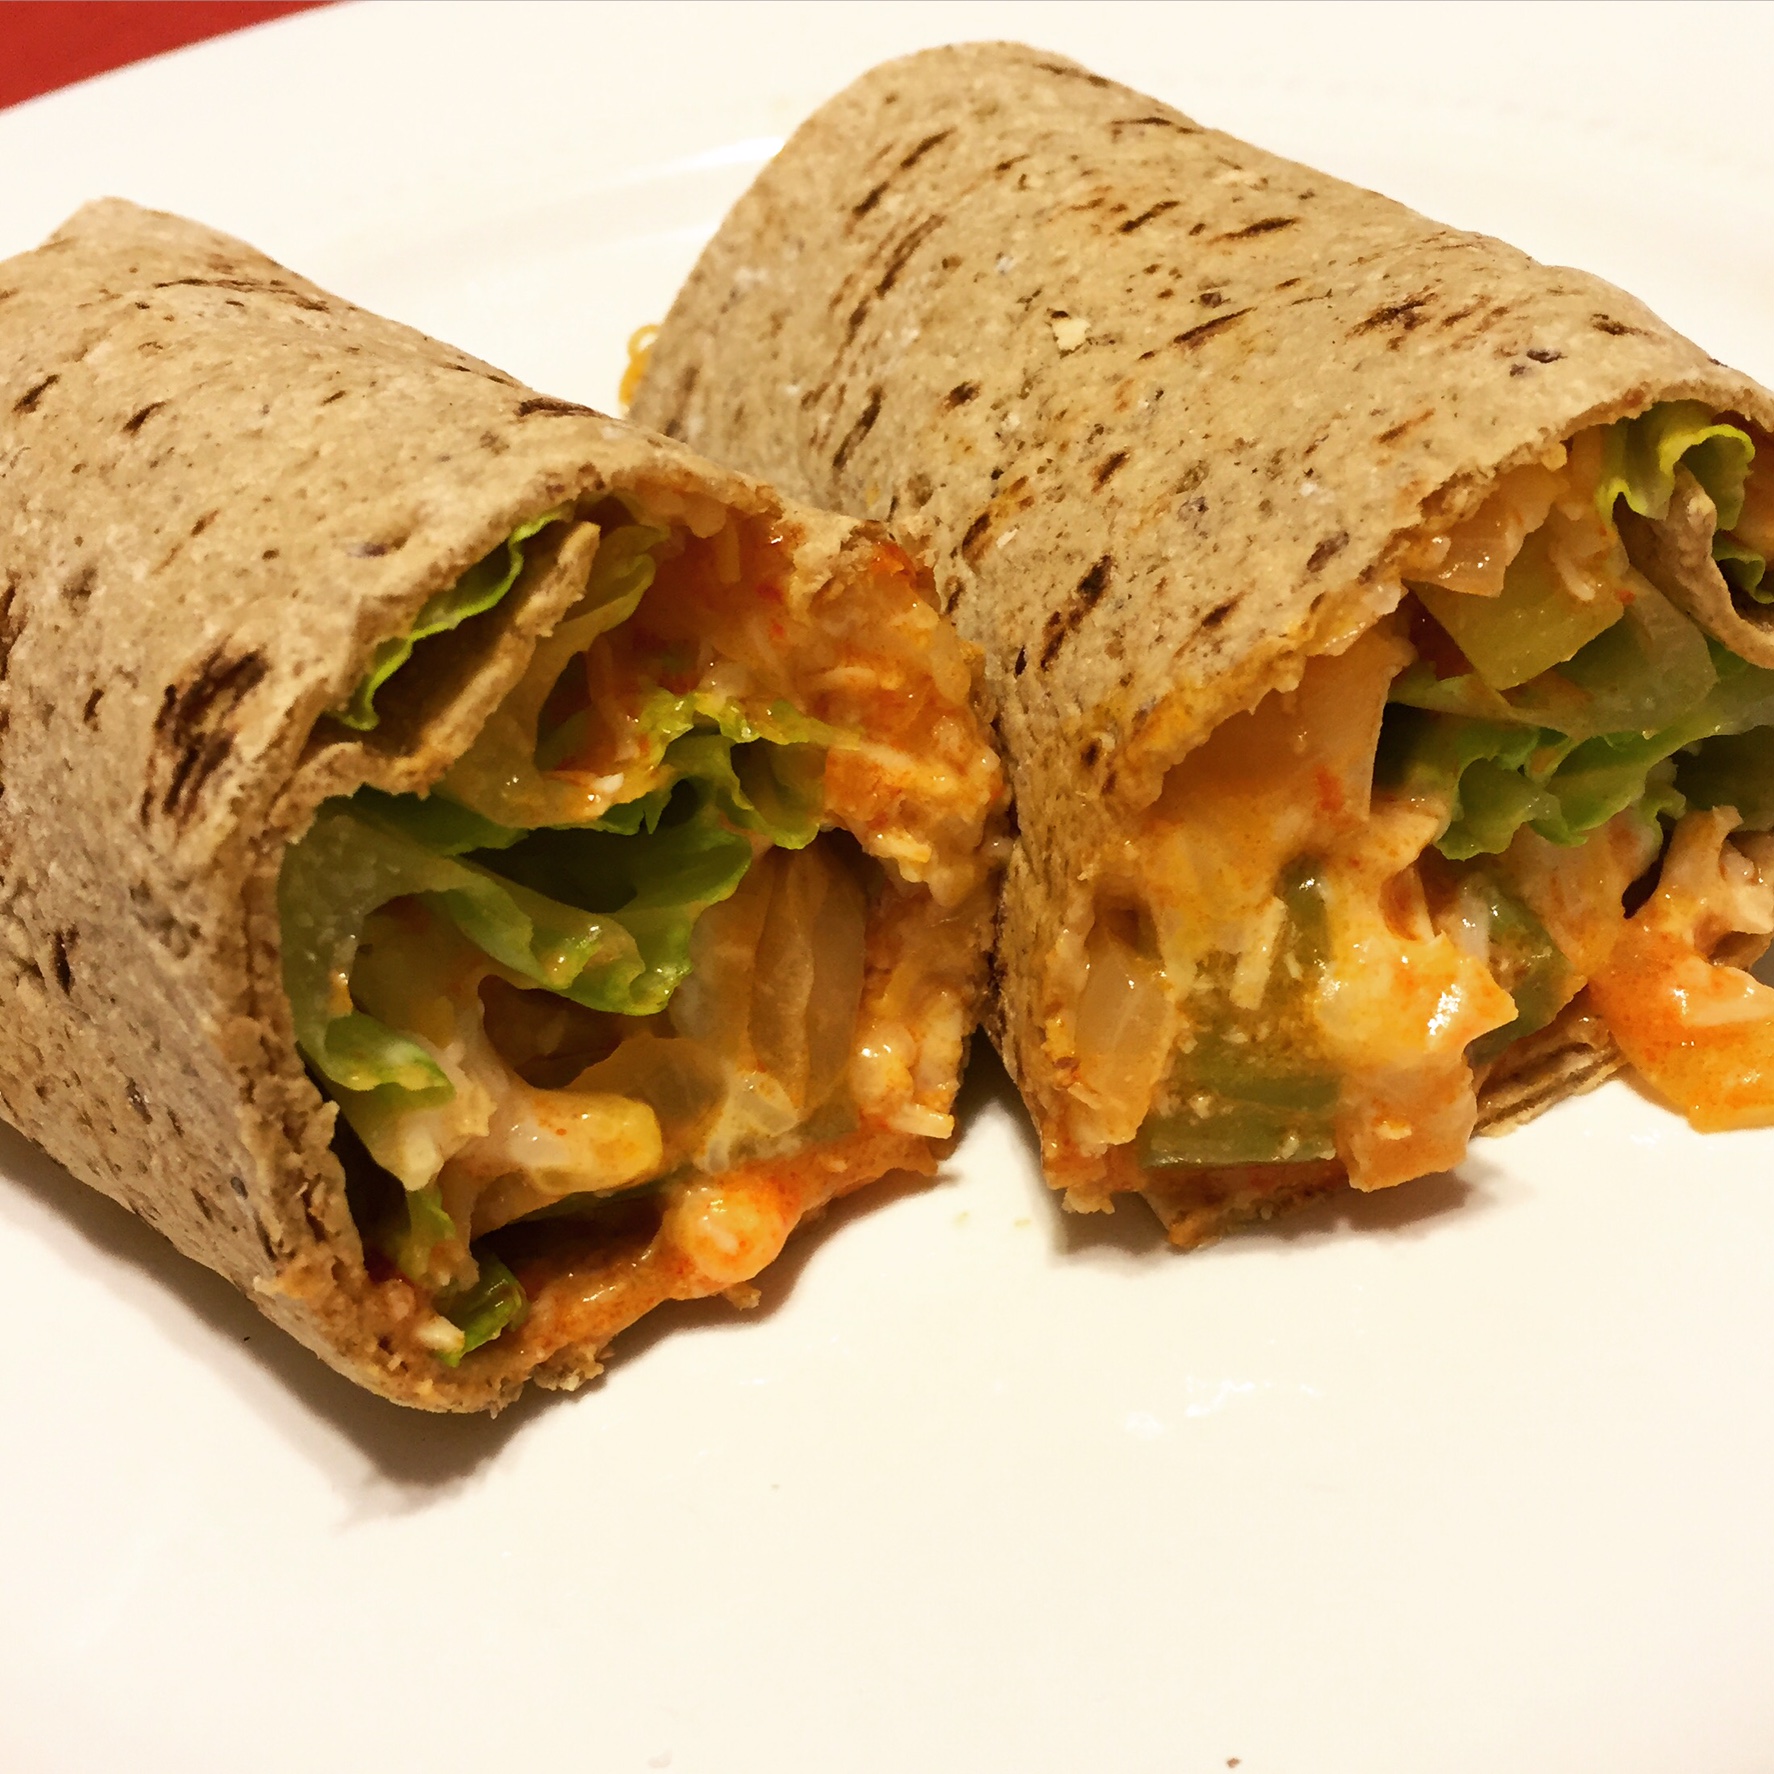
Now just put it all together!

  • On a cutting board, lay out your wrap
  • Sprinkle 1-2 tsp. of shredded cheese down the middle
  • Spoon 1/4 cup (or however much you want) of filling over the top
  • Pour 1 tbsp. dressing over the filling
  • Sprinkle more cheese…because cheese is yummy
  • Top with a romaine leaf or two
  • Tightly wrap together and cut wrap in half to serve

Here’s a visual representation for all you visual learners out there…

Annnnd…voila! That whole process took just 20 minutes to create a restaurant-quality easy-peasy buffalo chicken wrap that’s chock full of fiber, veggies, and protein.

The beauty of this dish is that even though you’re Sandra Lee-ing it and some elements are only semi-homemade, the packaged items you use do not sacrifice health for convenience. The wraps are low in carbohydrates and high in fiber, the greek yogurt dressing has zero added sugar, and the pre-cooked chicken from Costco is just chicken–no preservatives or filler.

On top of all this, this dish is so versatile and easy to keep the ingredients on-hand. The only ingredients that are more difficult to have fresh on-hand are the lettuce and celery…and you know what? If you’re in a pinch just omit them if you don’t have them! It will still taste delicious!

The crazy thing about this dish is that we almost never actually plan to make it. Yes, the crazy planner (me) rarely builds it into the meal plan…even though Tom thinks it rivals the version from one of our favorite places to go out to eat. It’s that good. 

So for all you planners and non-planners out there, take heart! If you’re in a rush or need a last-minute change to the meal plan the answer doesn’t have to be fast food or throwing in a frozen pizza. You can make easy, healthy meals with ingredients you have on-hand that still taste delicious and are good for you.

So while Tom may be bummed that his visits to McDonald’s may have lessened since we got married, he does agree that this wrap is way better than anything he could have gotten at McDonald’s…

except for the fries. Maybe that’s my next challenge?

Here’s to making many more culinary compromises…all in the name of love.

xoxo,

alaina

on-the-go goodness

cookie--final
our version of an on-the-go breakfast: oatmeal raisin breakfast bites with just four ingredients–oats, bananas, raisins, and cinnamon

For the first few months of our marriage, I honestly felt like I was married to a tiger mom’s over-involved ten year-old who had their sights set on making it into Harvard.

No, seriously.

Tom was in a myriad of weekly activities that were very well-rounded and would look mighty impressive on any college application:

  1.  Baseball in Hispanic Baseball League
    • No, he doesn’t speak Spanish. Yes (or should I say “si”) this meant he could literally not communicate with some of his teammates.
  2. Kickball in Work League
  3. Softball in Local Rec League
  4. Men’s Bible Study/Book Group

Now being that there are only seven days in a week, you can see that Tom was a busy man. Layer in church, spending time with friends, and work being insane for both of us…well, you could say we were a bit time-strapped.

Now that we’ve moved into fall and winter, I wish I could say we’re less busy. But swap in fall ball, me taking a class at St. Thomas*, and the ever-approaching hockey and broomball season…and I can tell you that we’re not.

{*VERY IMPORTANT NOTE: I may be spending two very long evenings a week at St. Thomas, but this does not change my feelings one iota: Gustavus>St. Thomas. BY A LONG SHOT. #beatembustem #gustieswillshine}

gustavus
gustavus, I love you.

I digress…

Anywho, oftentimes when we’re in seasons that are busy the first thing to go is the health of our diet. In the midst of juggling our responsibilities we will often prioritize food that is quickly prepared (or bought) instead of food that takes cooking of any kind. We tell ourselves that we simply don’t have time to meal plan or actually make a recipe that requires chopping something–so we justify our frozen meals, take-out, or on-the-go “health” shakes and bars that often contain more sugar, sodium, and/or carbohydrates than we need in an entire day.

one exception: low-glycemic KIND bars are life-savers. I am obsessed with the dark chocolate sea salt.
the one exception to my rule that on-the-go bars are something to avoid : low-glycemic KIND bars are life-savers. I am obsessed with the dark chocolate sea salt ones.

On top of all this, many of us will even succumb to skipping meals in our busy seasons. The easiest meal to skip? You guessed it: breakfast.

When the alarm goes off before 6AM the last thing Tom and I want to do is put together a well-balanced meal that will get our metabolisms ready for the day. We literally wake up at the last. possible. second. necessary to get up and get out the door. In our perfected “thirty-minutes-from-sleeping-to-leaving” routine we only have time to grab and GO.

{Note: In our morning routine we actually manage to shower, get ready, make the bed (yes, we make our bed everyday. yes, I know that’s weird), get our food together, and get out the door in thirty minutes. We have literally timed ourselves to when the WCCO morning news has different segments come on to know if we’re behind schedule. For example, if they’re on the “4 Things You Need to Know” segment and you’re not dressed yet? YOU ARE GOING TO MISS THE BUS. }

Our morning routine BFF's: the WCCO morning team.
Our morning routine BFF’s: the WCCO morning team. #SHOWMETHEWEATHERWATCHER!

And due to the fact that (as I’ve already mentioned) grab and go options do not tend to be good for you, we have needed a solution that can give us the energy we need to kick-start our day, be something low in sugar and carbohydrates, and also keep Tom full until lunch (this is the tough one. woof.)

In these rushed mornings, Tom’s default is to grab a Costco muffin and an apple, but Costco muffins are kinda, sorta intense…like how Tom’s favorite blueberry-variety has 609 calories, 71 carbs, 40 grams of sugar kind of ‘intense’. My default is just to grab an apple…but then I need like eight tablespoons of peanut butter to make me feel full. In all frankness, neither of our default options are all that good for us.

So…where’s the compromise?

Here’s our answer:

  • Swapping white flour-based muffins and bars for a oat/banana mixture that creates a dense, chewy, and filling base for the breakfast cookie
  • Using raisins to maintain the sweetness Tom loves from his Costco muffins…but avoiding the refined sugar
  • Adding lots of cinnamon for a flavor kick and to create the flavor profile of a delicious oatmeal raisin cookie

| Oatmeal Raisin Breakfast Bites |

Serves: 6 Tom’s (3 per serving) or 9 Alaina’s (2 per serving)

Ingredients Needed:

  • 2 ripe bananas
  • 1 cup quick-cook oats
  • 3/4 cup raisins
  • 2 tsp. cinnamon

Directions:

  • Preheat oven to 350 degrees F
  • In a large bowl, mash ripe bananas into a puree
cookie--mashedbananas
keep ripe, peeled frozen bananas in the freezer for JUST this occasion (or any of my other baking recipes…)
  • Stir in quick-cook oats, raisins, and cinnamon
cookie--stirred together
feel free to eat some at this point. it’s delicious! just leave some for the cookie sheet!
  • Using a cookie-scoop (or spoon, let’s get real), drop tablespoon-sized “bites” onto an ungreased cookie sheet or silpat-lined cookie sheet
cookie--dough on pan
the silpat does work crazy well for this recipe…but you don’t NEED it by any means!
  • Bake for 15 minutes (or until slightly crisp on the edges of the bites)
  • Once baked, let cool on the cookie sheet for five minutes and then transfer to a wire cooling rack to finish cooling

    cookie--oncoolingpan
    yum. yum. yum.
  • Once cooled, place in a freezer-safe zip-top bag and toss in the freezer!
    • These bites are now READY TO GO anytime you need them. Grab two to three on your way out the door and let them thaw on your desk until you’re ready to eat ’em! 

So here’s the dealio…these bites are delish. They literally taste like an oatmeal raisin cookie…yet they have absolutely no refined sugar and only four ingredients. And while they may look tiny, these bites pack a punch of flavor…and yet only have 46 calories, 10 carbs, and 5 all-natural sugars per bite. Each bite has just enough “oopmh!” to make you feel satisfied after eating them and (most importantly) keep you feeling full until lunch.

With recipes like these breakfast bites in my back pocket, it makes our crazy schedule feel a little less overwhelming. It’s simply comforting to know you have easy, healthy options for meals (or snacks!) that can be ready-to-eat whenever your hunger strikes. And on top of all that, as a wife it makes me feel good that I can have a healthy option for Tom that he loves and actually chooses over a Costco muffin.

It may seem silly, but little victories like having your husband choose the healthier option willingly make me feel like like I’ve won the lottery. Why? Because it’s one thing to just cook food that I can eat that Tom will tolerate–it’s another to cook food that he loves and that he asks for again and again.

As I’ve said before, I believe cooking is an act of love and I love my husband more than anything in the world…but it’s also so important to me that if he’s eating healthy he’s also happy. And with these bites I can say he is definitely both happy AND healthy.

So in closing, here’s the “4 Things You Need to Know” about these bites:

  1. A serving for a “Tom” is 3 bites; a serving for an “Alaina” is 2 bites.
  2. If you’re extra hungry, the bites are delicious paired with an apple.
  3. I like whipping these bites up on a weeknight evening or Sunday afternoon–they only take thirty minutes in total to put together…including prep and clean-up!
  4. In a pinch, they can also be served as a dessert. Just throw some on a plate an hour (or however long you have) before your company arrives and POOF you have delicious (and sneakily healthy) homemade “oatmeal raisin cookies” to serve your guests.

So there you go: the “4 Things You Need to Know” are that simple. But since this segment is happening I better run…I have an odd sensation that I’m late for something. And with our busy schedule, there’s actually a pretty good chance I probably am….

Here’s to making many more culinary compromises…all in the name of love.

xoxo,

alaina

less is more

finalpie
our version of thanksgiving pie: a crustless pumpkin pie sweetened with bananas and filled with tons of traditional fall spices

In life, I wholeheartedly believe less is more. But when it comes to food…I have a bit of a different opinion. More chocolate is better. More cinnamon is better. Bigger servings are better.

In general, I can some it up as follows: MORE= ALWAYS BETTER

cookiemonster
I am basically the Cookie Monster…but I want more of ALL foods. MORE FOOD PLEASE.

Now before I come off as completely gluttonous, I will say that my style of cooking usually complements this mentality. I like to cook and bake with ingredients that you can eat a lot of and still feel good on the inside and out when you’re done eating. I tend to create recipes that over-index in nutrient-dense ingredients like fruits, veggies, and lean proteins that are all (as the characters on Sesame Street call them) “anytime foods.”

This strategy works pretty well for a majority of the year…until my favorite holiday comes around: Thanksgiving.

Like most people who have a love affair with food, I am obsessed with Thanksgiving. Besides the main event being “eating delicious food,” Thanksgiving is a relatively calm holiday—one where your only priority besides eating is spending time with those you love and simply being thankful.

Besides being thankful for my amazing husband, family, and friends on this day of reflection, on Thanksgiving I find myself most thankful for the following food items:

{*Note: Rutabegas are also called Swedish turnips. They’re a root veggie that makes your kitchen smell like an old gym sock and your mouth feel like it’s won the lottery. It sounds weird because it is…but DANG it’s delicious.}

Looking at these above items, I know that there is no way that I will ever try to change my grandma’s classic mashed rutabaga recipe or even TWEAK my mom’s amazing, life-changing gravy recipe. On Thanksgiving, my “more=always better” motto continues to hold true for these items…buuutt these items’ lack of nutrient-density makes me a bit uneasy about eating a lot of them.

So as I was thinking about Thanksgiving this year, I realized that my third favorite Thanksgiving food actually had the potential to actually include more good-for-you ingredients…could this classic dish be the place where “less=more?”

Less sugar + more nutrient-density sounded like a recipe for a successful pie that delivered a heck of a lot more than the traditional pumpkin pie I was used to.

So with the pie that is the epitome of Thanksgiving on the line, I set off this past week trying to create a pumpkin pie that was both low-sugar and delicious. 

Now, in doing so, I learned a few things very quickly:

  1. Greek yogurt does NOT work in pie. YUCK.
  2. Figuring out the correct number of eggs/egg yolks to use in your pumpkin pie is tricky.
  3. My husband is a saint to willingly try all the different weird pie versions I put in front of him.

And you know what? After quite a few cans of pumpkin and bunches of ripe bananas later…I did it. I made a pumpkin pie that my husband would actually choose to eat when placed next to the Costco-version monstrosity that he adores.

So…where’s the compromise?

Here’s our answer:

  • Ditching the crust and embracing the less-is-more food philosophy for the first time in my life
  • Embracing the pumpkin-ness of the pie by using fiber-packed real canned pumpkin (not the canned pumpkin pie filling!)
  • Using only bananas for the sweetener–no refined sugar, maple syrup, or agave here!
  • Telling yourself that some FAT IS NOT BAD FOR YOU and using low-sugar & low-carb half and half as the creamy base of the filling
  • Using a crap-ton (technical term) of fall spices…because that’s what truly makes a pumpkin pie a pumpkin pie

| Crustless-is-more Pumpkin Pie |

Serves: 8 Tom’s or 10 Alaina’s

Ingredients Needed:

  • 1, 15 oz. can pumpkin puree
    • NOT PUMPKIN PIE FILLING!
  • 2 ripe bananas, mashed
    • The riper the bananas the sweeter the pie!
  • 3/4 cup half and half
  • 1 egg & 1 egg yolk, lightly scrambled
  • 2 tsp. pumpkin pie spice
  • 1 tsp. cinnamon
  • 1 tsp. vanilla extract
  • 1/4 tsp. salt

Directions:

First get everything prepped…

  • Preheat oven to 350 degrees F
  • Using cooking spray, lightly coat a 9 inch pie pan
cookingspray
speaking of cooking spray…the nozzle on simply balanced cooking spray is LIFE CHANGING. never clogs. sprays evenly. amazzzing.

Next start mixing everything in a bowl…except the eggs…

  • In a medium/large bowl, mash your RIPE bananas
see that brown in there? thats because these naners are so ripe! you want em ripe so your pie is sweeter!
see that brown in there? thats because these ‘naners are so ripe! you want ’em ripe so your pie is sweeter!
  • Add your pumpkin, half and half, cinnamon, pumpkin pie spice, cinnamon, vanilla, and salt and whisk together well
NOTE: you have NOT added the eggs yet!
  • Now taste your filling–do you like it? Everyone has different spice-level preferences. This is your chance to taste and add more spice before you add your eggs!

Once it’s tasting delicious, add your eggs…

  • Gently add in your lightly whisked egg and egg yolk and whisk together until well combined

Now just get it in the pan and in the oven…

  • Pour your filling into your pre-sprayed pie pan
mmmmmm
mmmmmm
  • Bake for 40-45 minutes–checking for doneness beginning at 40 minutes
    • How do you check for doneness? You know it’s done when the edges have lightly pulled away from the edge of the pan and when a knife can be inserted into the middle and come out clean
all done...delish!
all done…delish!
  • Let your pie cool until it becomes room temperature and then store in the fridge for at least 6 hours to let the pie set
    • If making for Thanksgiving, I recommend making this pie the day before. It gives the pie enough time to set, but it still tastes super fresh!

So there you go…it’s literally THAT easy to create a deliciously healthy pumpkin pie. There’s no way I would ever skimp on anything in the main part of our Thanksgiving meal, but the pumpkin pie is a surprisingly delicious place to embrace the “less is more” philosophy….and it may have just converted me into believing that less can actually sometimes be more when it comes to food.

Now I’m not going to lie to you, this pie is not the super-sweet pumpkin pie version you may be used to. It has a more subtle sweetness…but it’s a sweetness that allows for the lovely pumpkin flavor to really shine through. It’s a true pumpkin pie…and it’s absolutely delicious.

{…and did I mention it has only 71 calories, 7 carbs, and 4 sugars a slice?…just saying…}

Now while I may have been an easy convert to this new “less is more” philosophy when it comes to dessert at the Thanksgiving table, the true test was Tom…would he choose my healthier version of pumpkin pie when compared to his beloved Costco version?

The answer? Yes, he likes it and he doesn’t miss the crust…but as you can see, it needs to have whipped cream for him to love it.

tompie
yes…that is my healthy pie covered in whipped cream. and yes, it’s STILL actually pretty healthy for you!

So while I’d normally be anti-adding sugar…you know what? A little whipped cream really does make it better. So add whipped cream away to your heart’s content (and maybe even a sprinkle of cinnamon) and take heart…because your less-is-more pie is still good for you.

a little bit of whipped cream is actually not that bad for you--in fact, it only adds 10 calories and less than one gram of sugar to each serving!
a little bit of whipped cream is actually not that bad for you–in fact, it only adds 10 calories and less than one gram of sugar to each serving!

And the best part? Compromising on things like whipped cream is what makes this pumpkin pie a true example of marrying tastes–marrying what Tom loves (traditional whipped cream on your pumpkin pie) and marrying what I love (low-sugar and diabetic-friendly) and creating a new recipe that we both adore.

Here’s to making many more culinary compromises…all in the name of love.

xoxo,

alaina

hot (diggity-dang) dish

finalblogfront
our version of hotdish: broccoli slaw “pasta” paired with lots and lots of mixed veggies, a chunky tomato cream sauce, and topped with deliciously seasoned breadcrumbs

I married a very patient and understanding man.

You may be wondering why I mention this, so let me give you some recent context…

Characters:

  • Tom, loving husband who is half-asleep
  • Alaina, constantly-moving wife who is wide awake

Scene:

It is 11PM on a weekday night–about five minutes after the couple has said “goodnight” and turned off all the lights. The room is dark, quiet, and still.

  • Alaina: Babe, I can’t sleep.
  • Tom: Mmphh?
  • Alaina: Seriously, I’m wide awake.
  • Tom: Mmmmph
  • Alaina: Like WIDE awake.
  • Tom: [Suddenly more verbal] The sky’s asleep so you should be asleep.
  • Alaina: [Laughs at clever Frozen reference] Fiiiiine.

{Five more minutes pass, wife continues to toss and turn, mind wandering}

  • Alaina: [Without warning, jumps and startles herself and sleeping husband and jumps on him like Anna jumps on Elsa in the movie Frozen] TOM, I HAVE AN IDEA!!!
  • Tom: [Completely startled, looks somewhat afraid] What? What is it?!
  • Alaina: I COULD MAKE HOTDISH WITH BROCCOLI SLAW INSTEAD OF PASTA!!!
  • Tom: Huh?
  • Alaina: Oh my gosh. Tom. Imagine. I could take the slaw and add onions and peppers and tomato sauce and BABE I COULD USE GROUND BEEF IF YOU WANTED!!
  • Tom: Sure, babe. Sounds great.
  • Alaina: Oh my goodness. I’m so excited!

{Wife is quiet for a few more minutes…husband thinks he may actually finally get to go to sleep}

  • Alaina: [Again, abruptly] CELERY!!!!!!!
  • Tom: What?!
  • Alaina: I forgot I should add celery! My grandma’s recipe always had celery! Ooh! Ooh! And I should add red pepper flakes.
  • Tom: Ah.
  • Alaina: I’ll go to bed now. DANG THIS SOUNDS DELICIOUS IN MY HEAD. I’m going to dream about what I would call it!
  • Tom: Can’t wait, babe. I love you. Goodnight.
  • Alaina: [At much too loud a decibel for 11:30PM] Whoa! It’s late! We have to go to sleep!!! Goodnight!

{Husband, a saintly man,  says nothing… although he was definitely thinking that it was late and we needed to go to bed for the entirety of the exchange}

annacan'tsleep
I feel you, Anna–its hard to sleep when exciting things like snowmen or cooking hotdishes could be happening.

So, I know the above exchange may portray me as a crazy person, but here’s the deal. I get really excited about food. And I get even more excited when I think of a recipe that I can create that Tom will love and that I will feel good about eating.

Now, to back up, I did not just have a hotdish epiphany out of the blue. As the weather has been turning cooler, my mind and tastebuds and have been wondering towards oven meals and comforting dishes that warm you from the inside out. And there is nothing more comforting (or Minnesotan) than the hotdish.

To pause for a second, if you’re wondering what a hotdish is…you’re most likely not from Minnesota.

Here are some examples of tried and true Minnesota hotdishes–usually including a heavy starch base (pasta/rice/tater tots), a condensed soup sauce, some meat (usually ground beef), and some veggies thrown in so we can call it “healthy” when we serve it to our families:

Now here’s the deal–you don’t mess with Minnesotans and our hotdish. Every tried and true Minnesotan family has an old family recipe that’s simply called “hotdish” and there is no descriptor necessary. Grandma makes it for the entire crew when everyone’s together (since these dishes can feed a crowd–it’s just part of their magic), and it’s something everyone loves. Why? Because it’s carbs, meat, and sauce. There is literally nothing that would not taste good made of these things.

Growing up, my family’s version of “hotdish” was of the spaghetti-based variety. Being that Tom’s favorite food is spaghetti, I knew there had to be a way to transform this traditional hotdish that consists of spaghetti, condensed tomato soup, ketchup, and breadcrumbs into something that delivered upon the same comforting flavors in a healthier manner.

So…where’s the compromise?

Here’s our answer:

  • Swapping carbohydrate-heavy spaghetti for broccoli slaw
    • One of my favorite spaghetti substitutes–and it’s easier than spaghetti squash to make!
  • Maintaining the rich, creamy tomato flavors by using real tomatoes and greek yogurt married with some traditional Italian spices 
  • Enhancing the nutrient-density (and texture!) of the dish by adding lots of onion, garlic, bell peppers, & celery
  • Utilizing ground turkey instead of ground beef (because you can’t tell the difference)
  • Adding shredded parmesan/mozzarella cheese because cheese is delicious
  • …and using home-seasoned breadcrumbs to cut back on the sodium-levels (and up the flavor!)


Hot (Diggity-Dang) Dish |

Serves: 6 Tom’s or 8 Alaina’s

Ingredients Needed:

For the sauce:

  • 2, 15 oz. cans tomato sauce
    • I use Market Pantry, but for whatever brand you choose check the back. It should be JUST tomato puree, water, and some seasonings. No sugar, no oil, no words you can’t pronounce!

tomato sauce

  • 1  15 oz. can diced tomatoes, drained
  • 2 tsp. Italian seasoning
  • 1/2 tsp. oregano
  • 1/2 tsp. crushed red pepper
  • 1/4 tsp. garlic powder
  • 1/4 tsp. salt
  • 1/2 cup plain 0% greek yogurt

For the “pasta”:

  • 2, 12 oz. packages broccoli slaw
    • I buy the Archer Farms or Trader Joe’s versions–but any ready-to-eat slaw will work! You find it in the produce section.

For the yummy fillings:

  • 1 lb. ground turkey
    • You can use lean ground beef as well…but you honestly cannot tell the difference!
  • 1 large yellow onion, chopped
    • The flatter they are, the sweeter they are…try to find the flattest one you can!
  • 2 tsp. minced garlic
  • 1 cup celery, chopped
  • 3 bell peppers (any color), chopped
  • 1 cup mozzarella/parmesan shredded cheese
    • I buy this combination pre-packaged (Market Pantry brand…are you surprised?), but if you can’t find it just use 60% shredded mozzarella and 40% shredded parmesan 

For the topping:

  • 1/2 cup plain breadcrumbs
    • Like the tomato sauce, look for the packaged breadcrumbs with the fewest ingredients. Processed foods are often where sneaky sugars, salts, and oils hide–you don’t want this in your food! This is a big reason you season these yourself–you don’t need the other stuff that’s put in pre-seasoned breadcrumbs.
    • Just FYI, the cheapest I’ve found is Simply Balanced Plain Breadcrumbs–it’s Target’s organic house-brand. And yes, I did look at the price and ingredient deck of every single brand in the store. And yes, I know I’m a crazy person. 

SBBC

  • 1/2 tsp. Italian seasoning
  • 1/4 tsp. garlic powder
  • 1/4 tsp. onion powder
  • 1/4 tsp. pepper
  • 1/4 tsp. salt


Directions:

First, make the sauce…

  • Place the tomato sauce, drained diced tomatoes, and seasonings in a sauce pot and bring to a simmer on medium-high heat, stirring occasionally

tomatosaucemade

  • While that’s working to simmer, place your greek yogurt in a bowl
  • Once simmering, remove the sauce from heat and take 1/2 cup of the sauce and stir into the greek yogurt to temper it
yogurttemper
stir, stir, stir! the only chunks when you’re done should be from the diced tomatoes!
  • Once combined, add yogurt/sauce mixture back into the sauce and whisk to combine


After setting your sauce aside, cook your slaw..

  • Bring a large skillet to medium-high heat
  • Add the slaw and 1/2 cup water

broccolislawcook

  • Stir occasionally, essentially “stir frying” slaw for about five minutes
  • After five minutes have passed, remove from heat and set aside
broccolislacooked
when cooked down, it will look slightly limp and the colors of the slaw will be somewhat deeper and darker

Next up, make the rest of the yummy filling…

  • Preheat your oven to 350 degrees F
  • In a dutch oven or other stovetop-to-oven dish, brown your ground turkey
    • Note: If you don’t have a dutch oven or stovetop-to-oven dish, simply brown this in a pan that can hold all the meat and veggies
addmeat
yum? hmmm..maybe not yummy yet…but give it a minute!
  • Once the turkey is almost fully cooked, add your onion, garlic, celery, and peppers and cook until all ingredients are softened (especially that celery!!)
    • Due to all the liquid from these veggies, you may need to drain or spoon out some liquid once everything is softened. Use your own discretion–but remember a little liquid won’t hurt!
addveggies
Look how pretty all the colors are! Remember–ensure you cook it down so everything is nice and soft!

Now you just have to put it all together!

  • In your dutch oven that has all your fillings, stir in your cooked broccoli slaw, sauce that you previously made, and that delicious shredded cheese
    • Again, if you don’t have a dutch oven, simply combine all ingredients in an oven-safe dish

final mix

  • While that sits, quickly make your seasoned breadcrumbs by combining all seasonings with your breadcrumbs in a bowl and mixing well

mix breadcrumbs

  • Top your hotdish with the seasoned breadcrumbs
    • You may not use all of the breadcrumbs you seasoned–it’s okay! Depending on the surface area of the top of your dish, you may need slightly less. You want a thick enough layer to have a crust, but you don’t want so much that your topping won’t brown. 
add breadcrumbs
not too much, not too little…just perfect!
  • Place in oven and bake for 50 minutes
    • If after 50 minutes your breadcrumbs have not browned enough, you can broil your dish for 2-3 minutes on high.  This creates a nice crunchy crust. 

inoven

You did it! Now serve!

look at that delicious tomato-y crunchy goodness!
  • Serve warm and top with parmesan cheese
    • Like I said in my earlier blog about spaghetti, we recommend Mama Francesca’s parmesan/asiago/romano mix. It’s so flavorful and delicious!
bowl
mmmmm–so yummy!!
  • If you desire, serve with a green salad or other veggie. That being said, you have so many in the dish…you really don’t need to!

So that’s all, folks. It’s that easy to make a healthy, hearty hotdish that’s good enough to serve to even the pickiest native Minnesotan hotdish-lover. Beyond being scrumptious to the eyes (it’s so colorful!), this dish is packed with delicious flavors from the copious amount of veggies and seasonings it contains. And you even get to maintain the classic crunchy breadcrumb topping from traditional hotdishes–it’s just a bit healthier and easier to (literally) swallow when you don’t pair it with pounds of pasta.

And like all truly good hotdishes, this meal is a crowd-pleaser that even your pickiest seven year-old niece or ninety year-old great uncle will love. Why? Because it tastes like  spaghetti and meatballs. And everyone loves spaghetti and meatballs.

So as the holidays approach, neverfear! Take a lesson from Minnesota and serve this classic, simple hotdish at your next family gathering. Everyone will love its robust flavors and comfort-food flair…and you’ll love how good it feels to be feeding your family hearty food that’s truly good for them.

I think you’ll be surprised just how much your family loves this dish. I know I was surprised how much Tom loved it. He went back for seconds…and thirds. He just couldn’t get enough.

In fact, Tom loved it so much I wouldn’t be surprised that if next time we’re thinking of what to make for dinner, he breaks out into song a la Frozen’s “Do You Want to Build a Snowman“…

I can hear it now: “Do you want to make a hotdishhhh?!

Here’s to making many more culinary compromises…all in the name of love.

xoxo,

alaina